Since the addition of my TBI, Halogen lights, GPS, CB and other assorted accessories, I worried about the ability of my stock alternator to keep up with the demand. After doing much reading and searching on MUD I decided the Delco Remy CS 144 (big brother to the cs 130 but wired/mounted the same way) would fit the bill perfectly. I purchased it from Alternator Parts. It is available in the 12 o’clock/6 o’clock mounting style, just like the Denso. It also has a 17mm shaft, so the stock pulley fits right on too (but you have to use the nut that came with the alternator). I also chose to use the 5 wire alternator rather than the 1 wire because I wanted my “charge” lamp to work. I also read that the 1 wire alternator doesn’t sense the system voltage the same was and can take higher RPMs to activate the field and start producing electricity. I opted for the 140 amp version but was told it would actually produce closer to 175 amps.
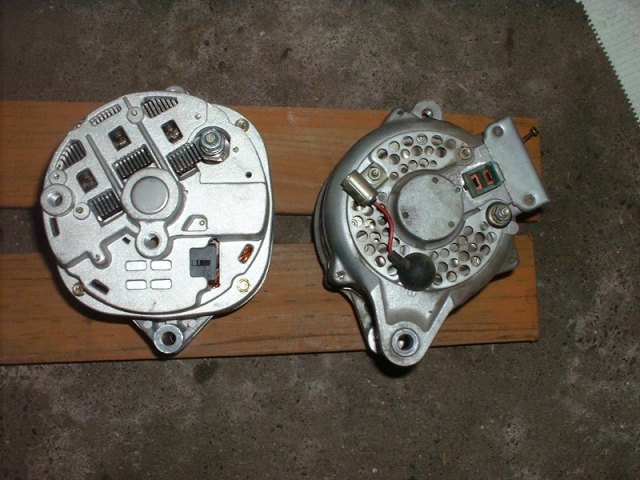
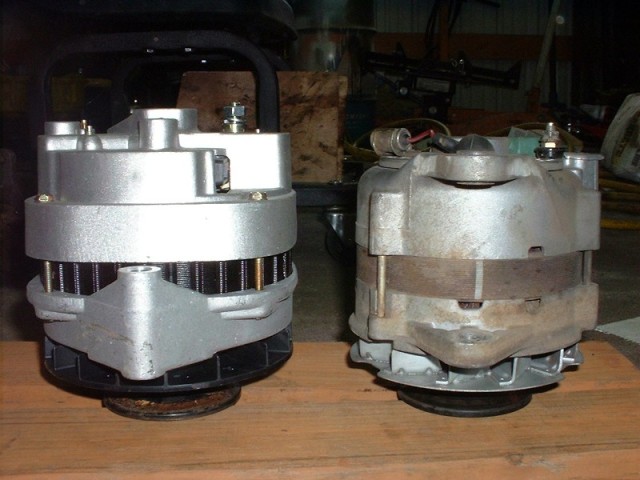
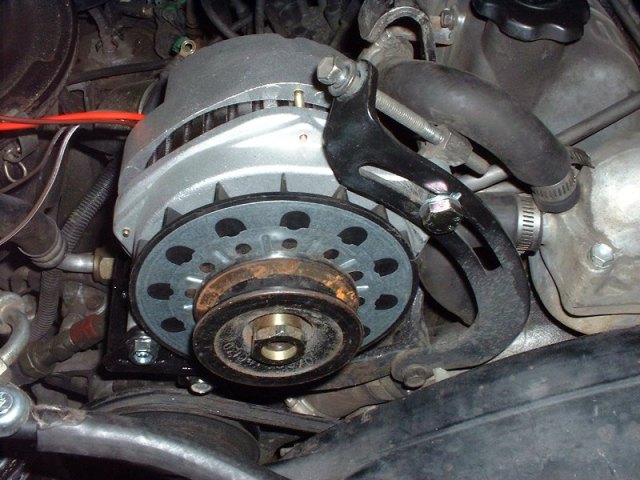
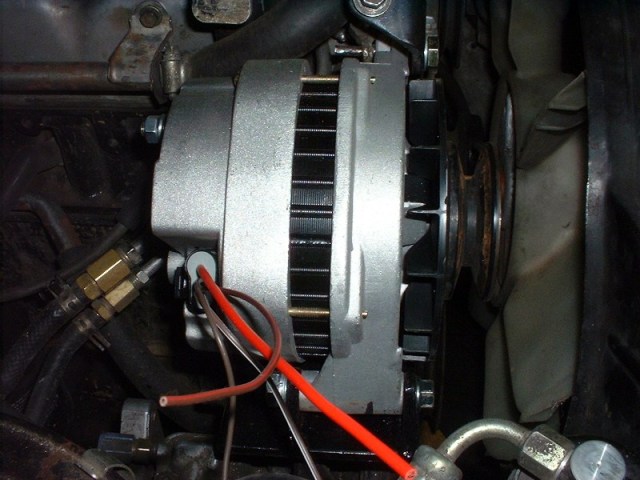
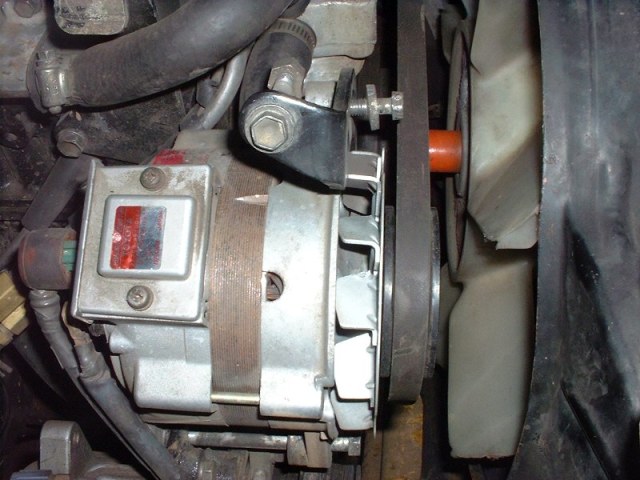
Here are a few pictures of the difference between the two alternators.
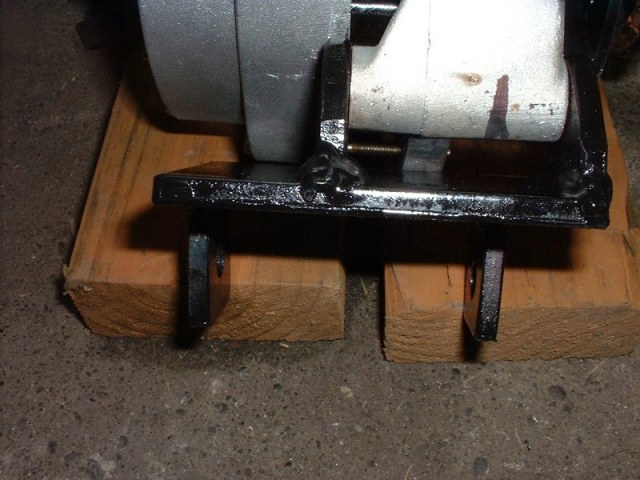
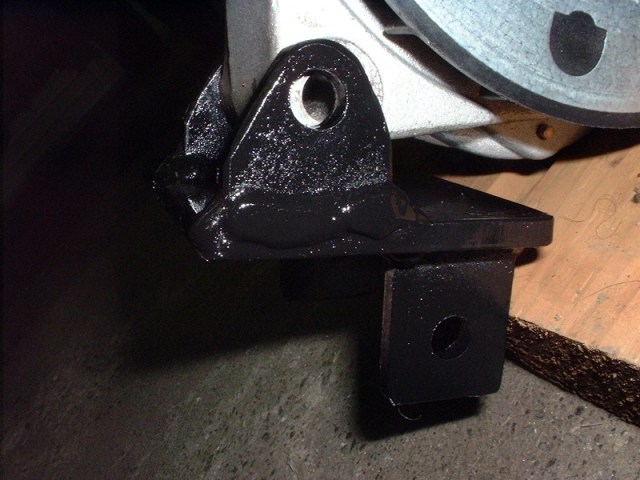
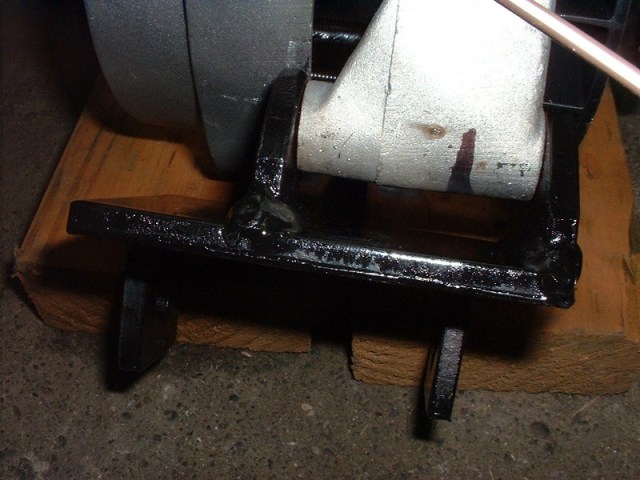
The bracket was made from a piece of 3″ x 1/4″ flat stock. I just measured from the front of the pulley on both alternators, relative to their mounts and welded tabs to a 4″ long piece of the flat stock.
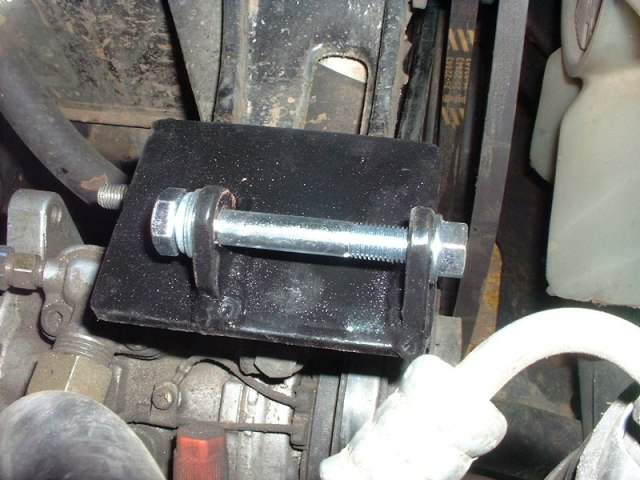
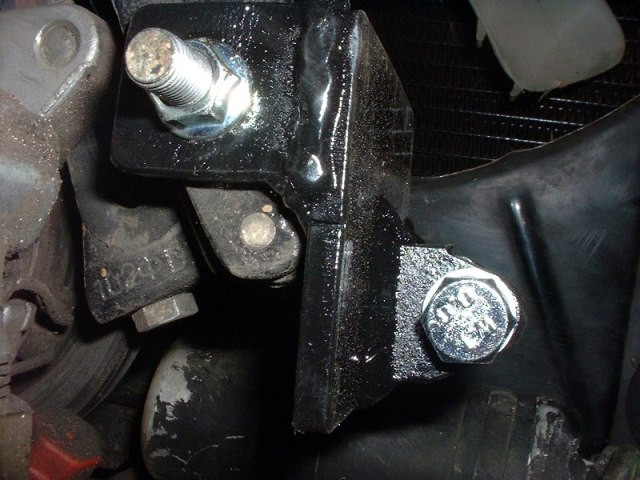
I was able to use the stock adjuster by turning down the end of a bolt, just like the factory one. The cs 144 uses a larger bolt on the adjusting end.
Last thing was to find a belt that would fit. I fount a slightly longer one at Napa (25-22648).
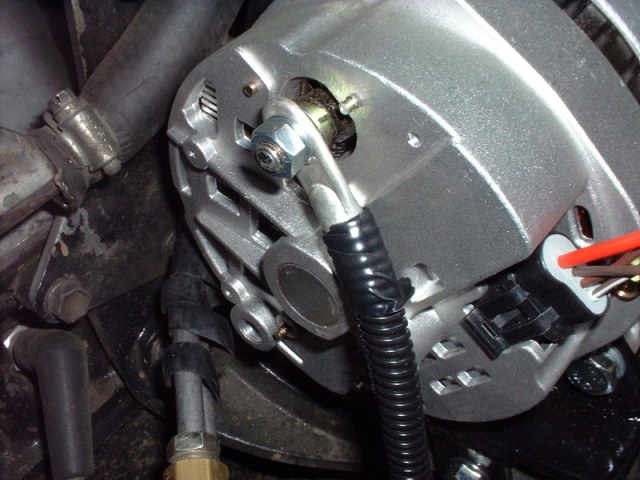
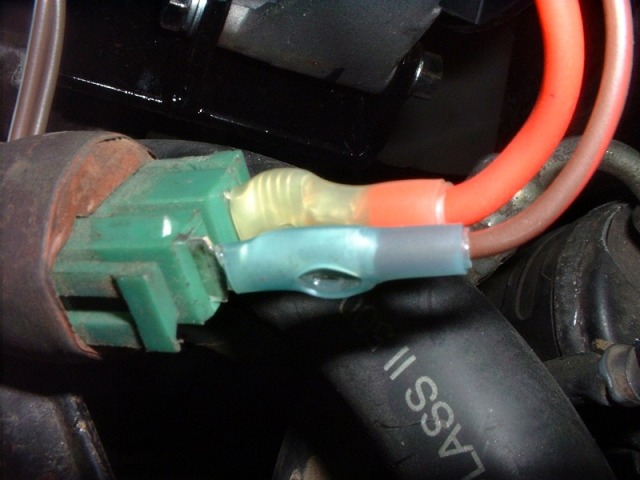
Wiring was not that dificult. I used a 4 ga battery cable from the alternator to the pos post of the battery to help carry the new found amperage. I only needed two of the four wires on the cs 144 pigtail harness. The large red wire is the “S” terminal and can either be connected to the “B” post on the alternator or to the “IG” terminal on the stock wiring harness connector. The “L” terminal on the cs 144 goes to the “L” position on the stock harness connector and is for the charge light. Lastly, don’t forget to hook the wires on the wring terminal formaly connected to the “B” post of the factory alternator to either the battery pos post or the “B” post on the back of the new alternator. I connected it to the battery.
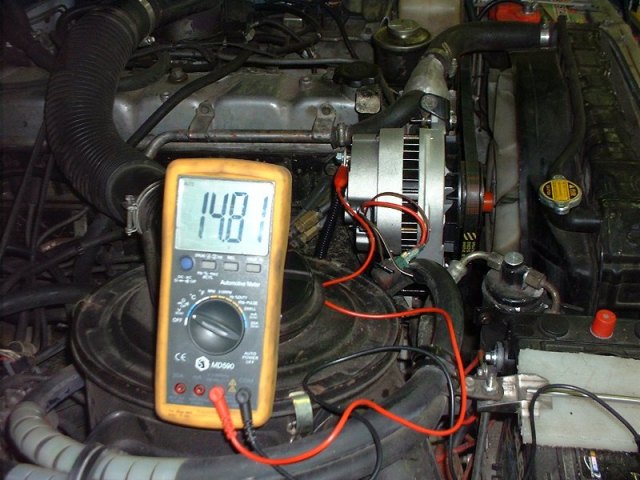
Finaly a before and after comparison. I forgot to record the before alternator output, but after is pretty good at 14.8 volts at idle.
4 replies on “Alternator Upgrade – CS 144”
any way you could fix the pictures on this post?
thanks!
Should be updated. Let me know if that helps!
Hey, man awesome write up. Loved the breakdown. Very clear. I’m currently deployed in Colombia and bought myself an ‘89 FJ62. It’s a South American spec with a carb’d 3F. It is in dire need of a new alternator and new distributor. I’d like to have a more robust one versus the stock one. Do you think your recommendations would work on mine? I’ve found that 90% of the American spec FJ62 parts fit fine in my rig. But since mine is carb’d and not an EFI, I’m wondering if this would work. Thanks for any advice you can give. This is my first one.
My upgrade was done on a US FJ60 (carb’d) that I converted to TBI fuel injection. Is your alternator a one pulley or two pulley alternator?