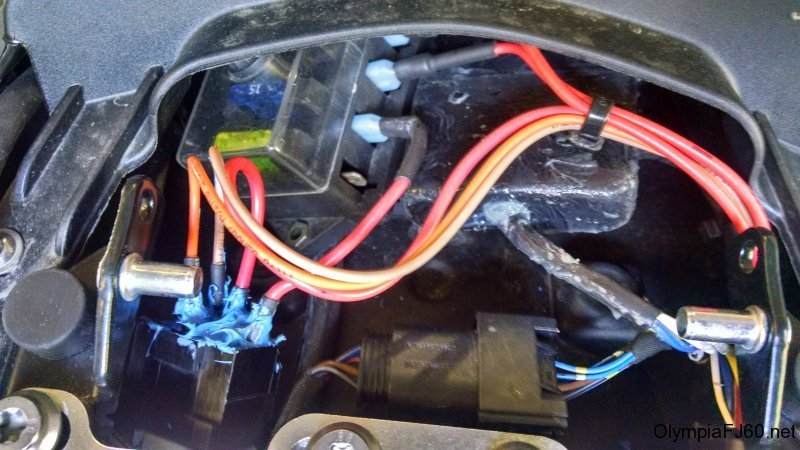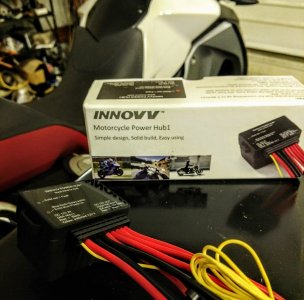
A few posts ago I showed how I added auxiliary power to my F800. I wasn’t completely satisfied with my relay and fuse block setup I installed. When I was searching on INNOVV’s C3 camera I found the Power Hub 1. It consist of a control module and 5 inline fuses circuits to add your accessories. Each fuse is rated for 5 amps, with a total of 40 amps for all circuits. It is designed to be connected directly to the battery with both power and ground. The power wire has an inline 40 amp fuse. There is also a trigger wire and a ground output wire. In this post I will show how installed the Power Hub 1 on my 2015 BMW F800 GS Adventure. There are several options for switching the unit on including the factory GPS connector. Other options for switching are the tail light or the front park light.
At $69, it is the best deal I have found. It is pretty straight forward and easy to install and priced way below the other options on the market. The case is sealed against the weather and has a simple LED light to indicate status. The module switches on 10 seconds after power is applied to the switching wire.
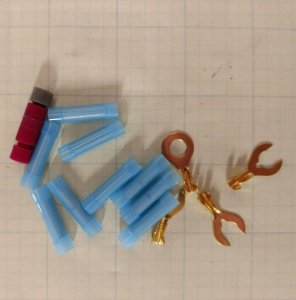
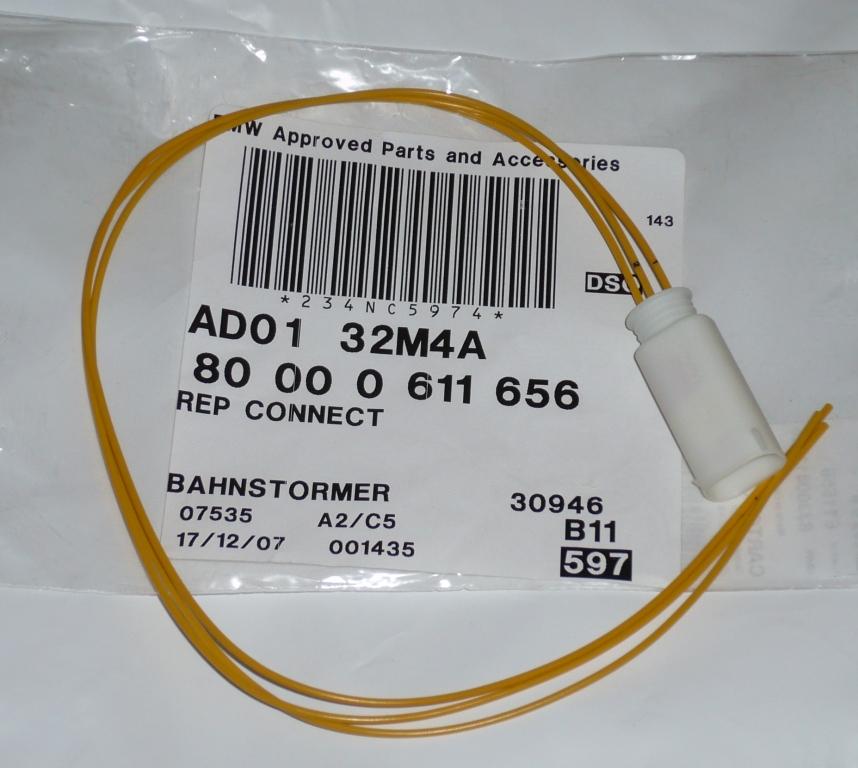
The Power Hub 1 comes with everything you will need to install on most motorcycles, including crimp connectors, battery connectors, and a tap for the switching wire.
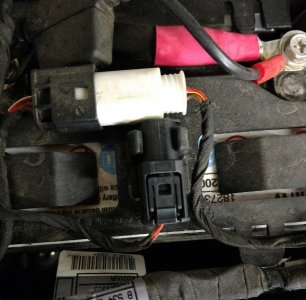
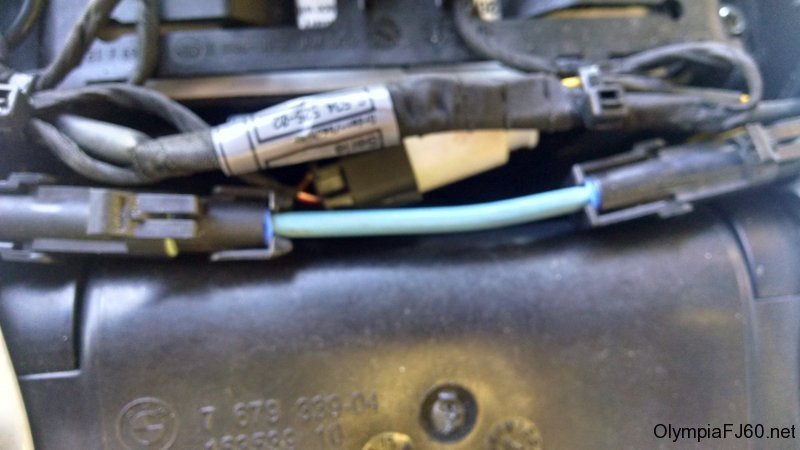
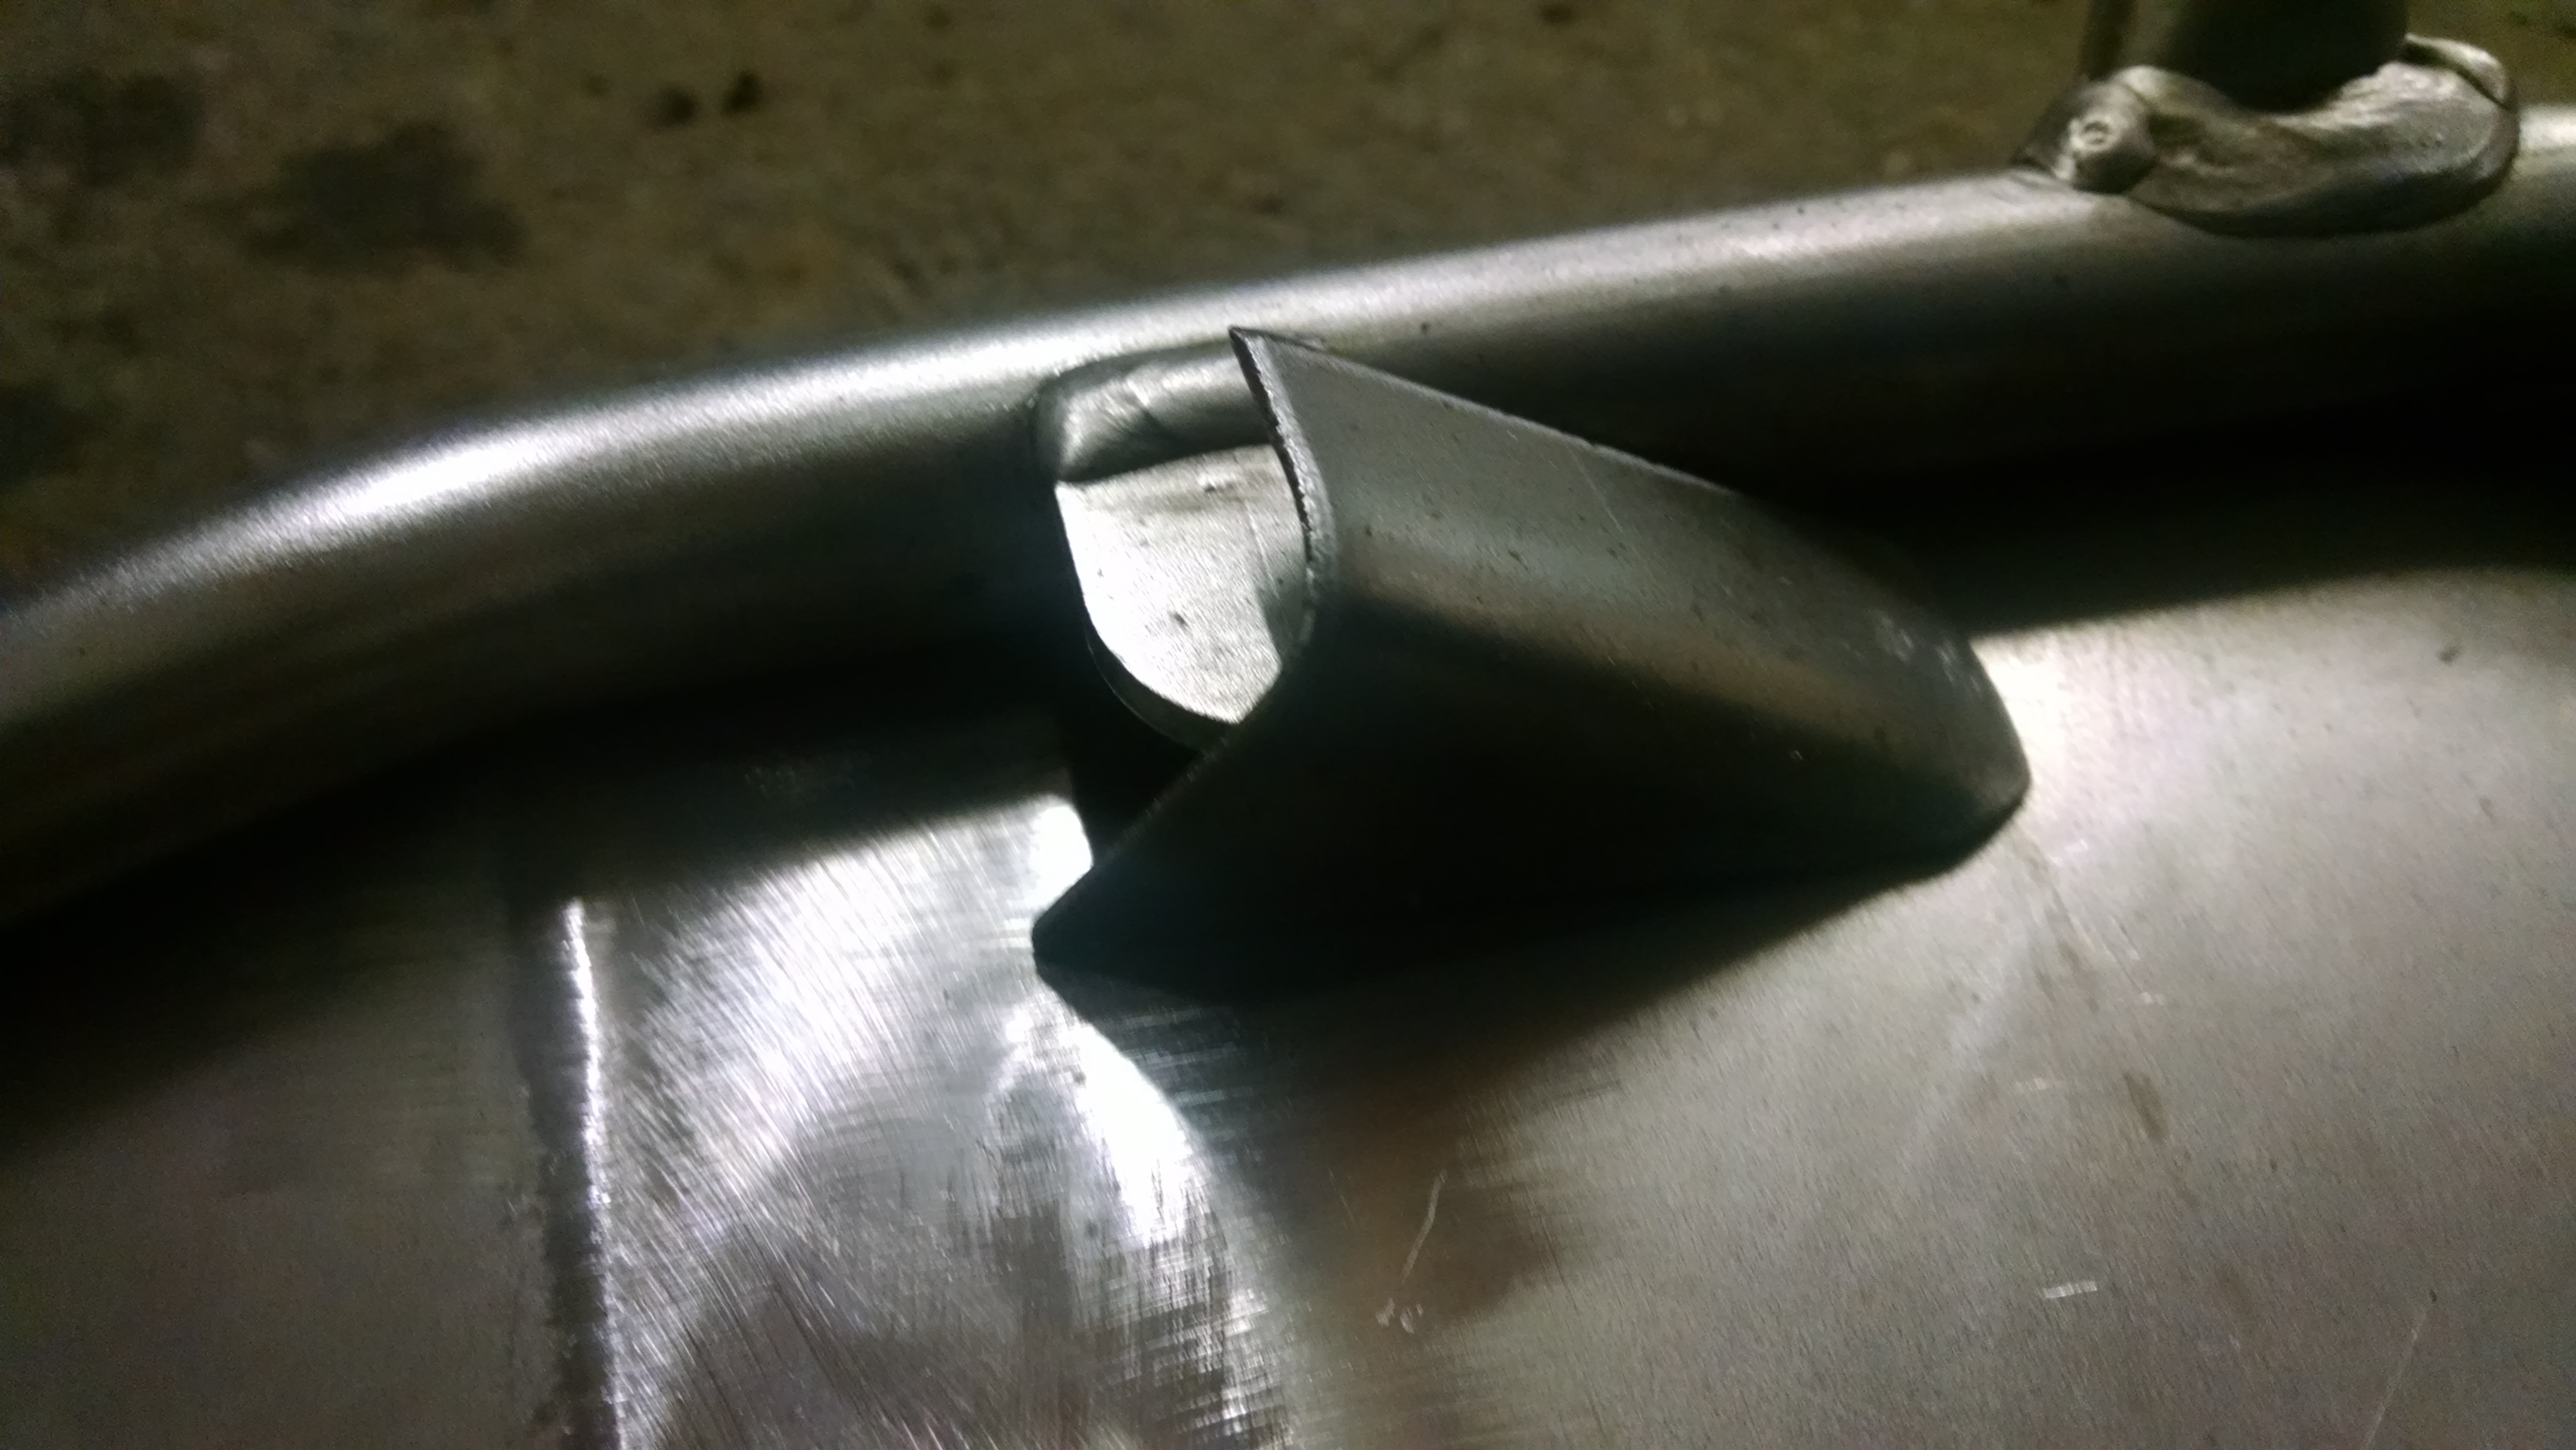
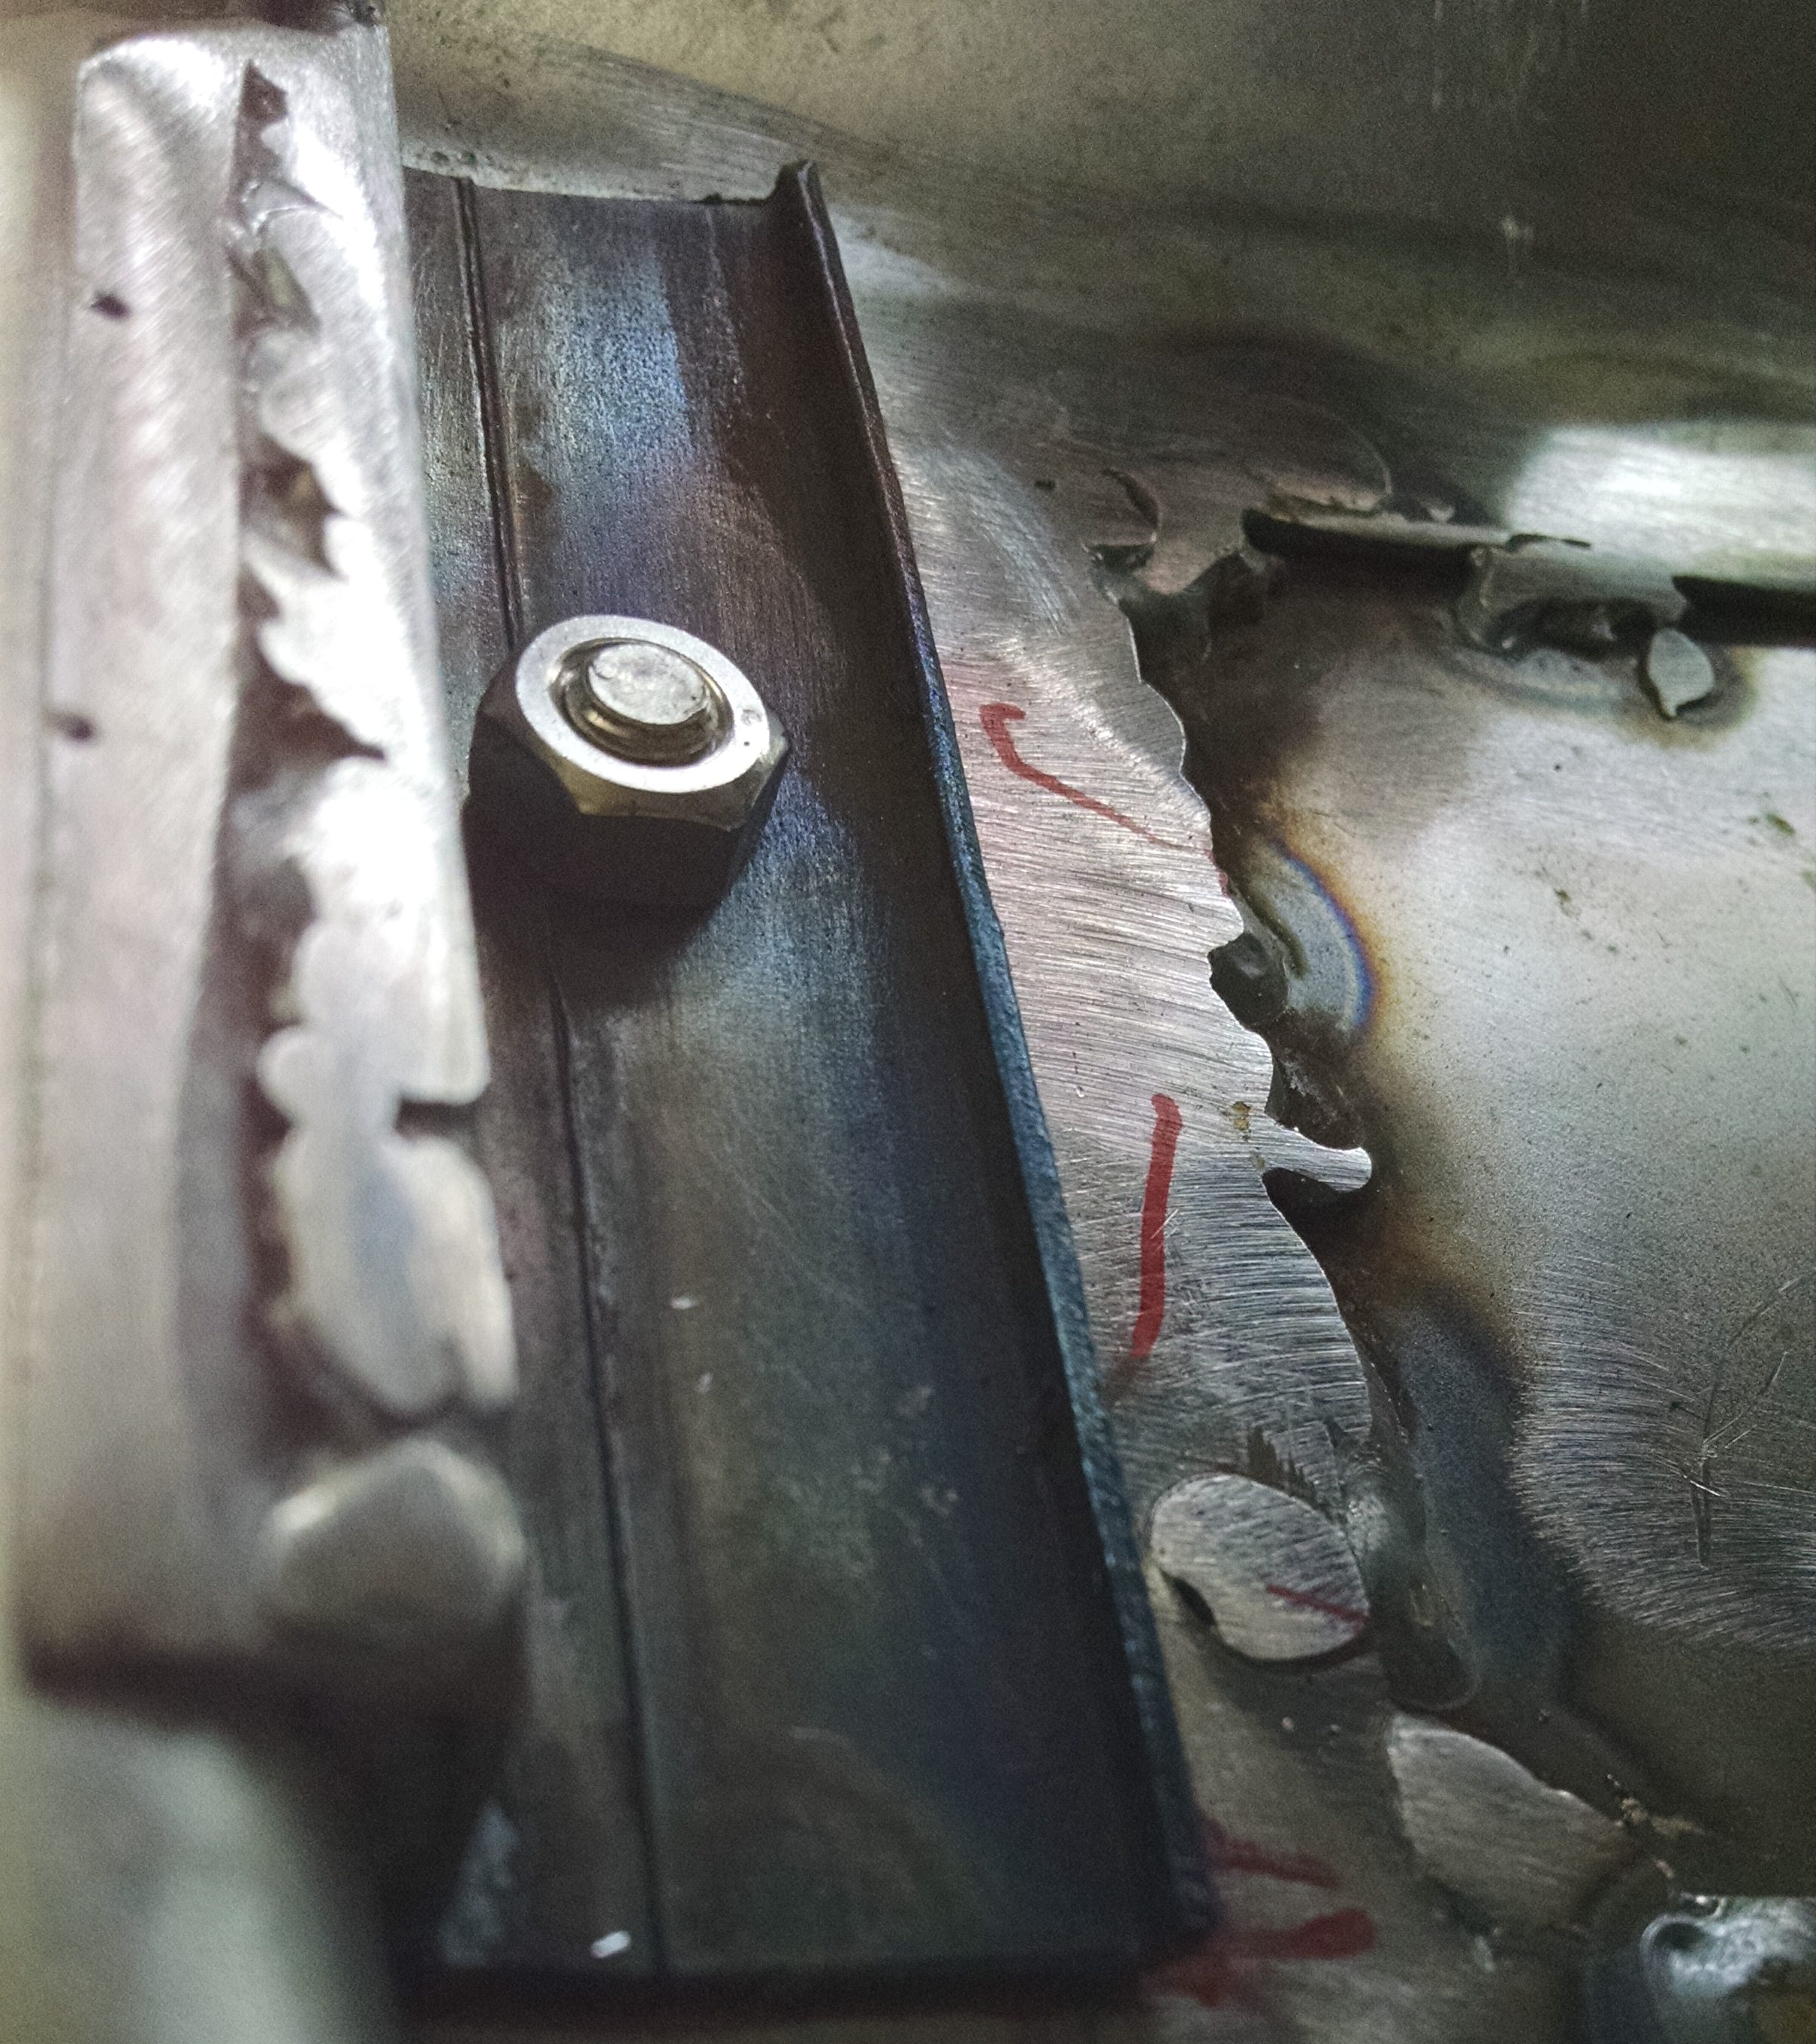
I had already done some of the work when I installed my relay and fuse block. Here is a picture of the GPS connector (the black plug at bottom), located on top of the battery.
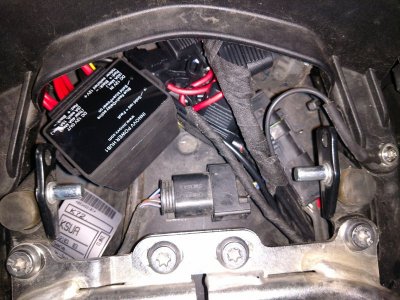
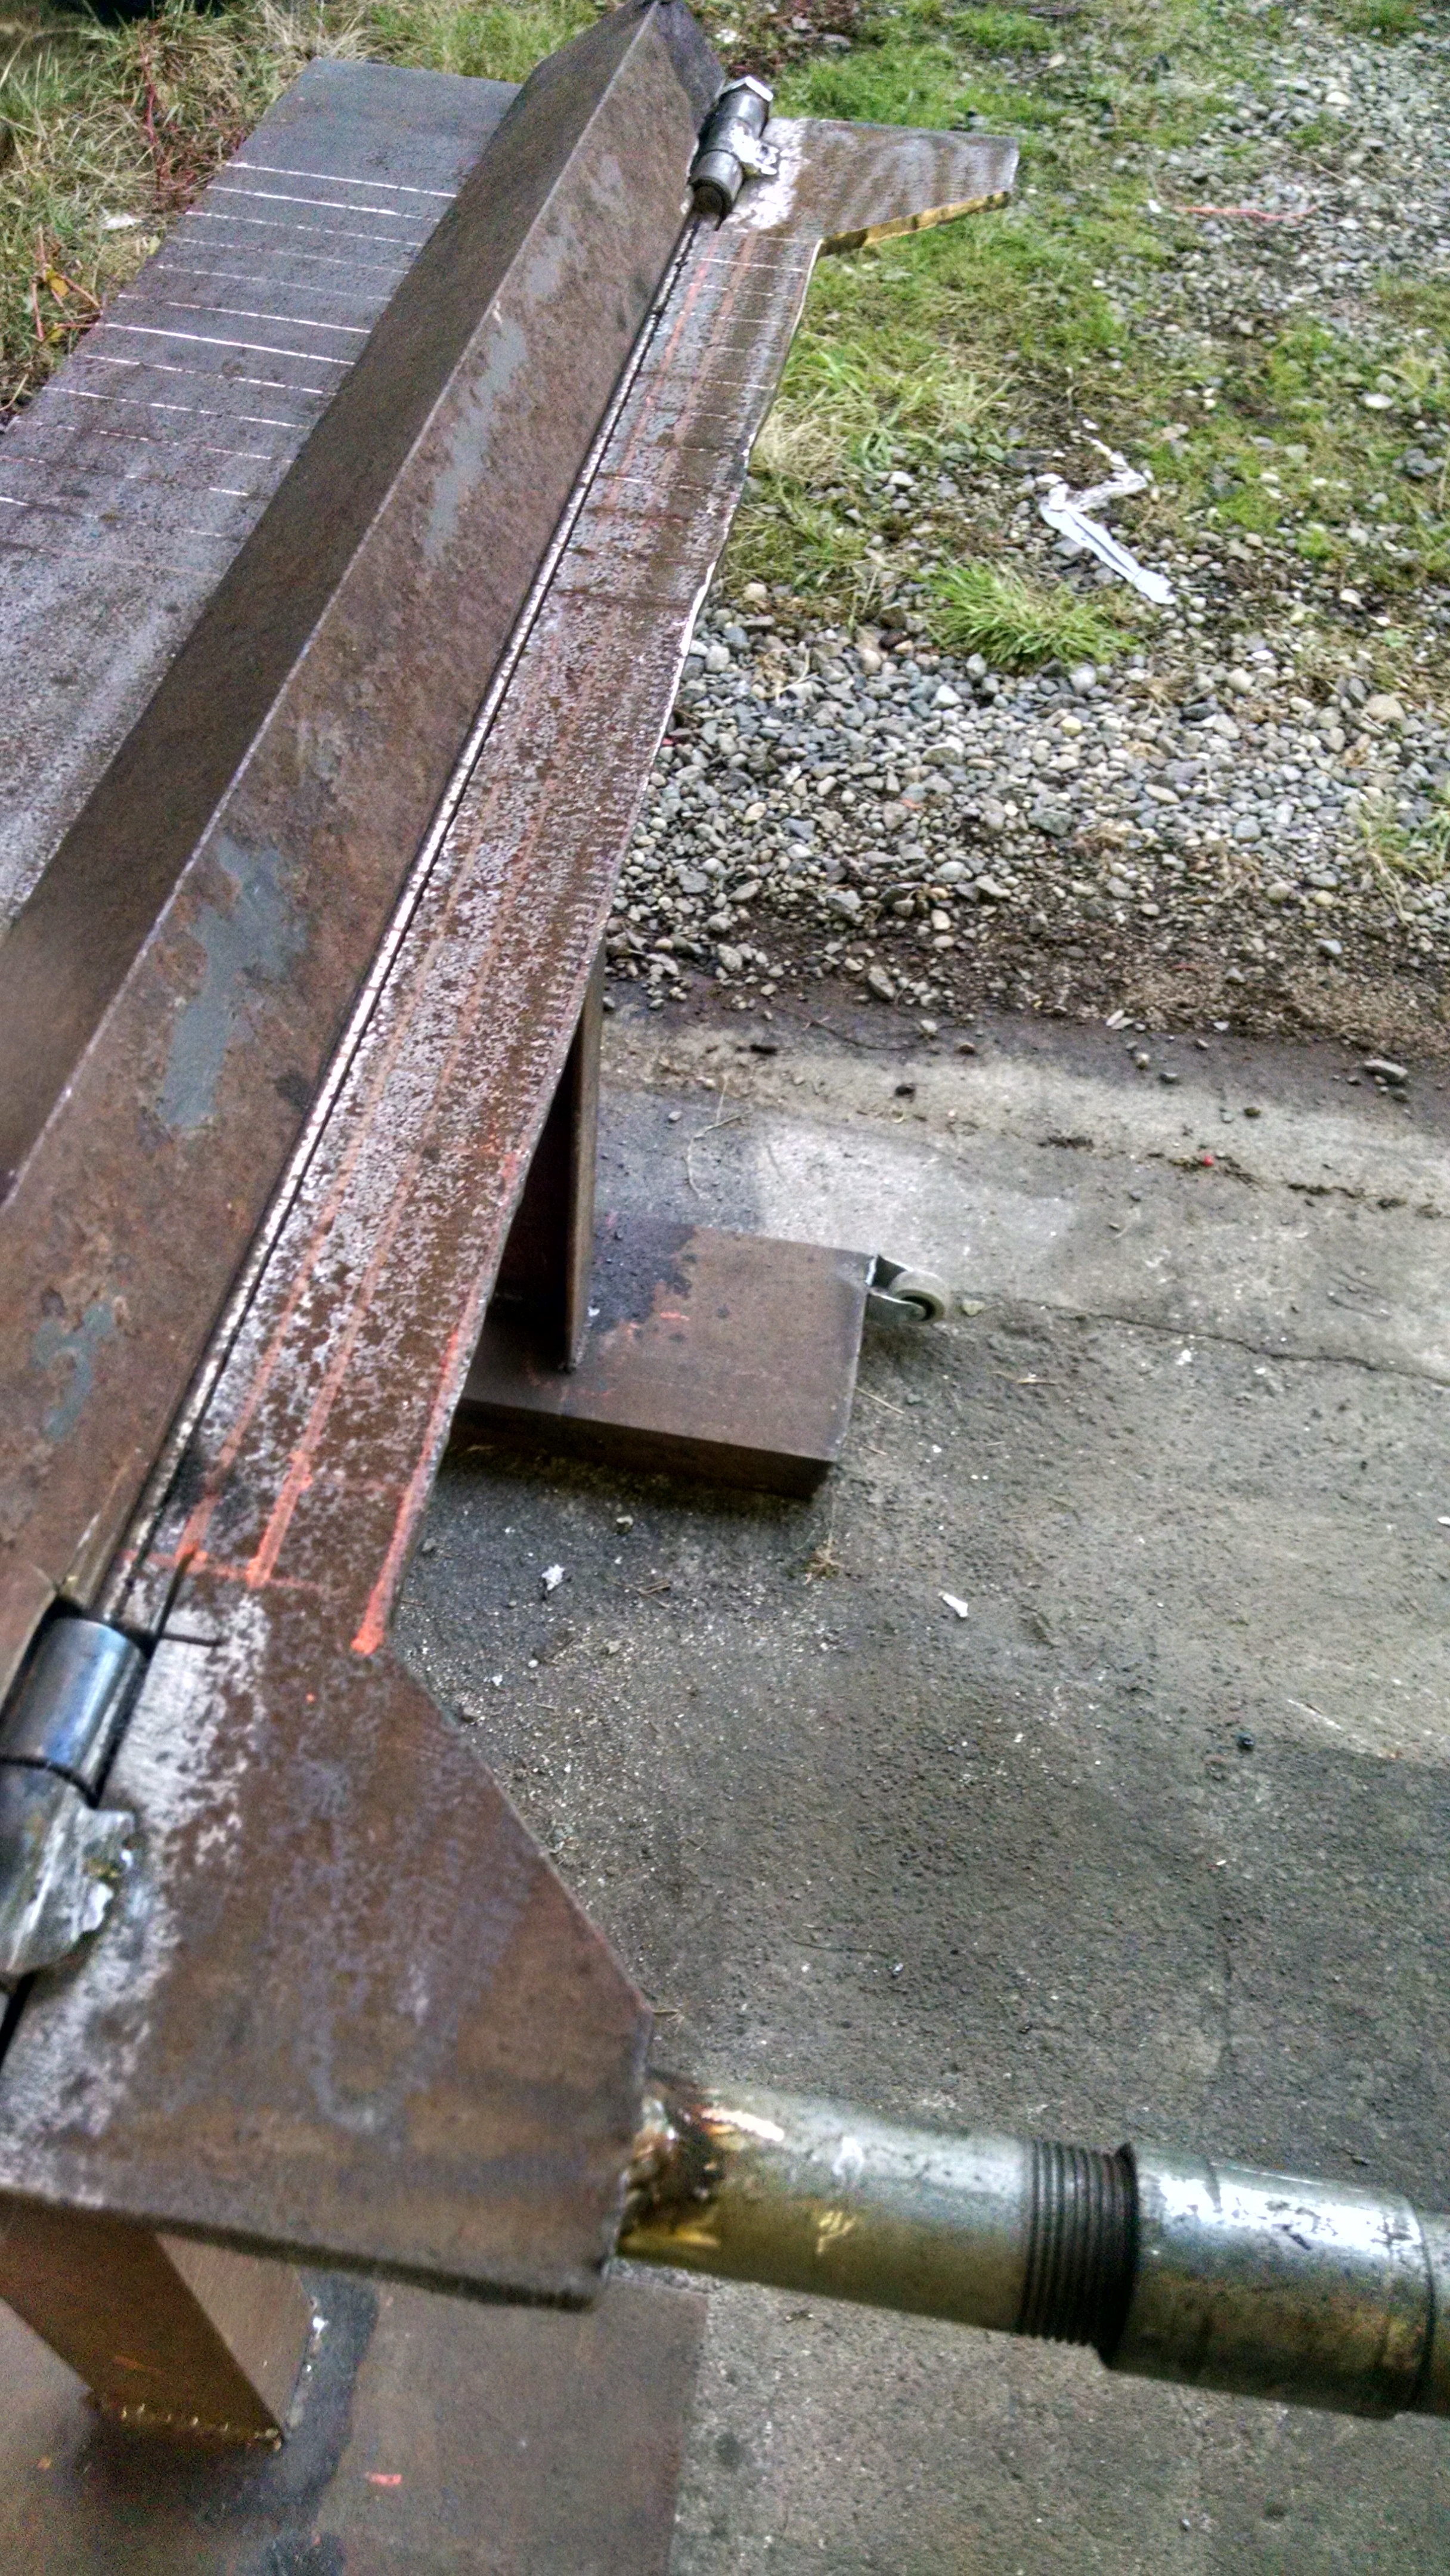
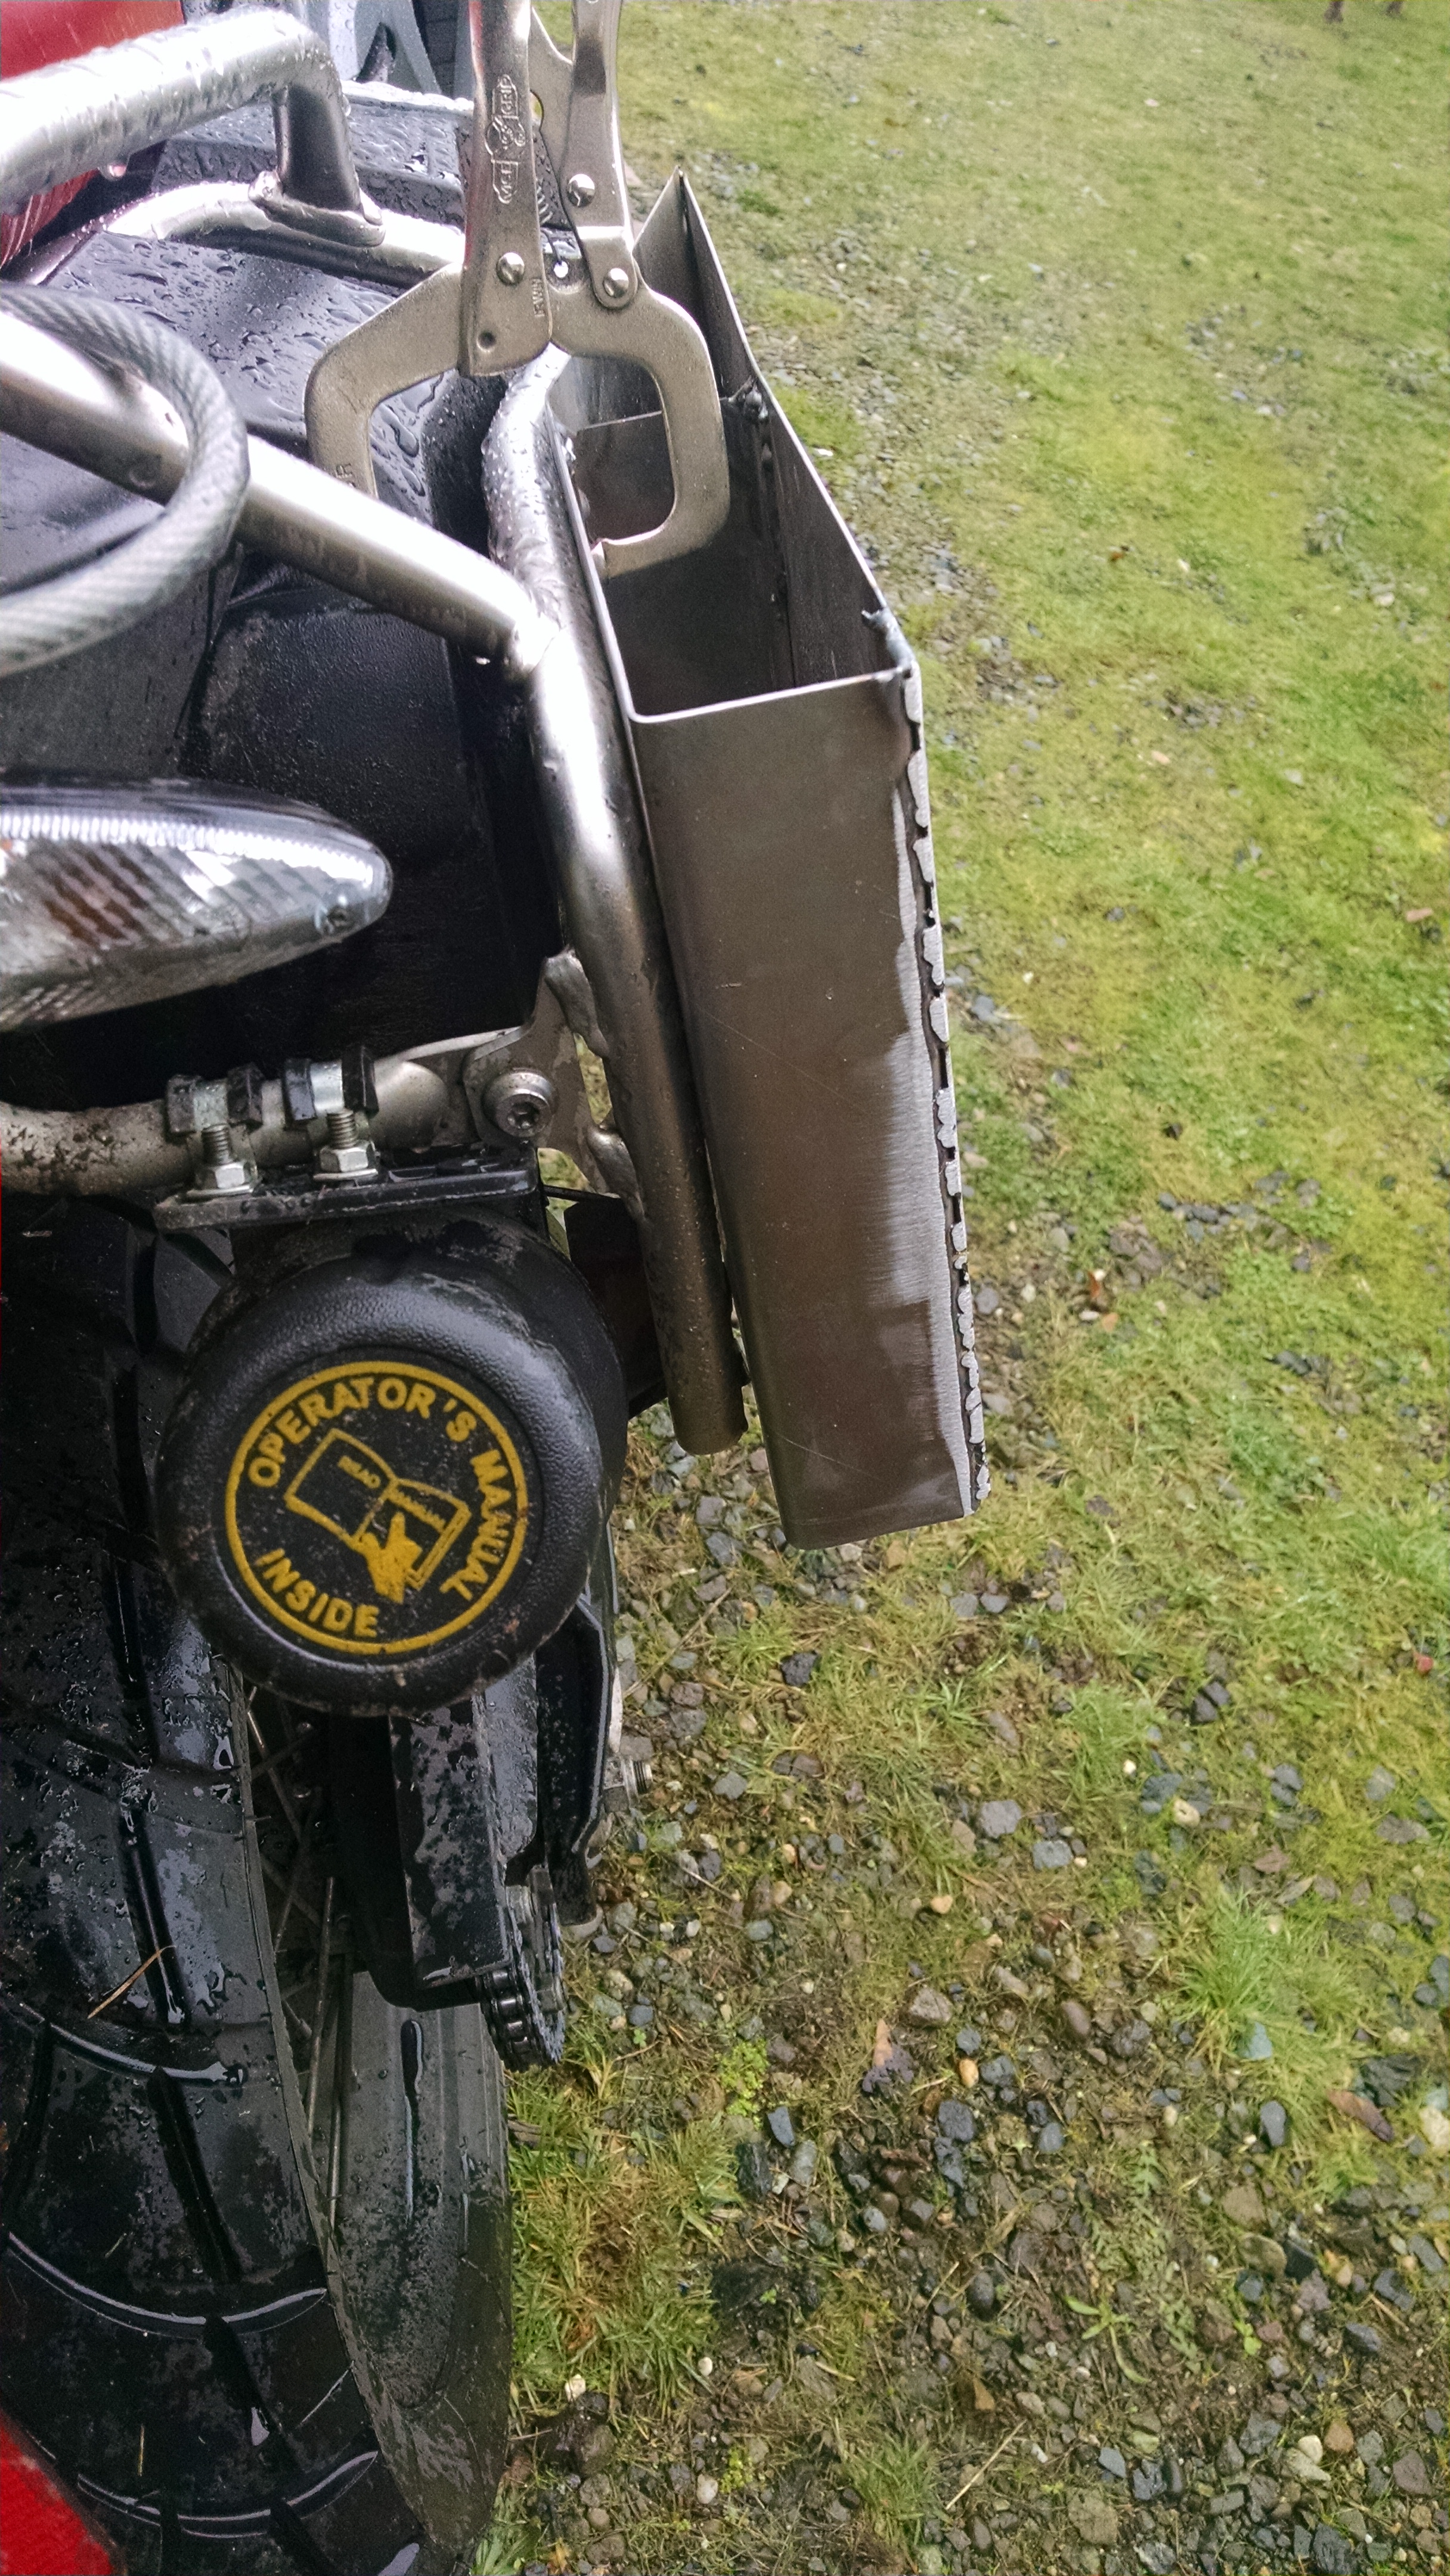
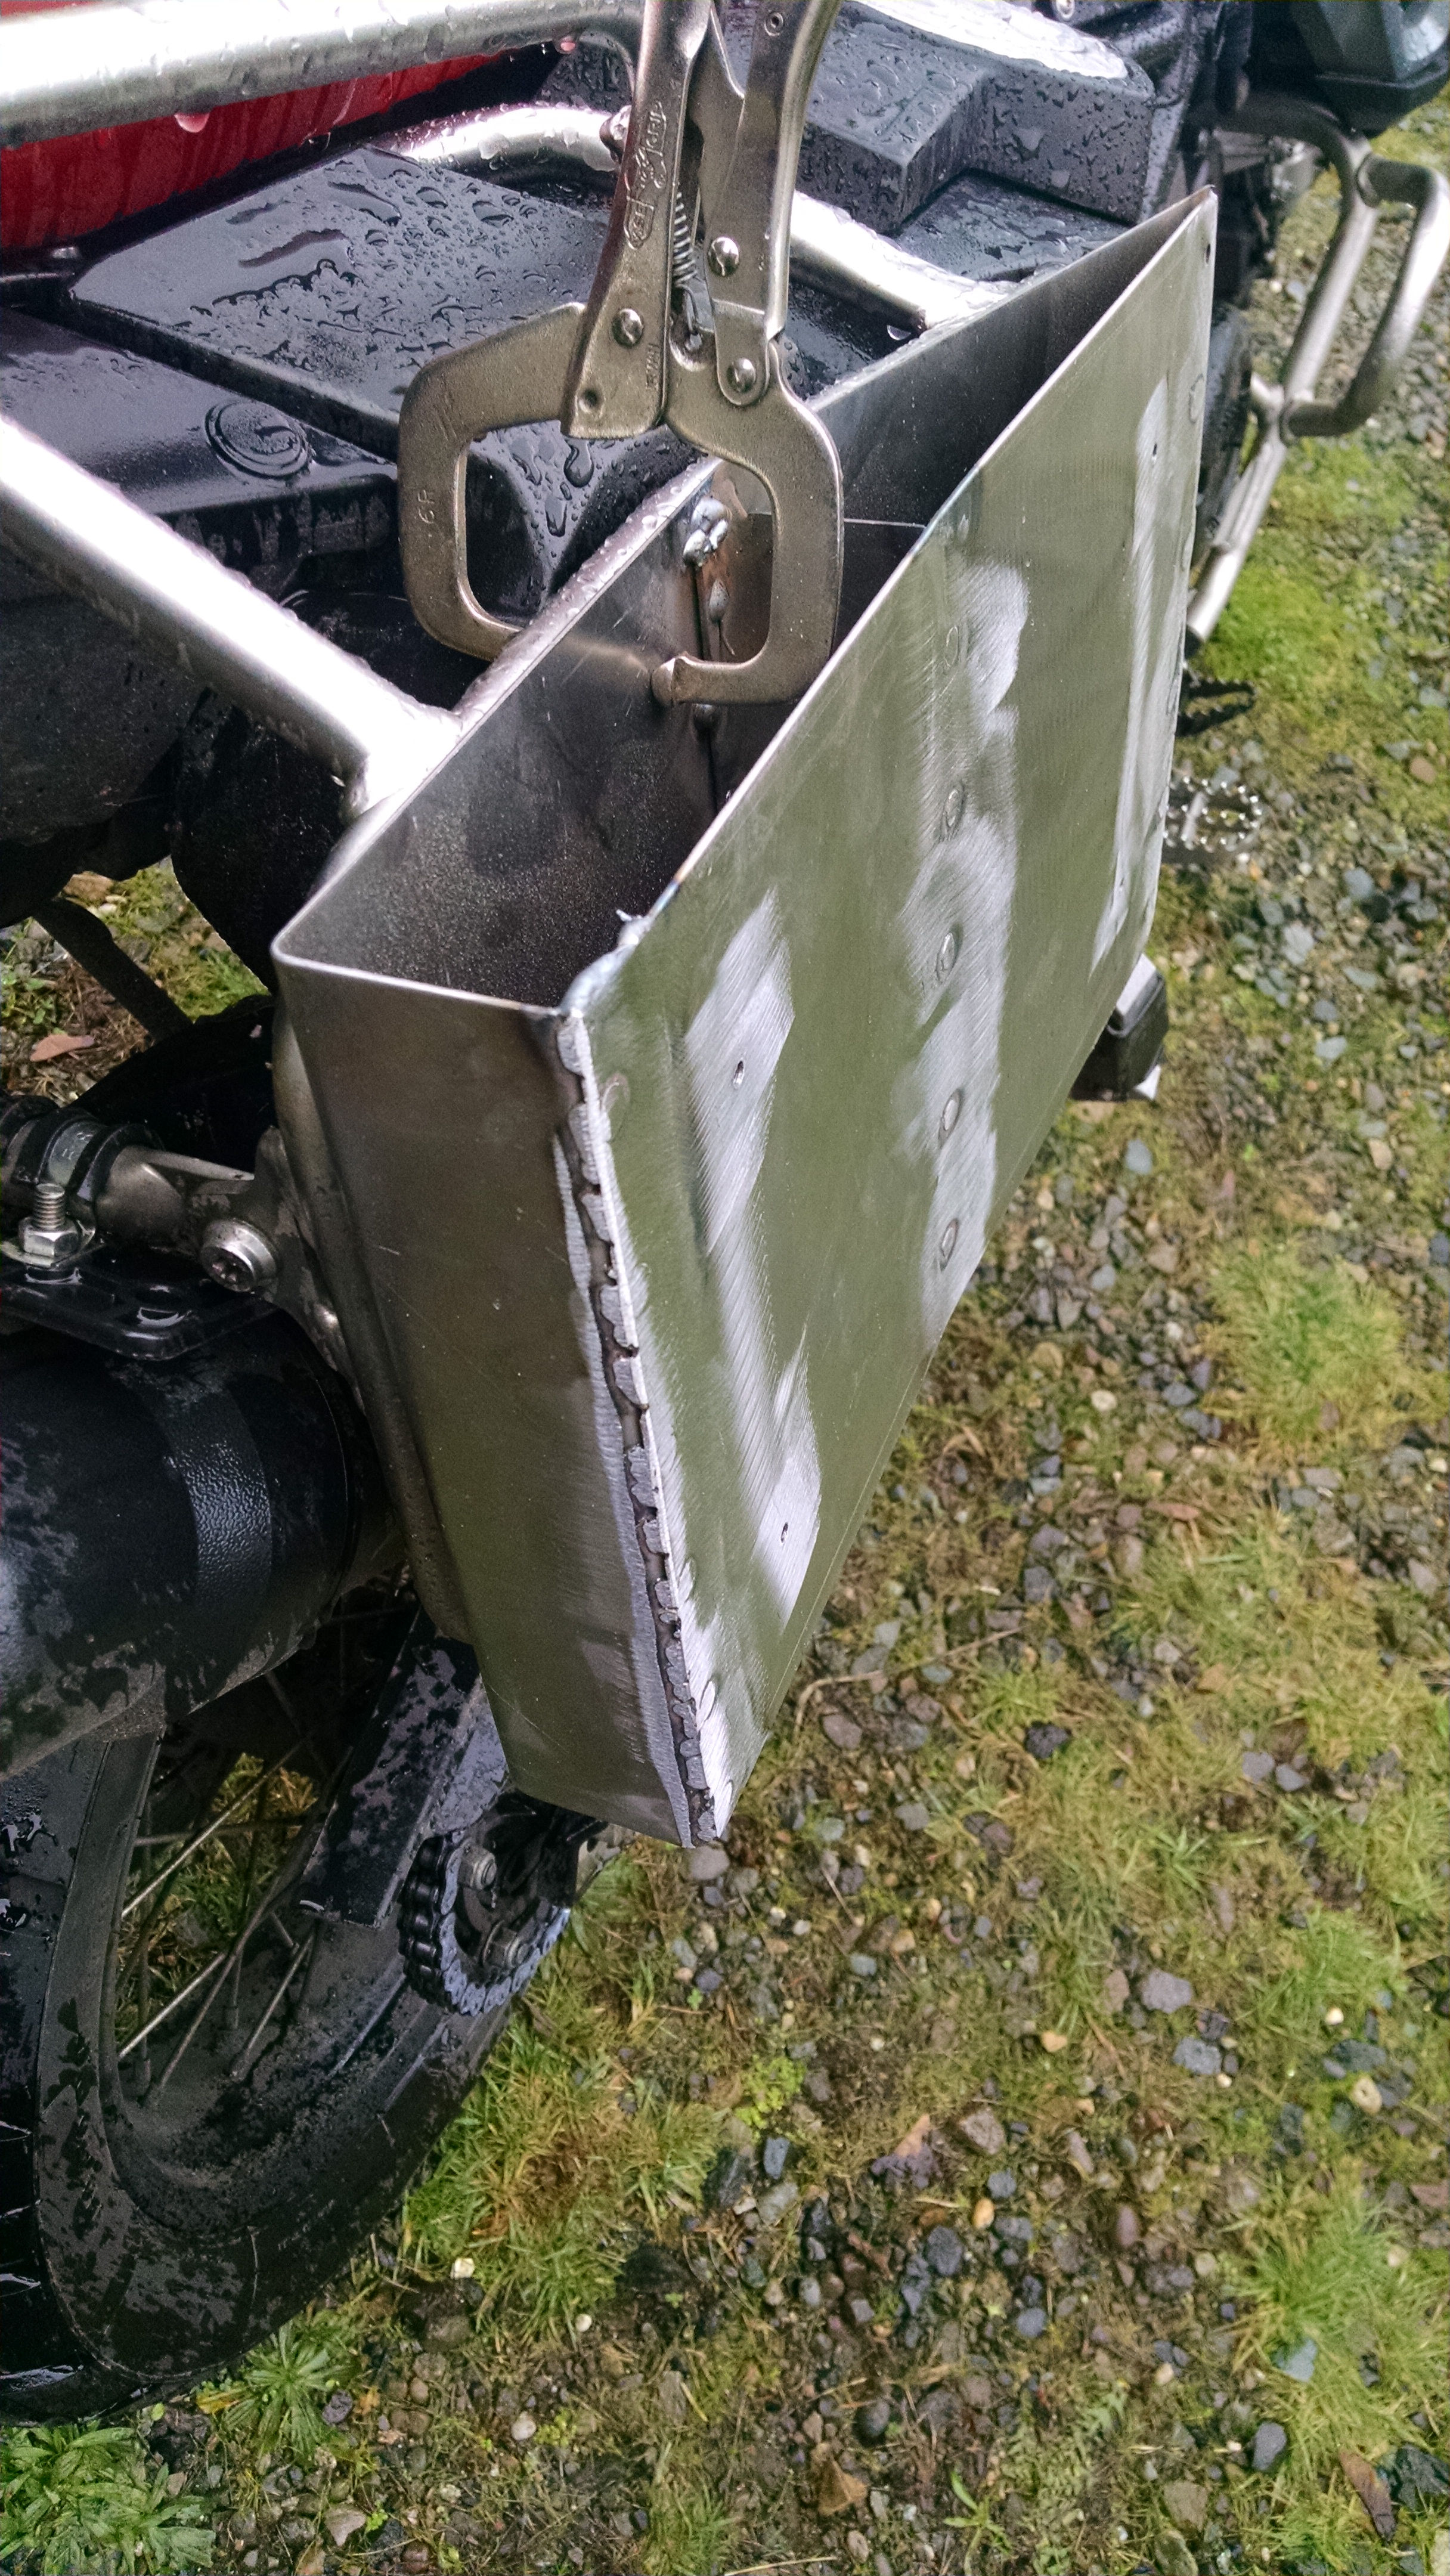
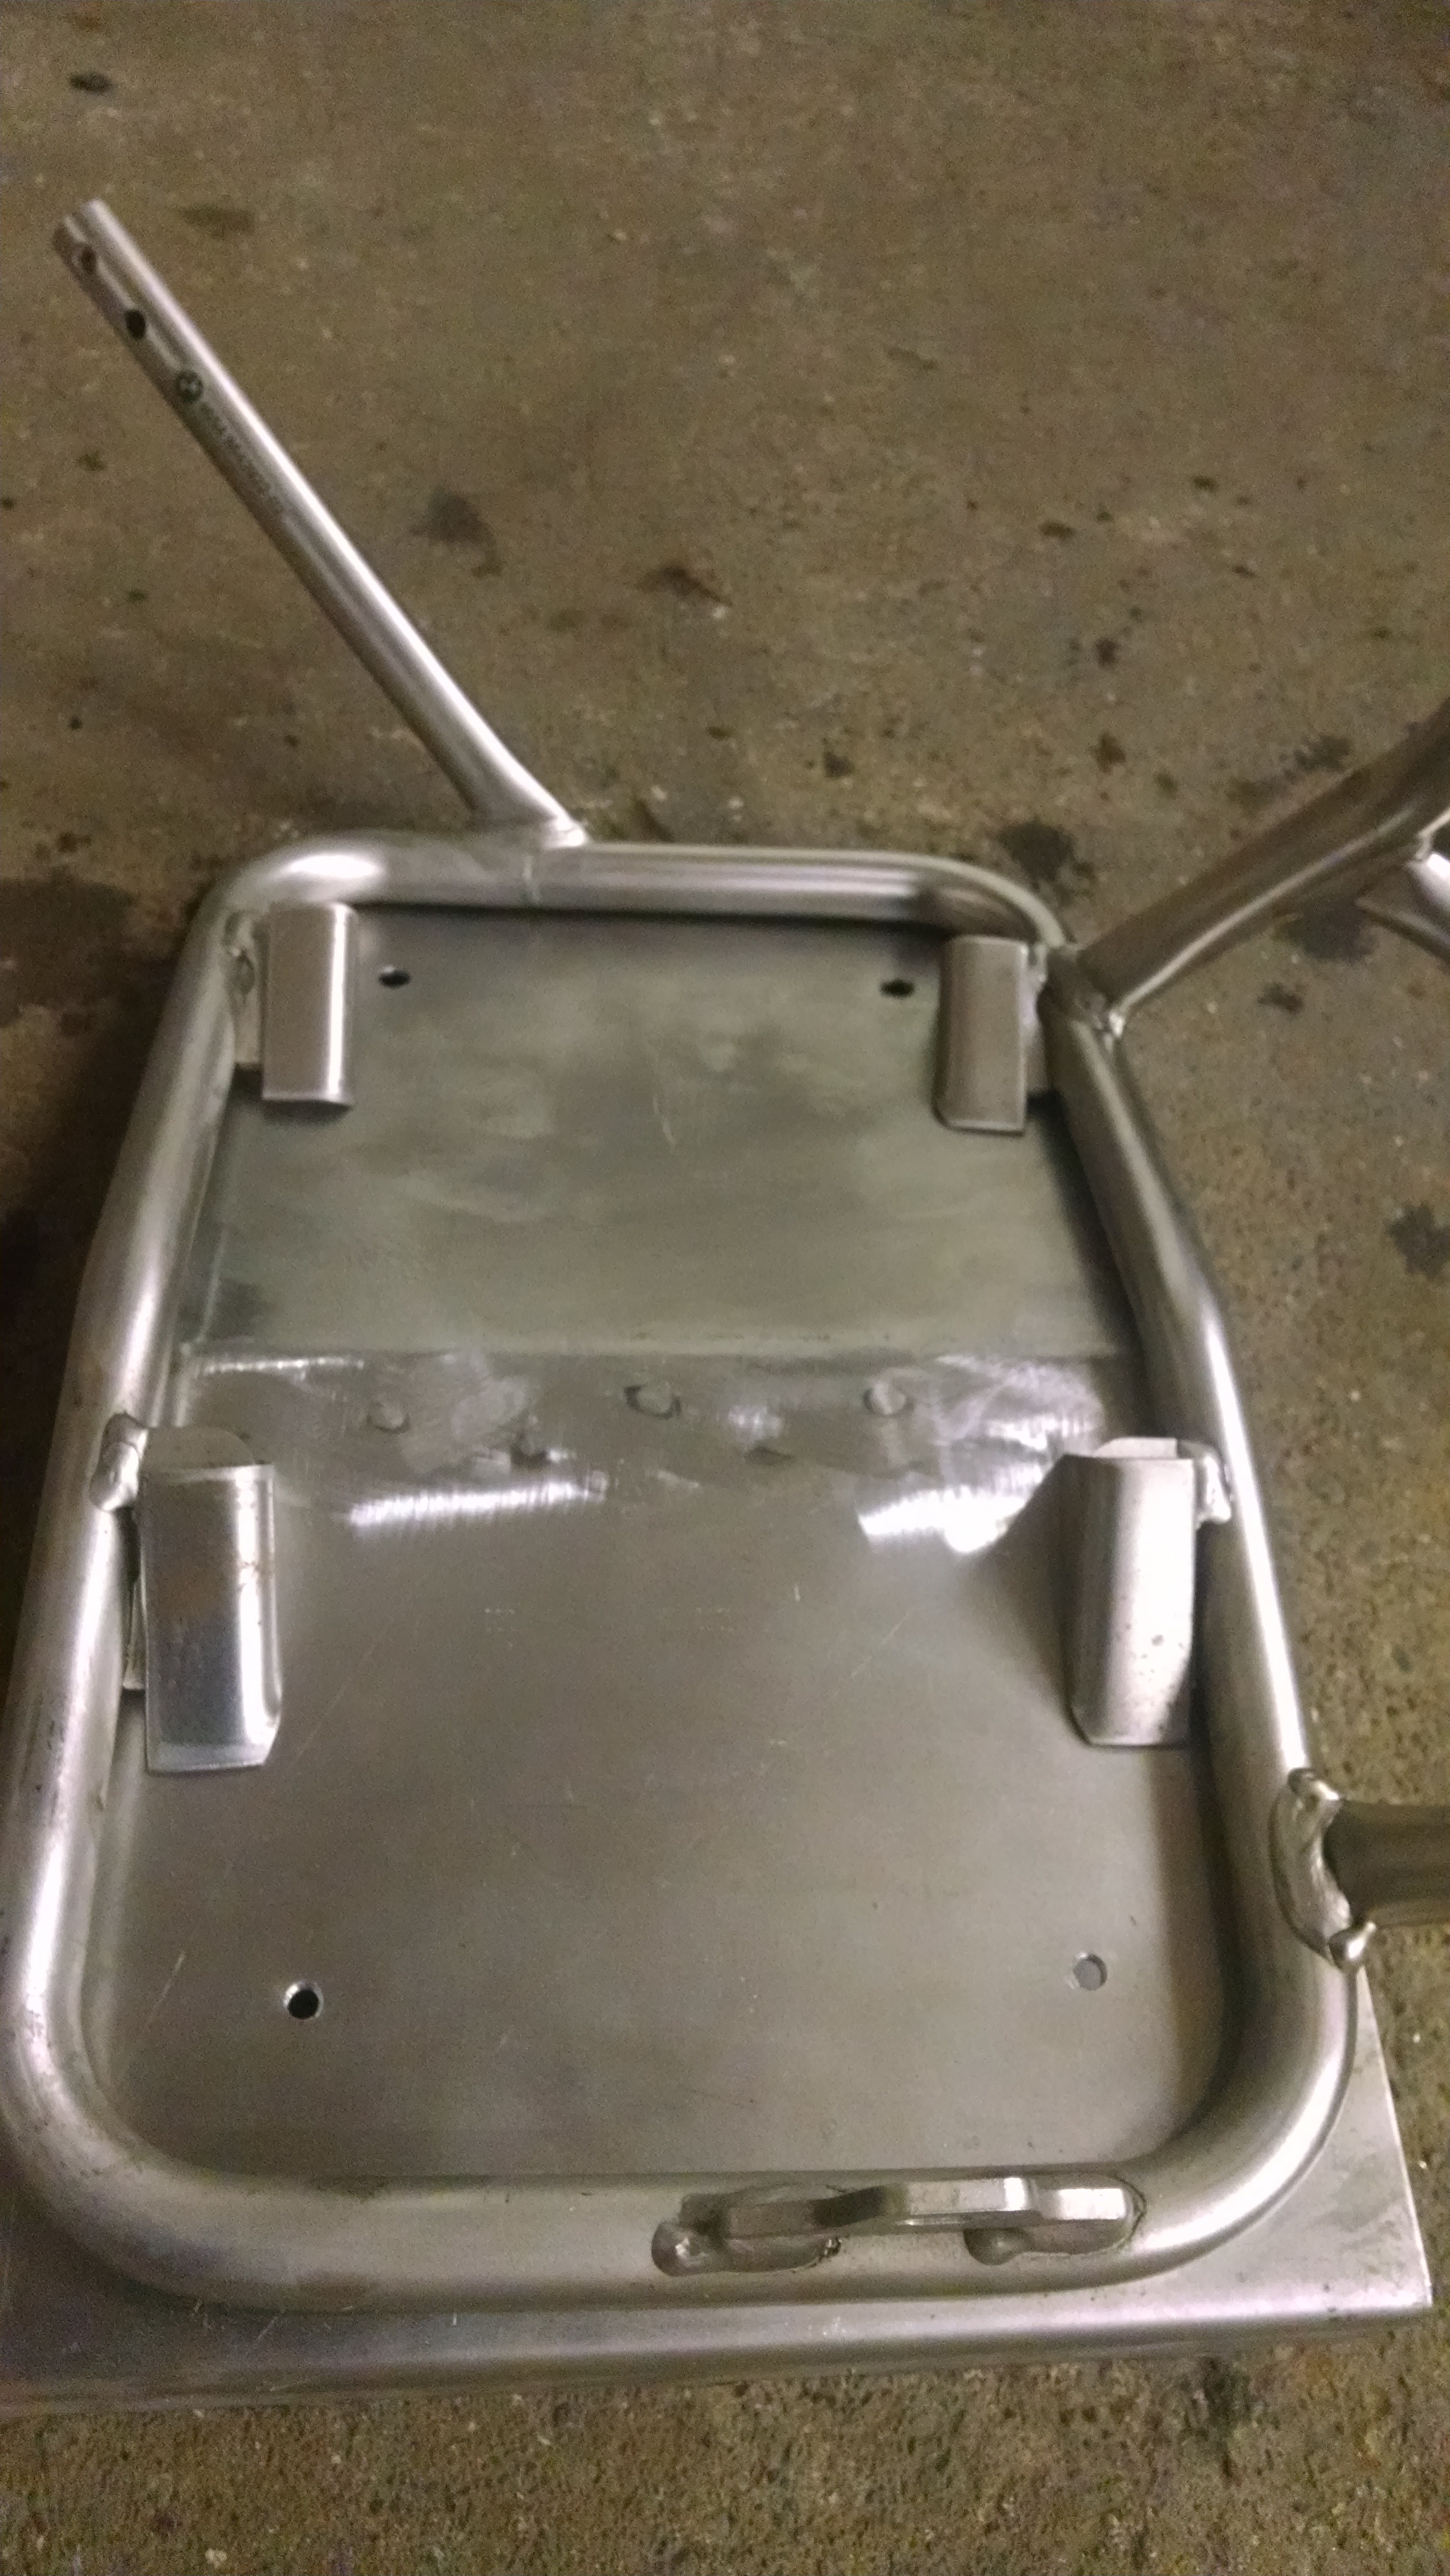
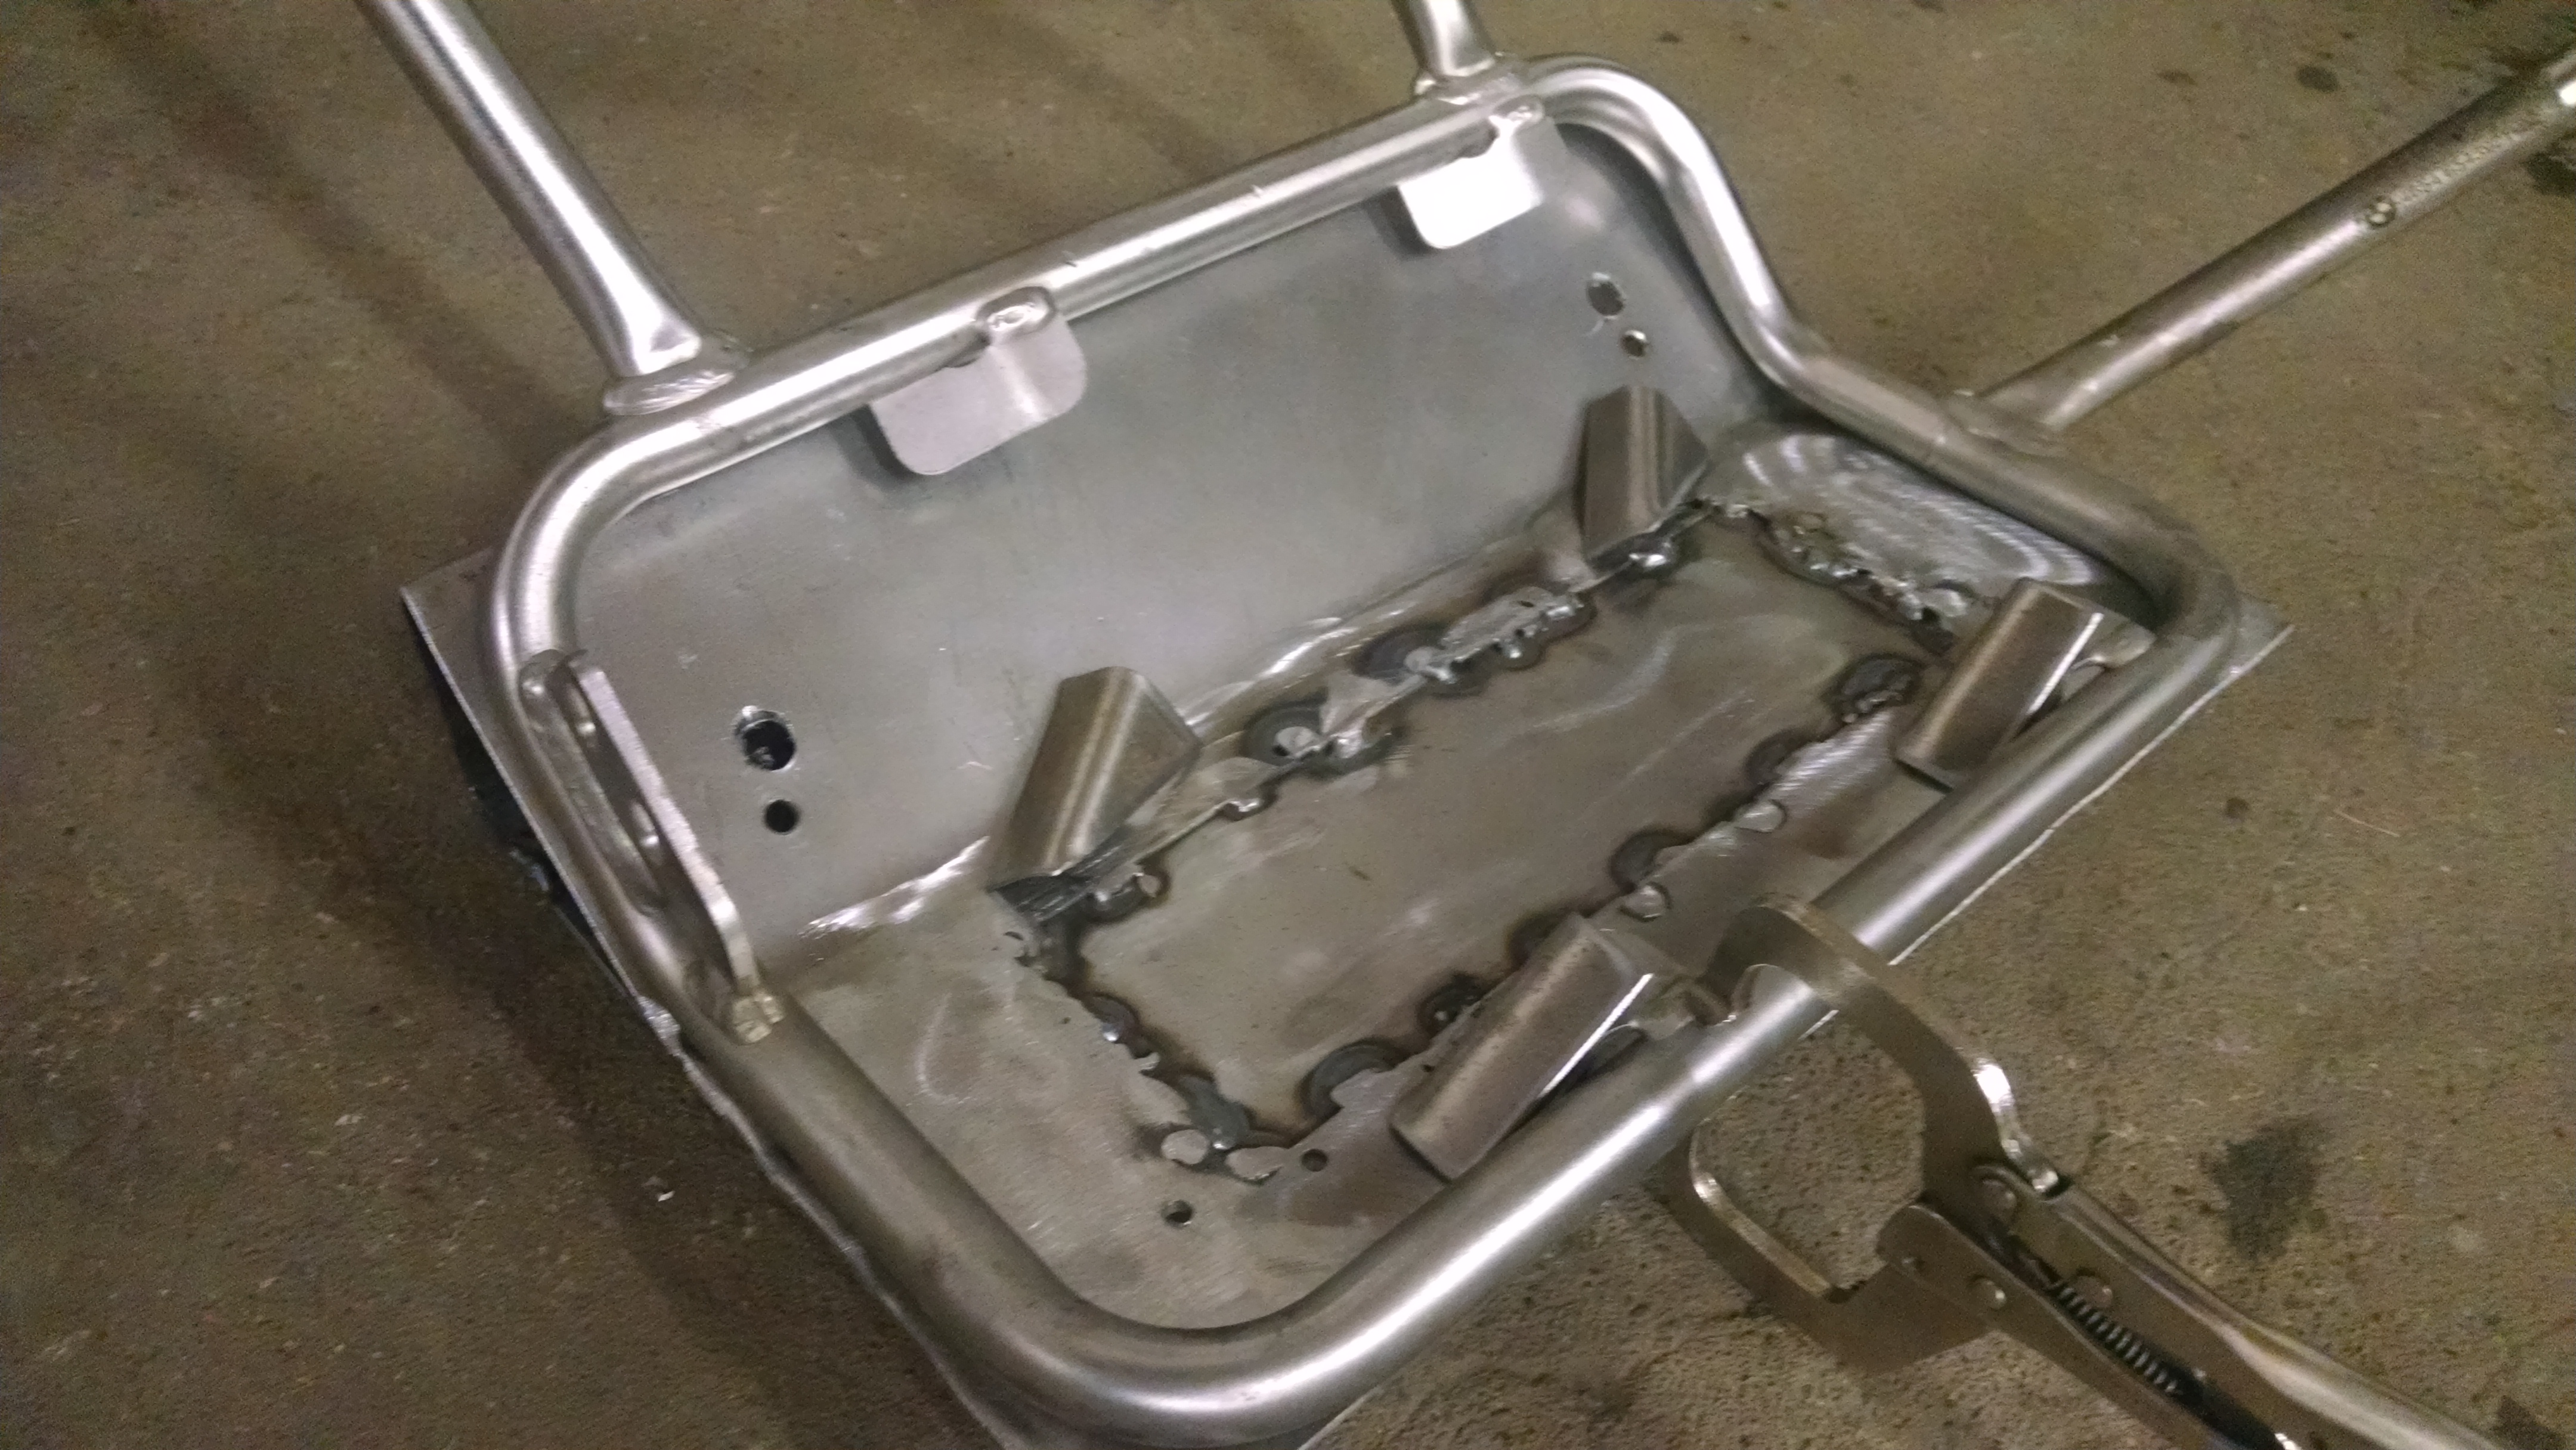
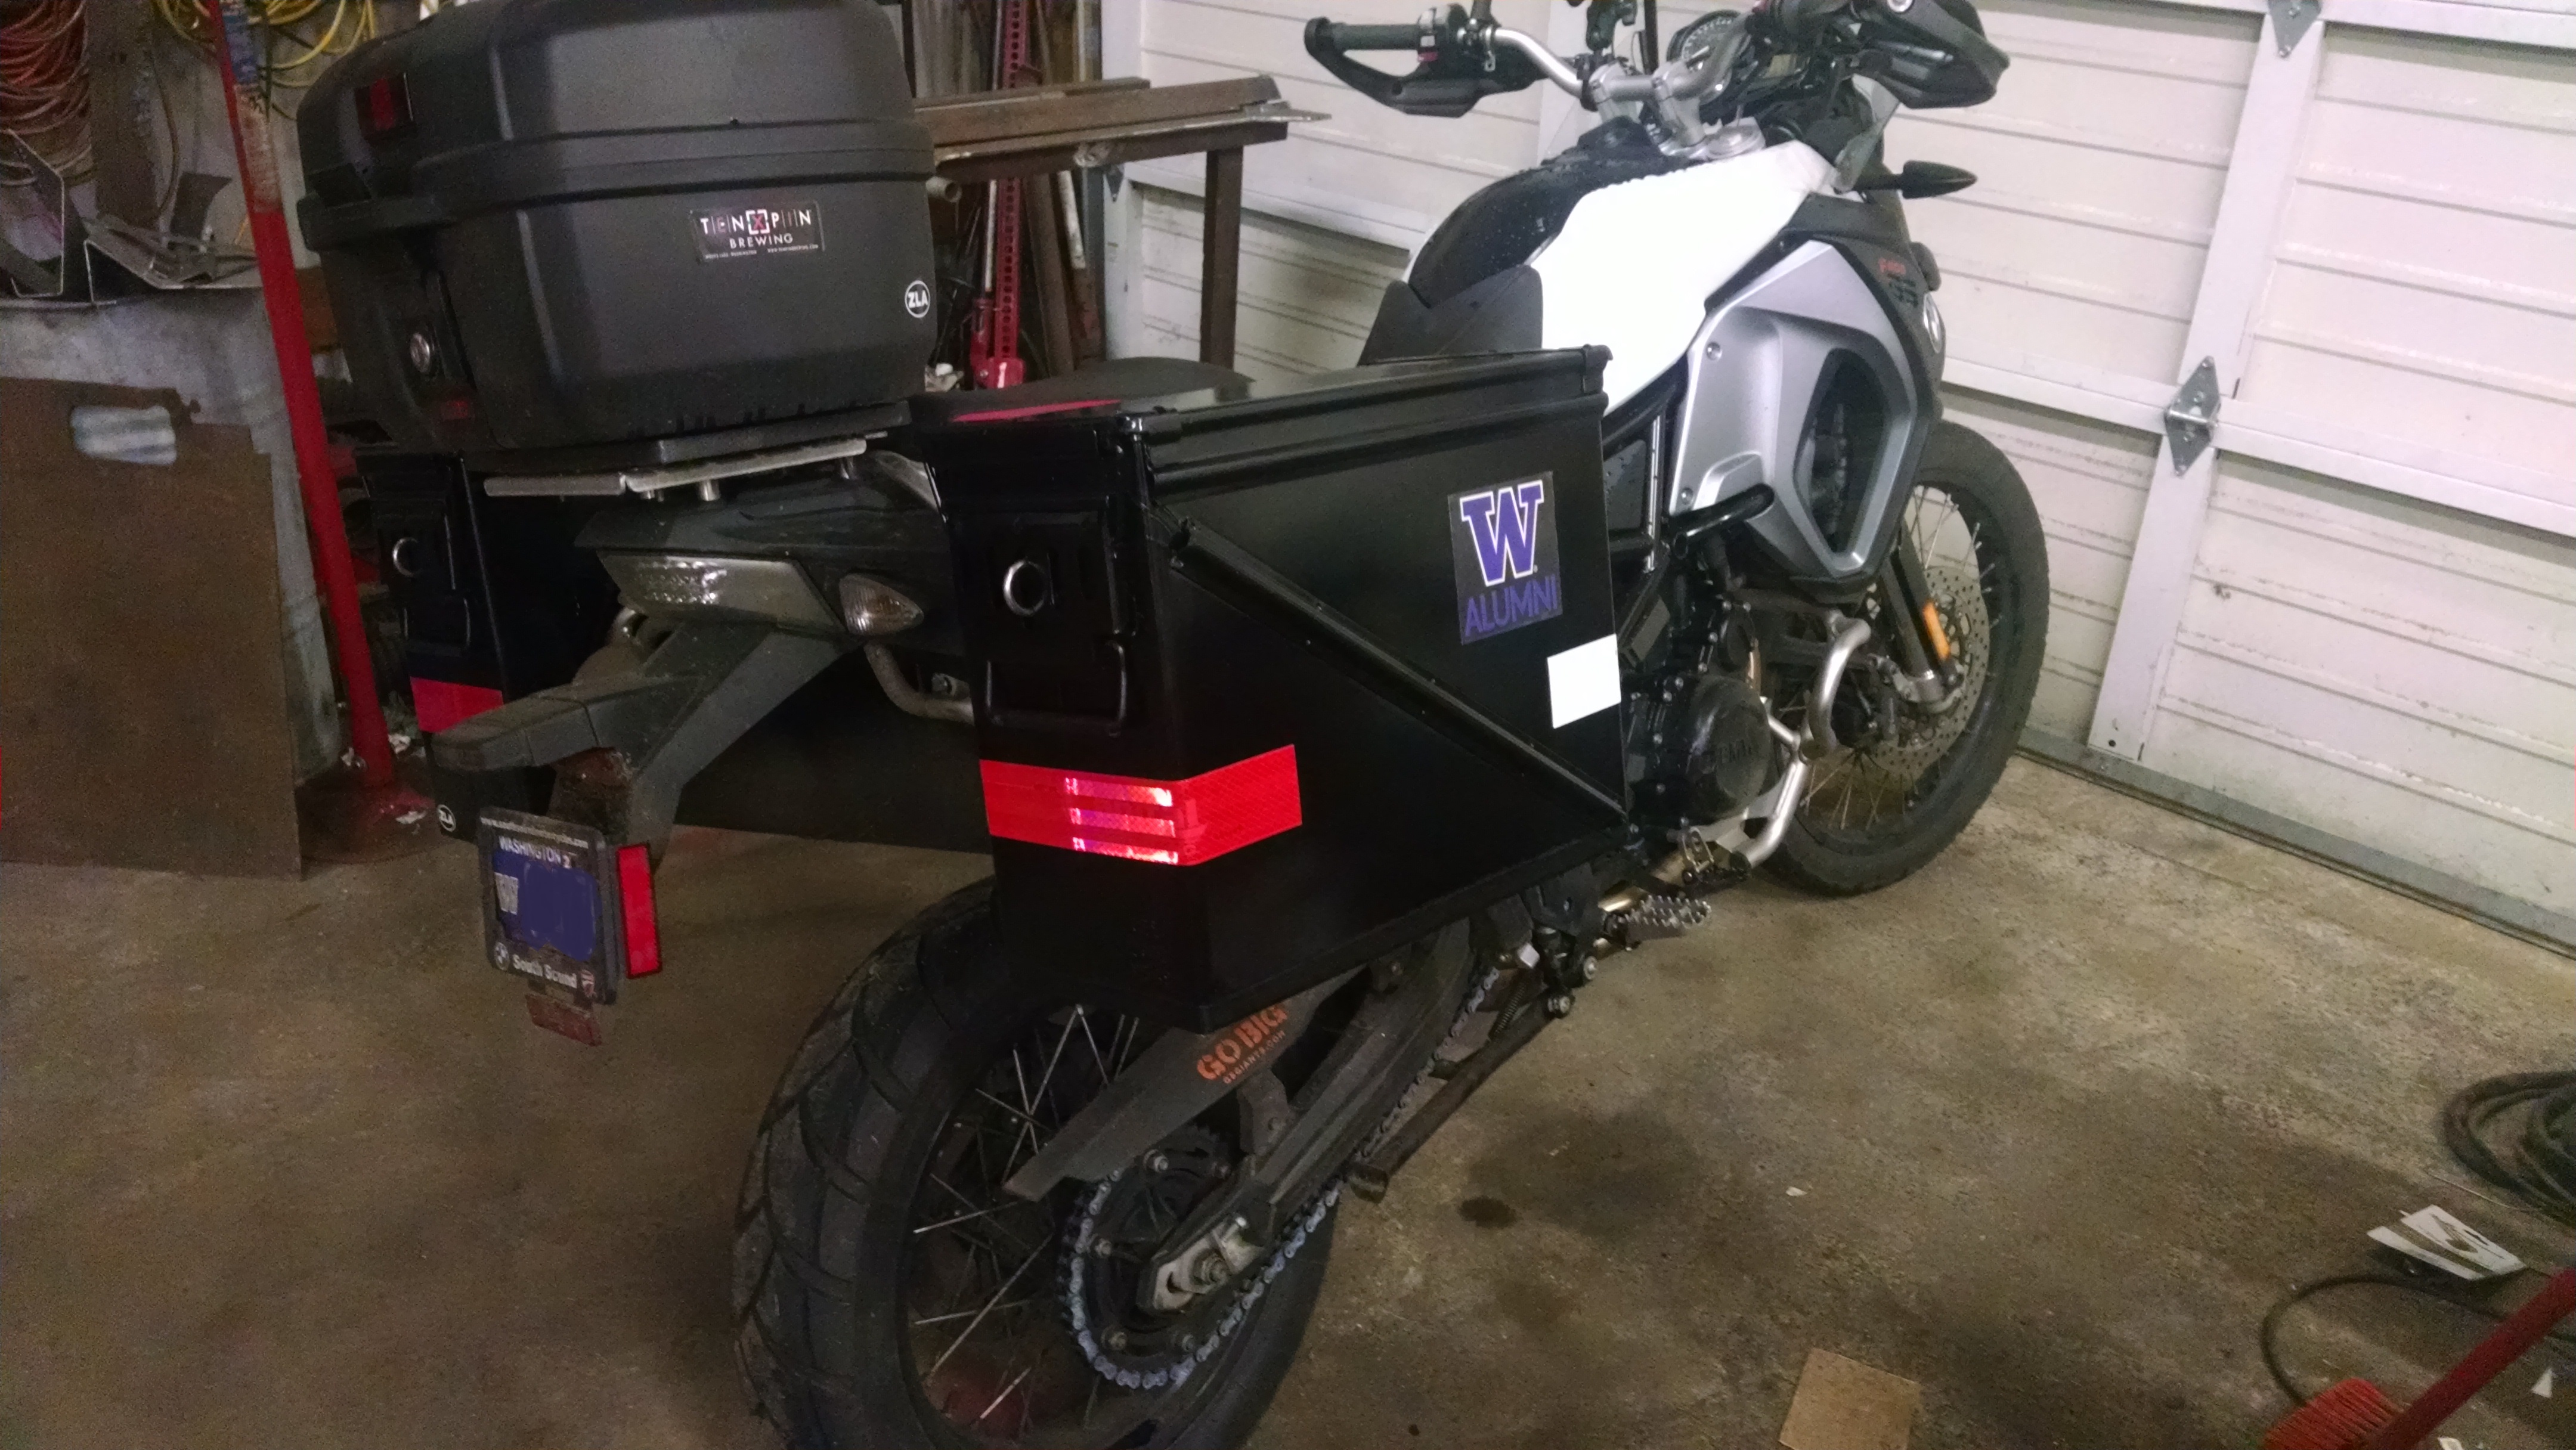
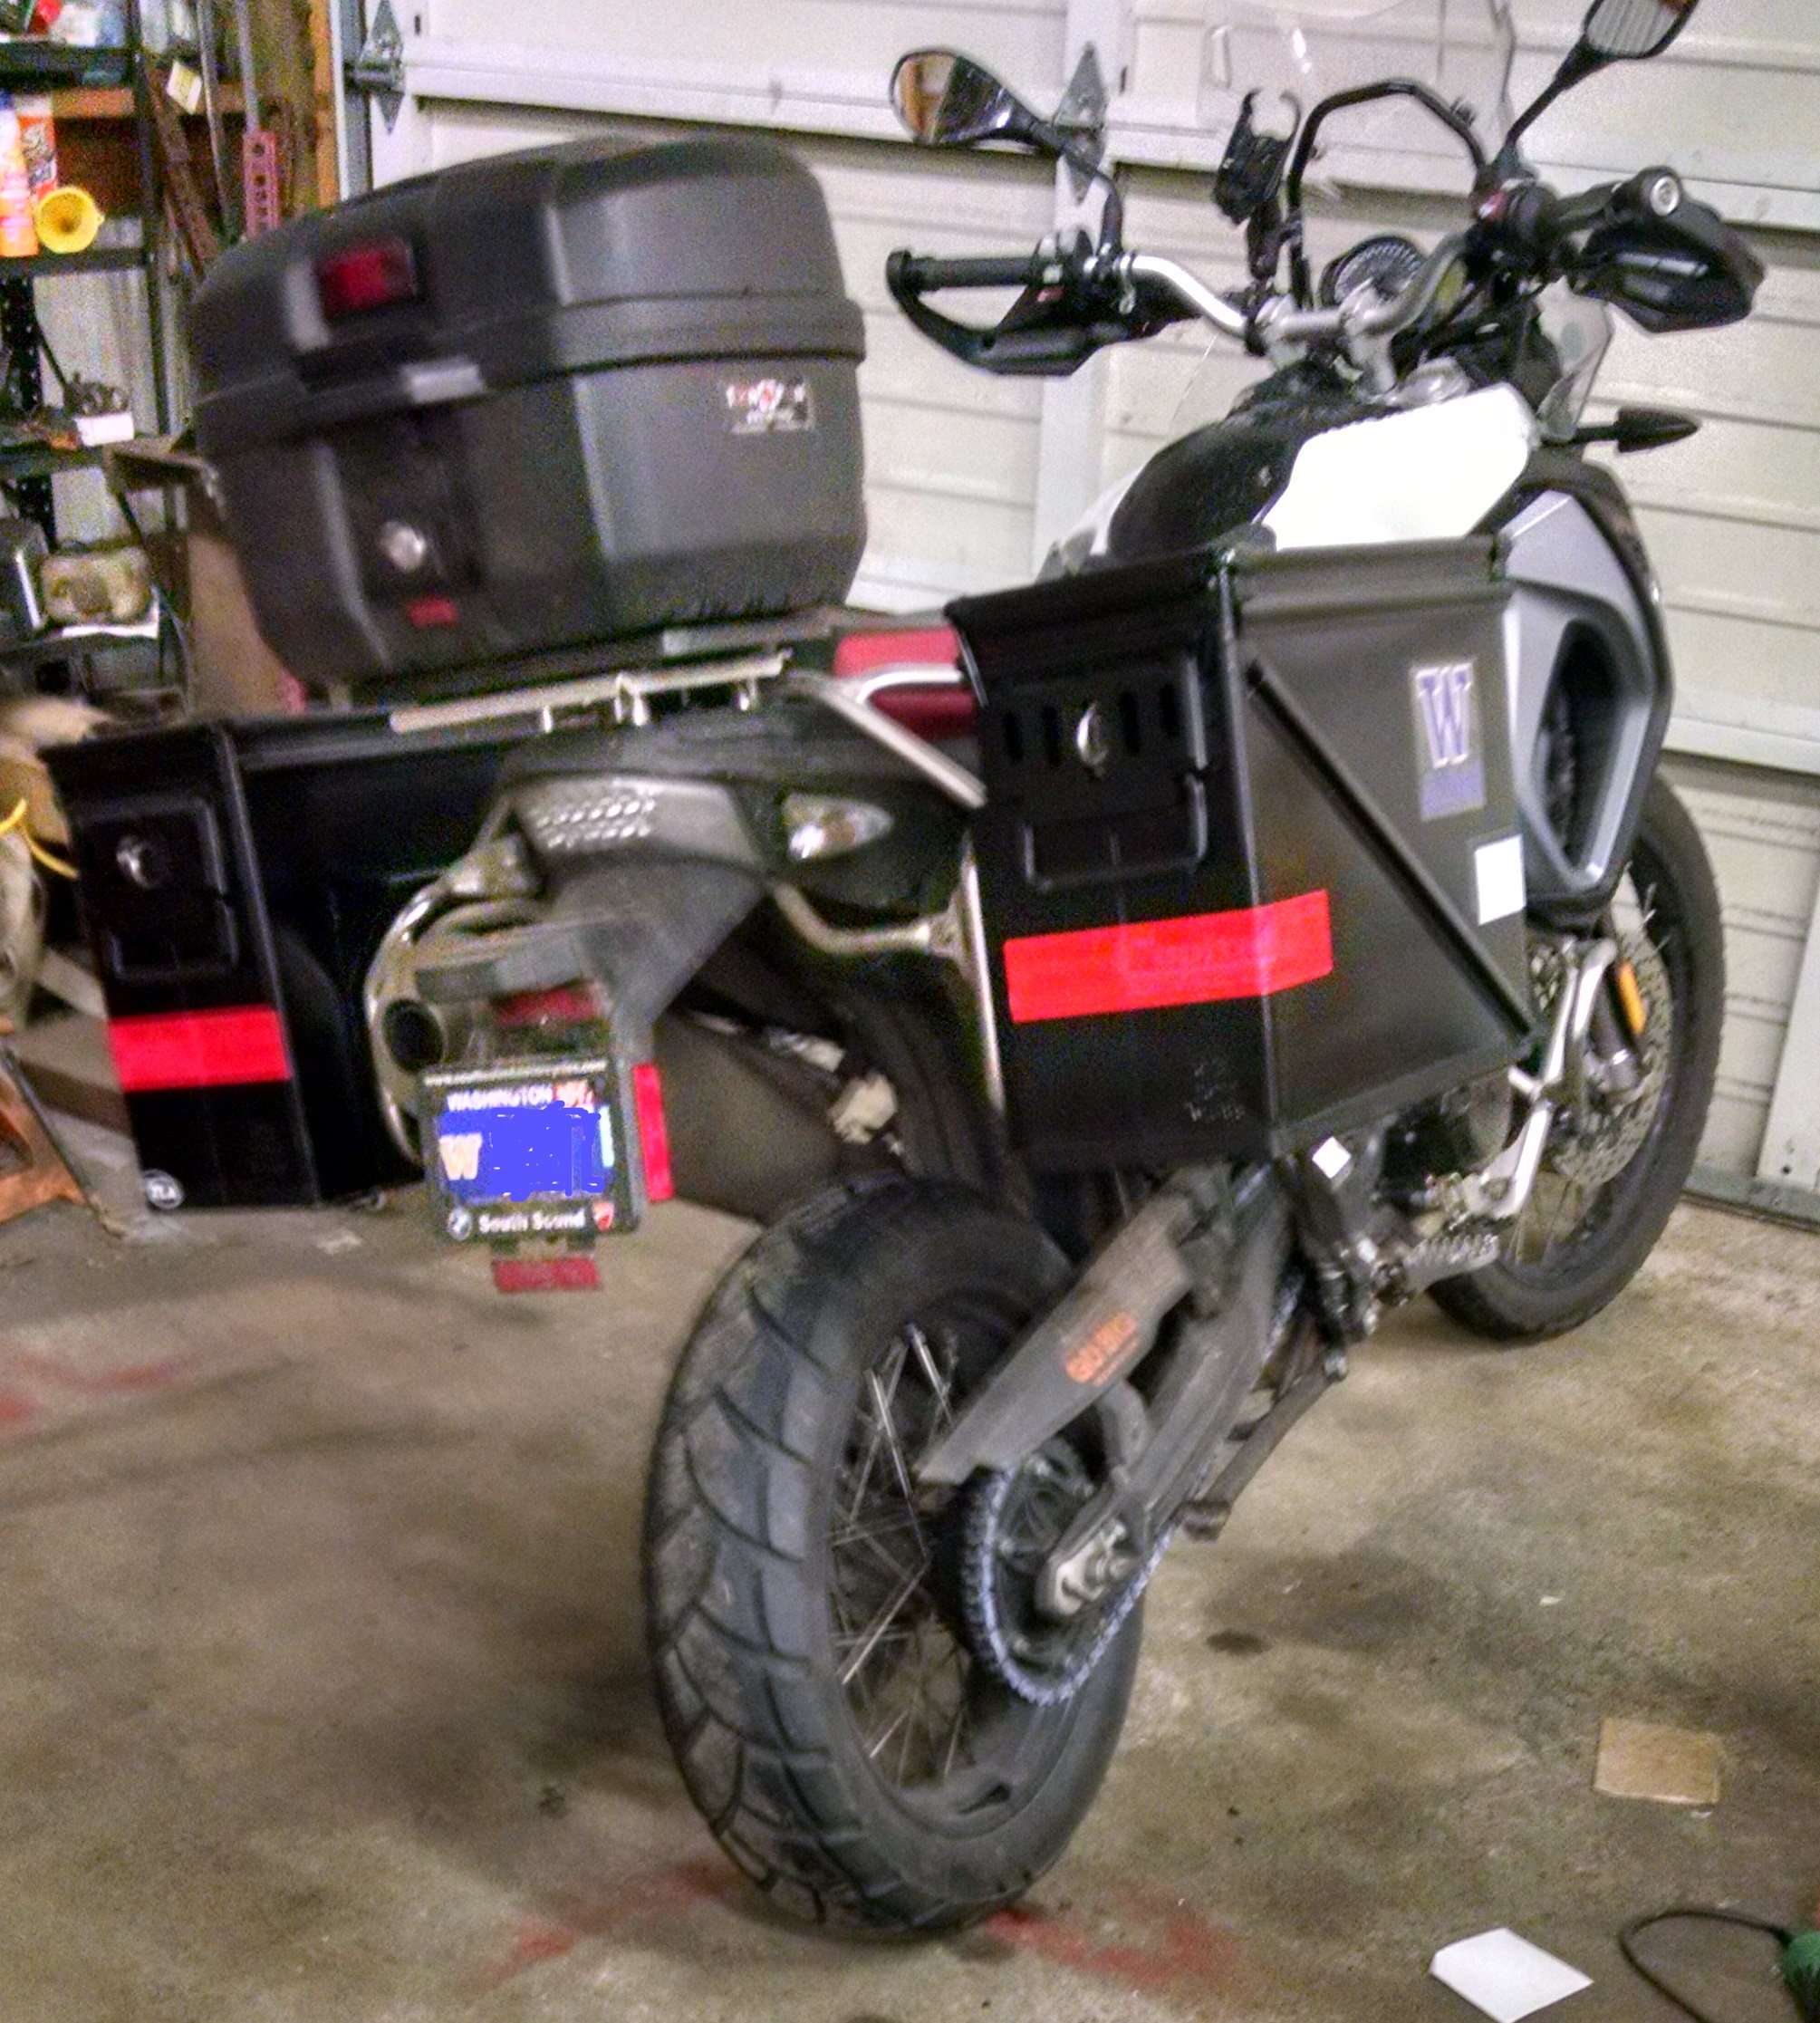
There are several options for locating the module. I decided to put it back in the tail of the bike. I was able to really clean things up compared to how it looked before, removing most loose wires from under the seat. All wire runs were wrapped in friction/cloth tape (thanks Alyxmoto for the advice) and routed closer to the frame and hidden under the trim.
So far I only have the USB 5v converter for the GPS, the automatic gate opener and higher amp factory style plug for powering the CyclePump Air Compressor.