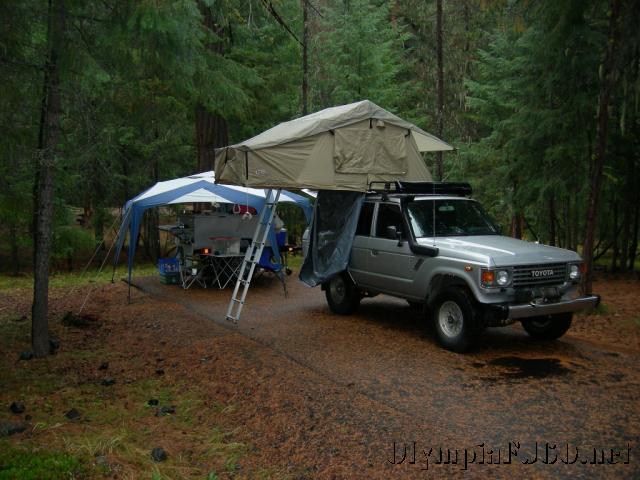
We recently had a chance to get one last weekend of camping in. We were heading east to the Naches River Valley to participate in a Backroad Drivers Northwest tour. This tour was of the Clemen Mountain (ridge) area just east of the Naches River and the town of Nile. The weather called for rain and I didn’t want to sleep on the ground and chance getting flooded out of our tent. Since I have been wanting to try one out I decided to pickup the Simpson Series II Roof Top Tent.
Then tent comes mostly assembled. All that is required is to decide whether you want to orient it to open to the side or to the rear. If you have it open to the rear you can create a nice sheltered area at the tailgate. This way is best suited for full sized SUVs and Trucks. I chose to have it open to the side (passengers for me) as I will be adding the Annex when it comes in off of back order. Once you have decided the orientation, you can bolt on the “mounting extrusions”. All of the parts are tucked way inside the folded up tent so you will need to get them out to continue. These are the parts that will connect the tent to your roof rack. You can use any type of roof rack as long as it meets the load capacity you will be placing on it (tent and occupants). I already had the ARB Touring Rack installed. The tent can also be mounted on factory bars or Yakima and Thule bars. After the mounting extrusion is attached, the ladder is attached using the supplied stainless steel brackets. The ladder has a dual purpose. It is of course the way you get into the tent. The ladder is also the lever you use to open up the tent.
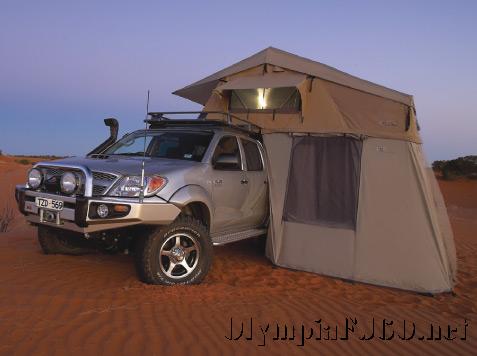
The annex is a nice little addition that creates an indoor changing/storage area under the tent. That is one of the features that drew me to the ARB tent instead of others. The tent has a “vestibule” section that provides a sheltered for the ladder and entrance to the tent. The annex slides into a rail attached to the floor of the tent then zips to the bottom of the tent.
Once assembly is finished, the tent is ready to be mounted onto the rack. This is best done with two or three people. Although it is not particularly heavy the size makes it awkward to handle. The tent comes with stainless steel brackets and bolts and an aluminum runner that slides in the mounting extrusion. This provides limitless spacing between bars.
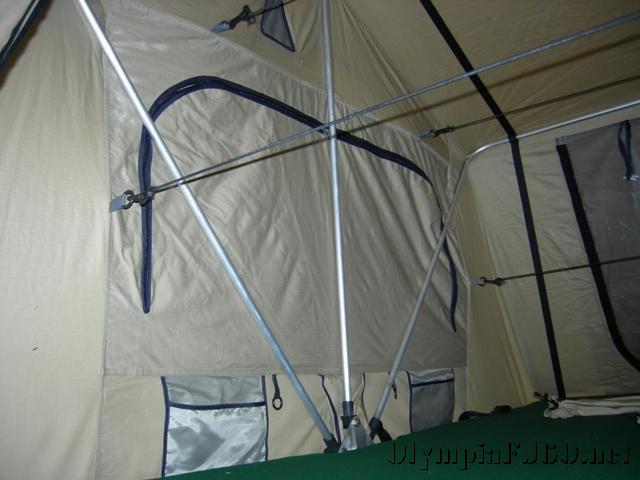
With the tent mounted you are now ready to open it up for the first time. Start by releasing all of the straps that hold the tent closed. Extend the ladder and the locking pins will engage the holes. Pulling on the end of the ladder you should have enough leverage to start to open the tent. Once the tent is just over half way open the weight will shift to pushing down on the ladder. Slowly lower the ladder to the ground making sure the tent opens all the way. Now slide out the overhang supporting bar (U shaped aluminum bar) and insert into the retaining sockets. Make sure the corners of the bar are all the way into the corners of the tent. Get the spring steel rods from inside the tent. These are used to support the outside window awnings and the flysheet. Insert the U shaped end into the eyelet in the awning/flysheet. The other end is inserted into the aluminum base of the tent through the eyelets. Be sure to make note of the angle of the hole and position the rod at this angle to make insertion easier. Remove the 4 bungees. If the bungees were not installed when shipped they will be in one of the parts bags.
Now the annex can be installed. Start by sliding the rope sections into the extrusion at the hinge area of the tent base. Using the zipper attach the remaining three sides. Spread out the floor and stake in to the ground. Install the Annex Floor, making sure to place the rubber mat under the ladder to protect the floor. If you need the ladder extension, be sure to check on the “Well Extension” in order to extend the depth of the floor equal to the ladder extension.
I set it up once in the shop before leaving. My second setup was in the dark during a downpour. Except for forgetting to attach the flysheet, assembly went smoothly and tool only about 15 minutes. Since we were going on a drive the next day I had to take it down again. I think the takedown time, after all the bags were removed, was about 10 minutes. It says you can leave your bedding (except for maybe pillows depending on bedding size) inside the tent when it is folded up. I think I will do that next time. Once I have the annex I will make a short video of the setup.
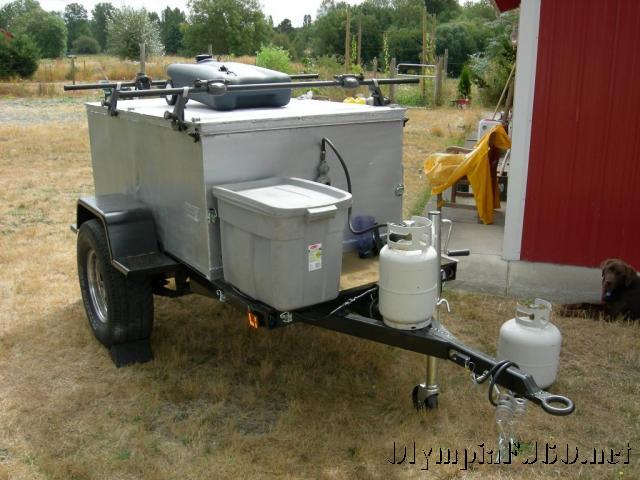
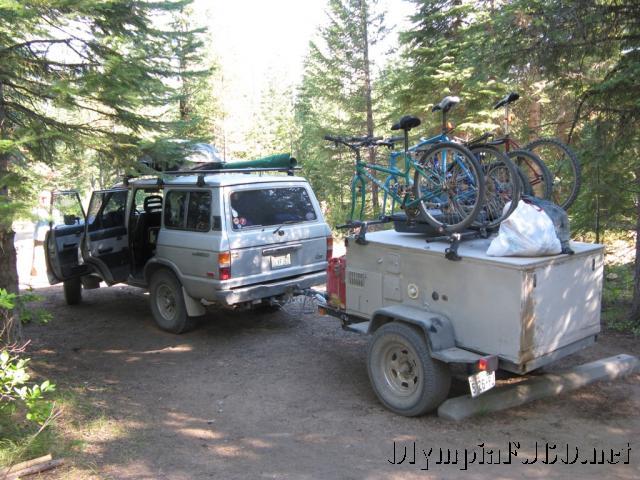
Now that the trailer has been completed and test I thought I would finish up the trailer build with some finished pictures, a recap of features and parts used as well as a summary of the trailers performance.
We recently completed a 1625 mile trip (about 100 miles on dirt/gravel roads) to Idaho. The full write-up is HERE.
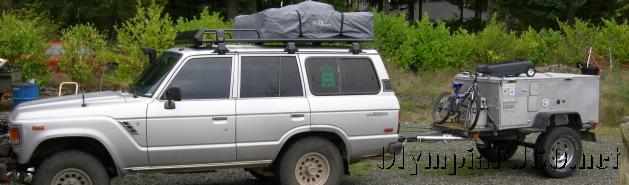
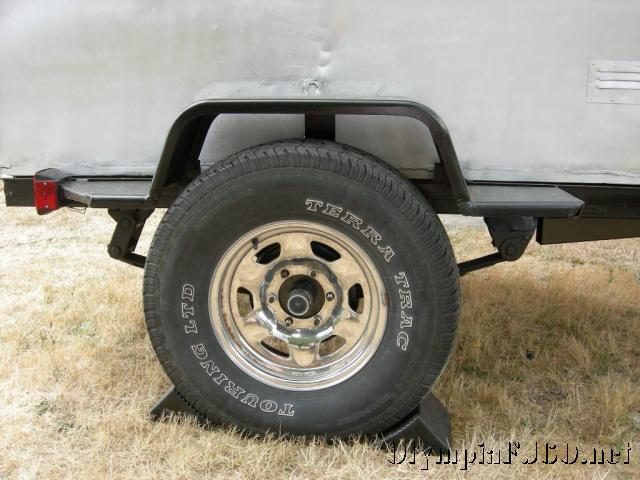
The only changes I need to do to the trailer is to change the axle from spring under to spring over. Once fully loaded with water, camping gear, extra fuel and bikes (or tent in the future) I have very little travel left between the bump stops and in the fenders. It will also allow for slightly larger tires. Here it is with 31″ tires. I would like to fit 34″ tires to match the Land Cruisers.
The next area of improvement would be lid strength and stronger struts. With the bikes on top it was very difficult to lift. The lid also flexes. If there are not two people to lift it is almost impossible.
Features that need to be added still are fuel can holders. I picked up a pair of J Cans from Expedition Exchange.
I also need to add some brackets to hold the propane tanks but I haven’t decided on the size of tank. Right now I have one 11# tank it it was more than enough for a week of camping with cooking and hot water. I don’t think there is a need for a 2o# tank. The current plan is to mount the tank on the tongue using a bracket similar to the ones used on the Fleetwood tent trailers.
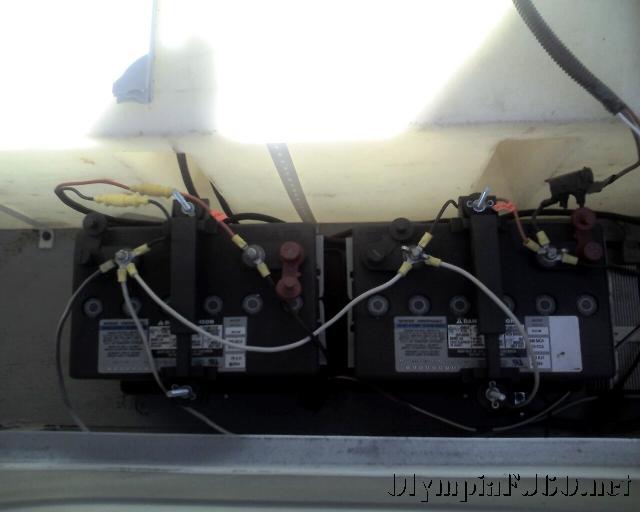
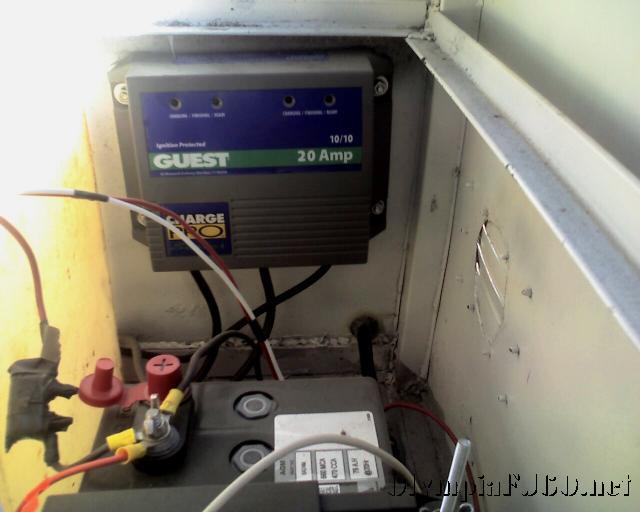
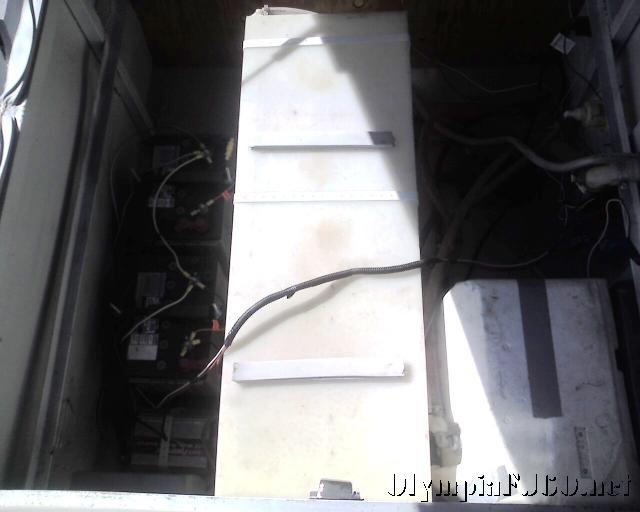
Pictures of the interior of the trailer. I used AGM batteries for safety and reliablility (like optima just no spiral).
When at a campground our at home, I use a trolling motor charger to keep the batteries topped off. When driving I charge through the vehicle using a hellroaring battery isolator I installed as part of my Dual battery setup into an 87 FJ60 | OlympiaFJ60
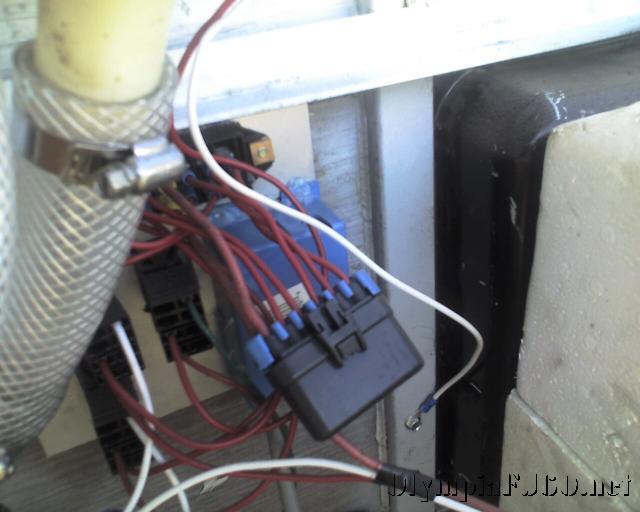
The back of my power box. I used circuit breakers from the batteries to the power. One battery is for the water pump and lights. The second batter is for the inverter.
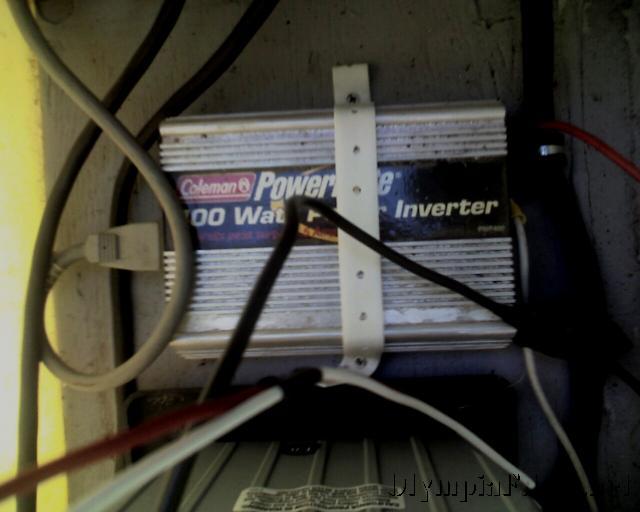
For the inverter I just used a 400 watt inverter I had wired with a relay to switch on and off from the switch panel.
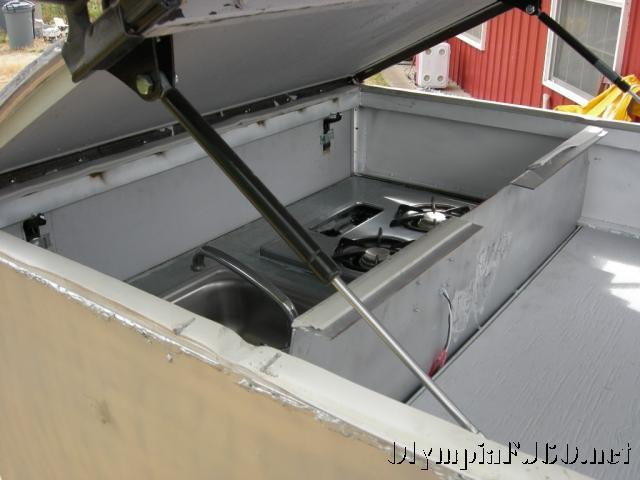
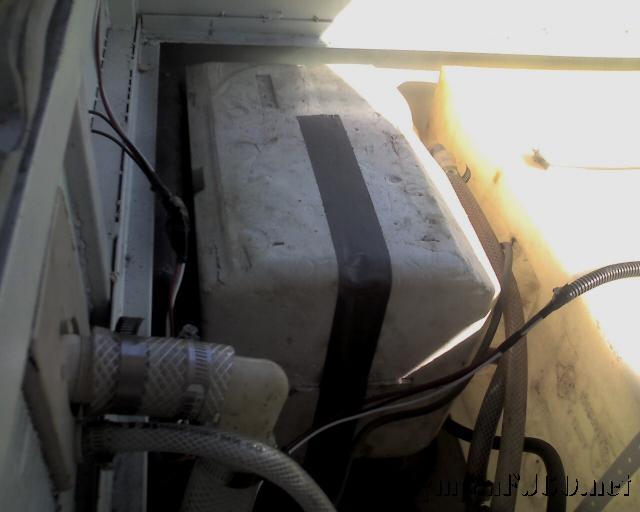
Here is a shot of the water heater. You can see how much space this thing takes up. I think in my next trailer I will use the on demand type heater instead. The second picture is off the whole inside. The water tank is the other item I would change. It is too tall. I think a wider but more flat one would work better for storage space. Even with the limited space I am able to carry the camp table, chairs, tent and shower/toilet enclosure.
After our two nights at Boni Spring we decided we would visit Silver City before heading north to find our last campsite of the trip. After a hearty breakfast of corned beef hash and eggs we broke camp. While David and I finished packing everything into the trailer and truck Mom took Farron for a walk down the road. I guess it took us a while to finish loading as we found Mom and Farron nearly a mile down the road, Farron was running ahead trying to extend his hike as far as he could. We continued west into the Jordan Valley.
Picture by Mom
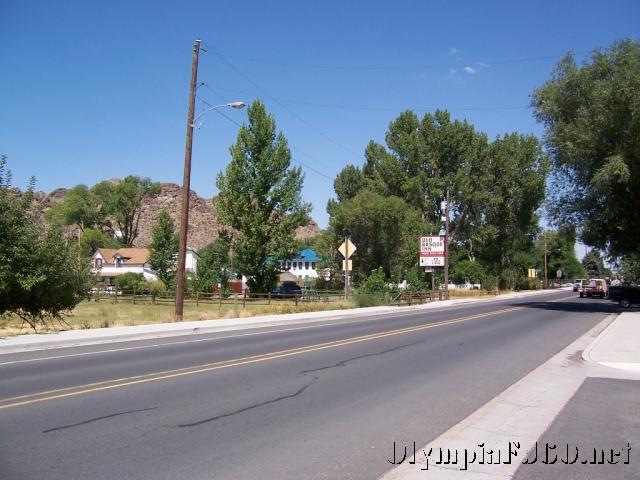
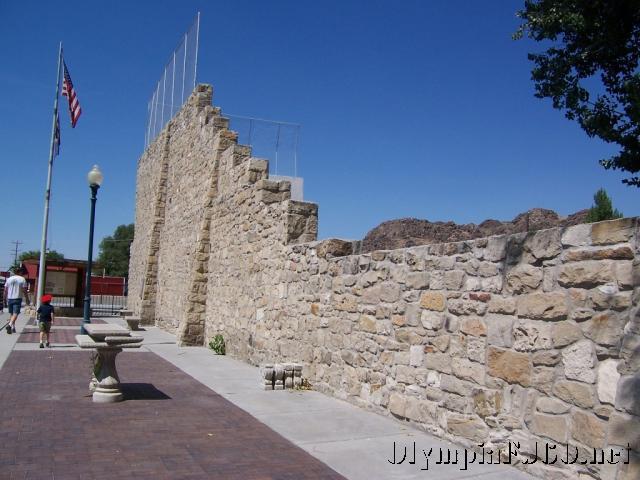
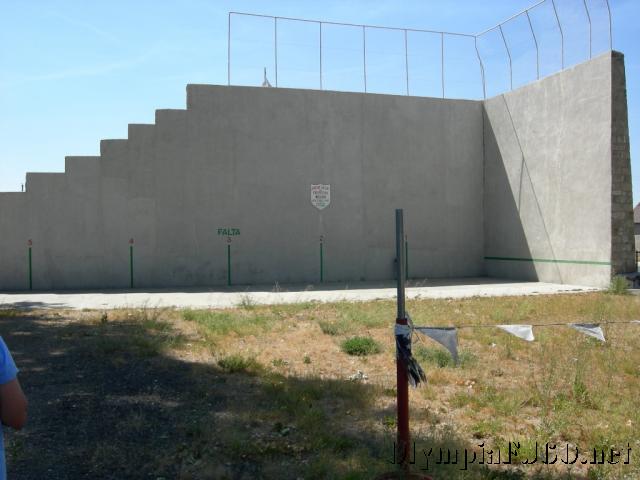
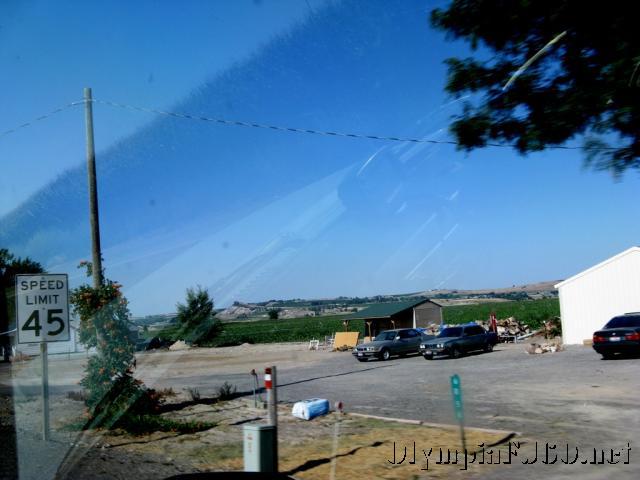
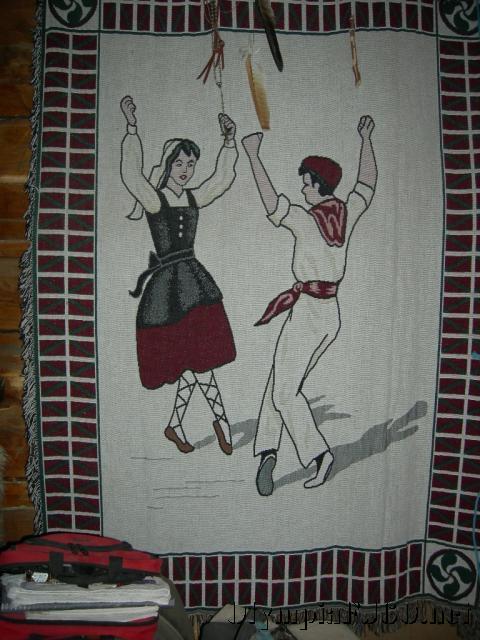
Since we didn’t know how far it would be to Silver City and out again we decided to fuel up in Jordan Valley, Oregon. We also stopped to take a picture of the Pelota wall and the Old Basque Inn.
Picture by MomPicture by BrandonPicture by David
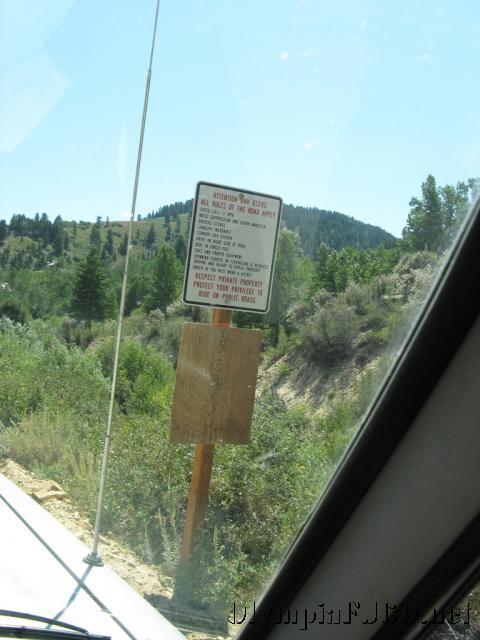
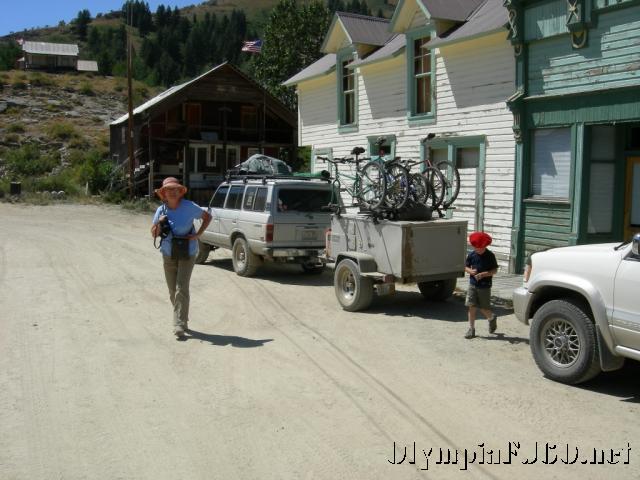
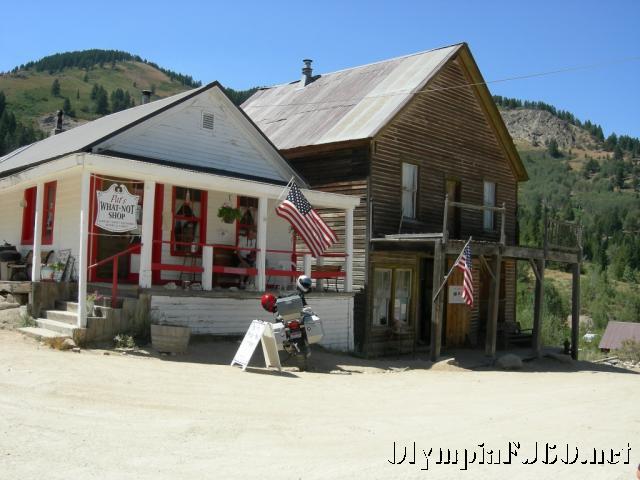
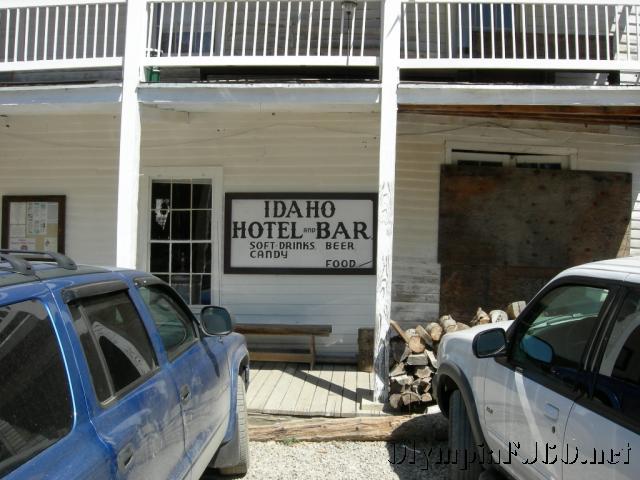
While in Jordan Valley we also asked for directions to Silver City. We headed north out of town on Hwy 95 looking for Cow Creek Road. After about 15 minutes we turned east onto Cow Creek road. It is a good two lane gravel road with turnouts. It was Sunday just before noon so many of the weekend campers and hunters were heading out. Once we turned onto the Dewey-DeLamar road we were on a primitive one lane road that resembled the historic ghost town we were heading for. It follows a stream was narrow in spots and made of dirt and native rock. All along the stream we saw people panning and prospecting. We passed old home sites as well as one currently occupied residence. We hardly knew when we passed the old towns of Dewey or DeLamar. We arrived in Silver City about lunch time. We took a little walk down town and decided to have lunch at the Idaho Hotel.
Picture by BrandonPicture by BrandonPicture by BrandonPicture by Brandon
After lunch we took a quick drive around town. It was getting late and we still had some driving to do before we found a campground for the night. We left town back toward Ruby then east on the Silver City road toward Murphy. Once we got down to Hwy 78 just outside Murphy we found we had cell phone reception again and made some quick calls that we had survived then headed west to Hwy 95 North. On the way we drove through Marsing were mom’s Grandparents had lived and saw Lizard Butte. We followed Hwy 95 through Homedale, Fruitland, Payette, Weiser and countless other small towns.
Picture by David
In Weiser we had to decide on camping back at Farwell Bend or continuing north. We had decided to stay of the interstate on the way home so we didn’t really want to head for Farwell Bend. Looking on the map we saw a campground at Evergreen but could not find any phone number or GPS location for it. We decided to keep north on Hwy 95 and try our luck. It was getting late, about an hour before sunset, when we stopped in Council to fuel up again. We asked the clerk inside about Evergreen campground. She didn’t know anything about Evergreen but said there was a Lost Lake about 15 minutes further down the road. We stopped at the ranger station on the way out of town and looked at the recreation map. There was an Evergreen Campground as well as Cold Springs and Lost Valley. It was 30 minutes before sunset now as we pulled into Evergreen Campground. Had we been traveling in a Motor home or pulling a large camping trailer this would have been the ideal site with its nicely paved parking pads and hookups. It was not going to work for our large tent.
Picture by David
We decided we would head up to Lost Valley. At the restaurant in Pine Ridge we turned left onto Lost Valley Road, another gravel forest road. The first campground we came to was Cold Springs. It looked a little torn up as they had recently finished a large danger tree removal operation. The grounds were still covered in limbs and debris. We made a quick drive around and settled on a nice large site close to the rest room. Again Mom and Farron went to register our site as David and I set up the tent and got out the stove for our last camping trip meal. Mom made some great ½ pound burgers and we ate by lantern light listening to all the forest sounds. This was much different the camping we had done at Boni Spring with the wide open space. Cold Springs is tucked away in the forest with only a few feet to spare around our tent and pick neck table. We even saw a resident pair of deer, a doe and young buck. Luckily they were the only cows crashing around we heard that night. Regardless, we locked up all the food and garbage in the back of the Land Cruiser. We had a good sleep and, as far as we know, didn’t get any visits by Yogi.
Picture by Mom
We decided since we had run out of water in the trailer for dishes, an easy breakfast would be best. After breakfast we broke camp for the last time, packed up and were on the road again. Heading north on Hwy 95 we followed the Little Salmon River until Riggins where we picked up the Salmon River. Riggins is home to several white water rafting companies. We followed the Salmon until just before White Bird. Here we left the river and had a steep climb out of the Salmon River valley then down into the Palouse and Grangeville. From the top of the grade we could see the location of the 1877 Battle of White Bird Canyon which was the first fight of the Nez Perce war. Grangeville is near an excavation of a Mammoth skeleton in the early 1990s. With further excavation they found a mammoth grave yard containing hundreds of skeletons. This was also the beginning of the wheat fields we wouldn’t see the end of until Ritzville. We traveled across the Nez Perce Indian Reservation to the Clearwater River near Lewiston. In Lewiston we had our second to last fuel stop then took the nearly 7 mile long Lewiston Grade out of town back up to the rolling wheat fields of the Palouse.
Picture by Brandon
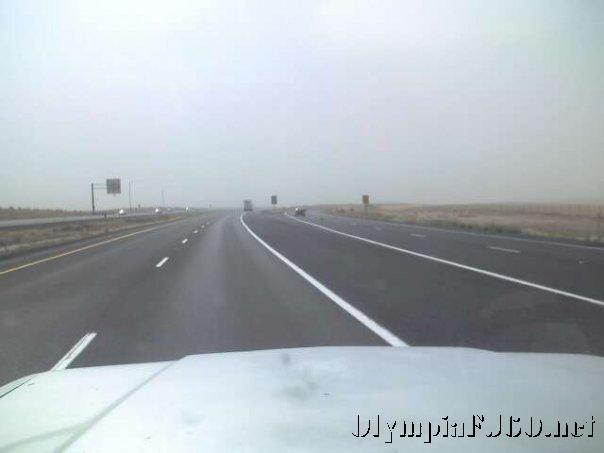
Just past the Grade we left Hwy 95 for Hwy 195 north to Pullman and Spokane. In Colfax we changed Highways again for Hwy 26 West toward Othello. At Washtucna we turned north on Hwy 261 toward Ritzville and a milkshake. As a child I remember stopping often in Ritzville on our way home from Spokane to get a good old fashioned shake. It was pretty windy by now and the fields in the area had been recently plowed. This made for a slow dusty drive. Unfortunately when we arrived we found the stand to no longer be there. With a milkshake still on my mind we stopped at Zip’s Drive Inn. Now for our only interstate portion of the return trip, 45 miles headlong into the dust storm.
We stayed the night in Moses Lake. After Dad fixed us breakfast David, Farron and I continued on the final leg of our trip. We took a slight detour (following the bicycle detour) at Snoqualmie Pass. We followed the old road down between the east and west lanes to Denny Creek Campground. All my life I have traveled I-90 and never new there was a wonderful campground and recreation area between the freeways. Once in Olympia David moved his belongings to his Volvo and headed out for Seattle.
Trip total, 1,625 miles. 7 days 6 nights. 9 full gas fill-ups.
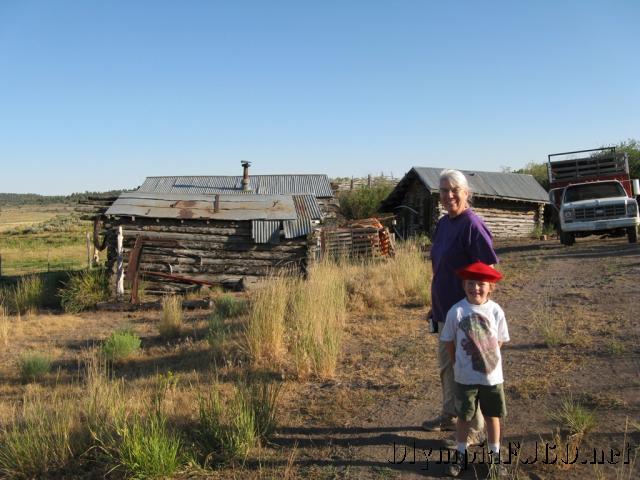
After a brief explanation of our visit I signaled to mom, David and Farron it was ok for us to look around. When they came down I introduced them to Duane, the resident employee of the Cattle Ranch and a genuine, honest to goodness cowboy. You couldn’t hope to meet a nicer person up here in the mountains.
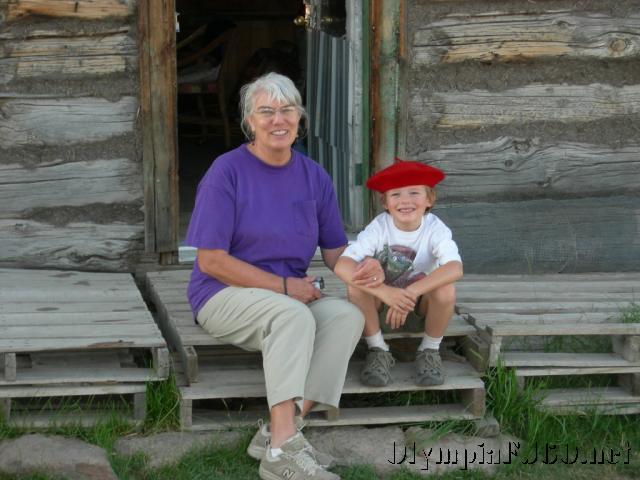
Picture by BrandonPicture by BrandonPicture by BrandonMom and Anita – 1950’s
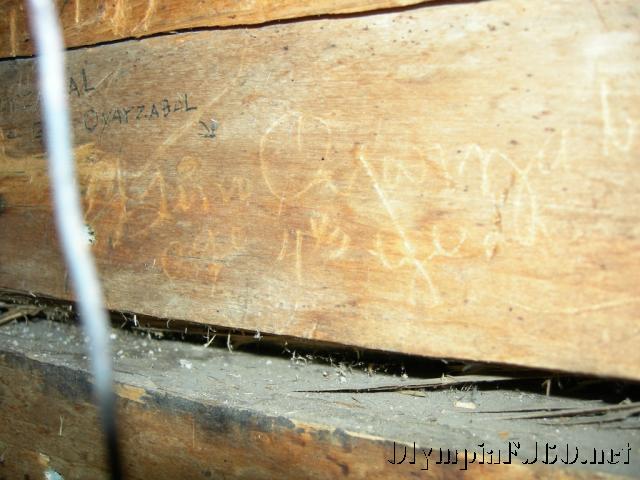
We were so excited. Duane invited us inside the cabin for a look around. He explained to us that he was trying to bring the cabin back as close to original as possible. He added a few modern conveniences like caulk between the logs on the inside and some insulation to fill the gaps in the roof. He also showed us where he had found some names written and scratched on the walls.
Picture by Mom
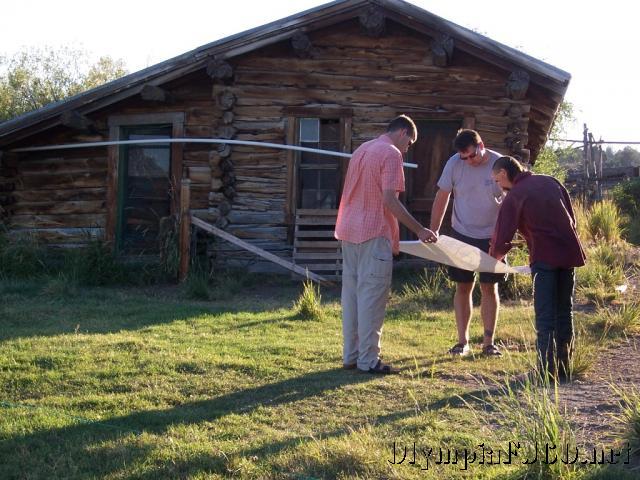
We told him about the copy of Grandma’s old map. He sounded very interested. We looked over it together and he told us about some of the areas he ranged the cattle. He also told us about an old sheep pen with loading stocks. We decided we would try and find it if we had time.
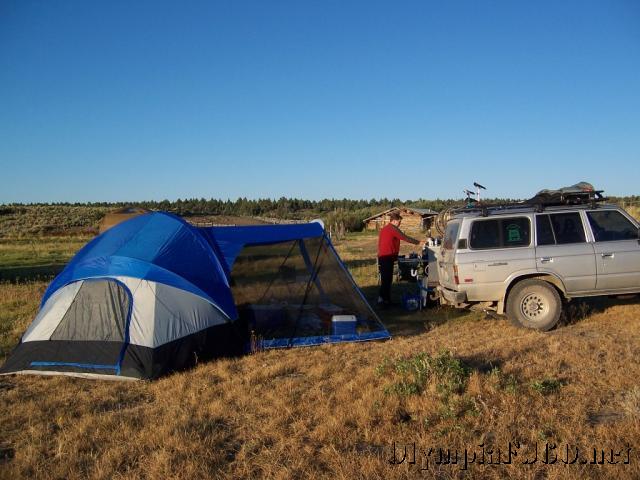
Too quickly it was getting dark. We mentioned we had better get going if we hoped to make it to a camping spot or the campground that was another 20 miles down the road. Duane offered for us to camp right there at sheep camp. He irrigates out of the spring so there were a few nice semi green spots. We quickly accepted. He had to get up early the next morning to meet the rest of the crew and would stop by if we were still around in the afternoon. We headed over toward the new building to find a good place to set up the tent and all our other camping accessories. We decided to camp further away from the cabin so we would not disturb Duane.
Picture by Mom
Once again we were pushing darkness to get the camp setup. While David and I set up tents mom and Farron explored around the area a little and started getting the dinner together. We still had firewood left over from Farewell Bend so we decided to finish of the hot dogs and have a few marshmallows. As the moon rose in the east, we finished the out house then settled down to a nice evening around the camp fire.
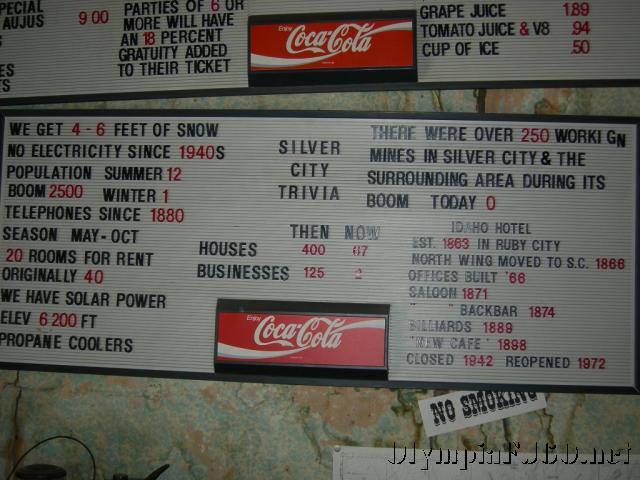
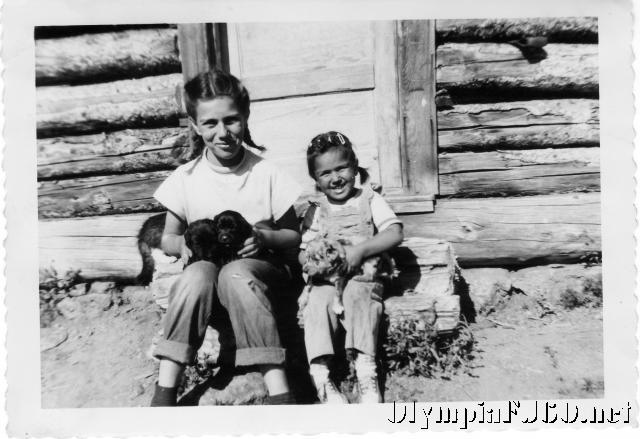
Thenand Now
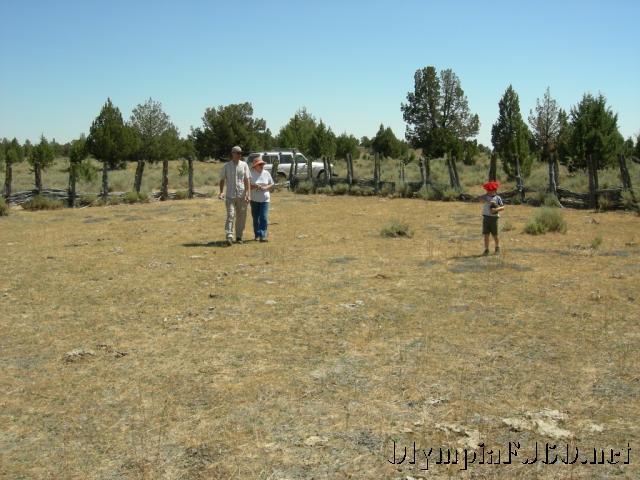
Everyone pitched in for a hearty breakfast of Pancakes and bacon. Coffee by David, pancakes by Brandon and mom cleans up. After Breakfast we all took a walk around looking at the old buildings, the spring and the horse corrals. Duane has several horses with him here at the camp. He said that he uses them all for different jobs as well as trains young horses from time to time.
Picture by David
After a morning of exploring around camp we decided to have lunch before heading up to the sheep pen and Boni Table. Just a short drive from camp we found the road Duane had told us to take. It is hard to miss with it’s crooked fence post.
From here on it was four-wheel-drive. The trail was rough with native surface and washouts. Not only were we looking for the old sheep pen but another trail that would take us up on top of Boni Table. Duane wasn’t sure if we would be able to make it up but we figured we would give it a try.
Picture by BrandonPicture by David
After returning from our four hour drive we were ready for dinner. We invited Duane to join us but he had already eaten supper and had another early morning. He gave us some information about Jordan Valley and offered to let us stay at his place in town if we didn’t find a camp site.
After dinner we finished off our firewood and enjoyed the last of the marshmallows under another full moon
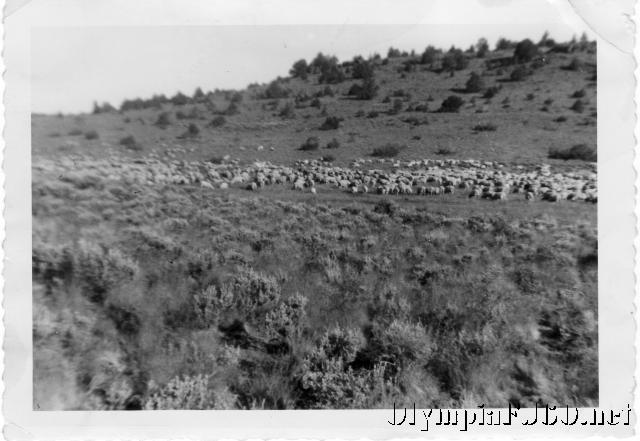
Some time ago my brother David and I started talking about making a summer camp-as-you-go trip to Mountain Home, Idaho to see our 86 year old Grandmother. My wife, son and I flew down a few years ago but neither David nor I had driven down there since, as best as we can recall, 1979. While down there, we thought it would be nice to take a drive into the Owyhee Mountains and have a look at the sheep camp our mother and her family spent their summers at in the 40’s and 50’s. Her stepfather’s father, Papa Boni (Bonifacio Oyarzabal), came to Idaho in the early 1900s. As many other Basque emigrants did, Papa Boni found work in the hills grazing sheep. Well, one plan lead to another and the trip evolved into a 7 day trip with 2-3 nights in the mountains. We only hoped to find the cabins and snap a few pictures.
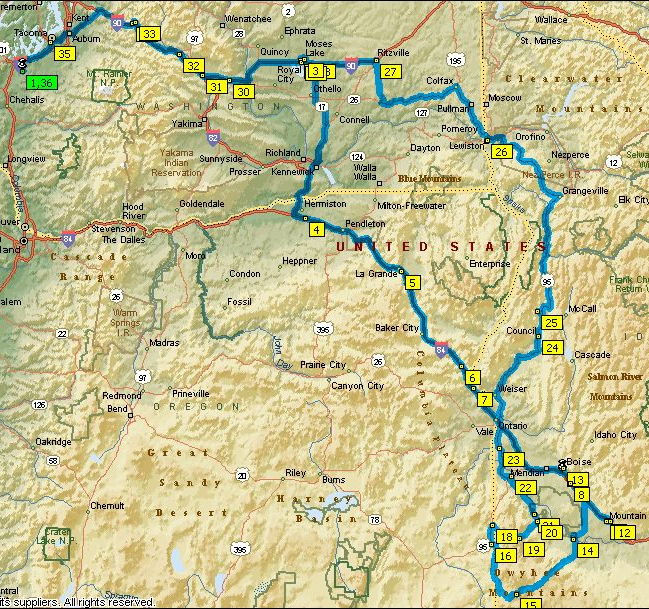
While my Aunt Anita was visiting from Virginia, we started looking at Google Earth and other maps hoping to find something that looked like sheep camp. Anita told me to look for a spring with 3 buildings close by. She could also remember Mud Flat Road and Nickel Creek. After finding hundreds of springs, none of them having any visible buildings close by we decided to give it a rest. A few months later while I was visiting with mom she mentioned Papa Boni and we talked about some of the stories. Later that day I was taking another look at Google Earth when I came across a Boni Table. After zooming in I saw Boni Spring off the NW end of the Table. Just east of the spring was Nickel Creek. This had to be it. I sent a link to Anita and showed Mom. The map showed several buildings, a few more than the 3 they both remembered. Mom thought it looked too green around the buildings and Anita echoed that thought when Mom talked to here the next day, but every thing else fit. Now we had a plan and a destination. We made some preliminary travel arrangements and invited mom to come along.
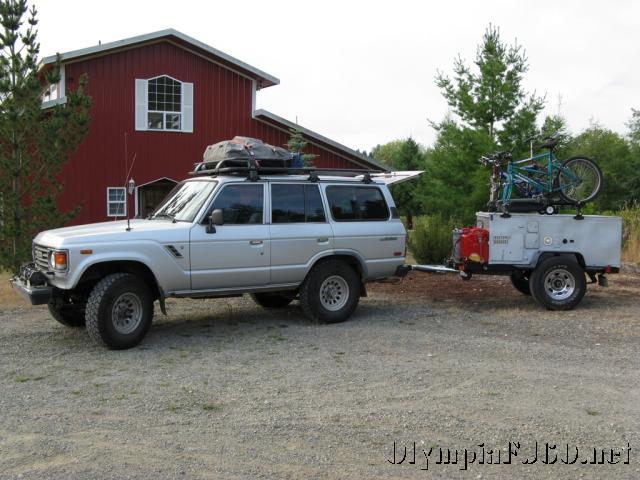
In the spring I stared rebuilding my off-road camp trailer. We decided this would be the perfect chance to really test it out. It is a simple design with a water tank, water heater, on board batteries, sink and cook stove. We never said anything about roughing it, we were going camping. This would be the base of our base camp.
Picture by David
David came down to Olympia Tuesday afternoon to do the final grocery shopping with me and to finish packing up the truck and getting the bikes on the trailer.We had planned on leaving early Wednesday to go pick Mom up in Moses Lake.After working on the trailer lights wiring and a few other items until late, we decided it would be better to sleep a little longer as we expected a long day driving.
Picture by Brandon
After stopping for coffee and topping off the truck we finally hit I-5 at 9 am, first stop Moses Lake.
Picture by Brandon
We had to pull off at the Indian John Hill rest area along I-90 for a few minutes.We made it to Moses Lake around 1 pm.
Picture by DadPicture by DadPicture by Dad
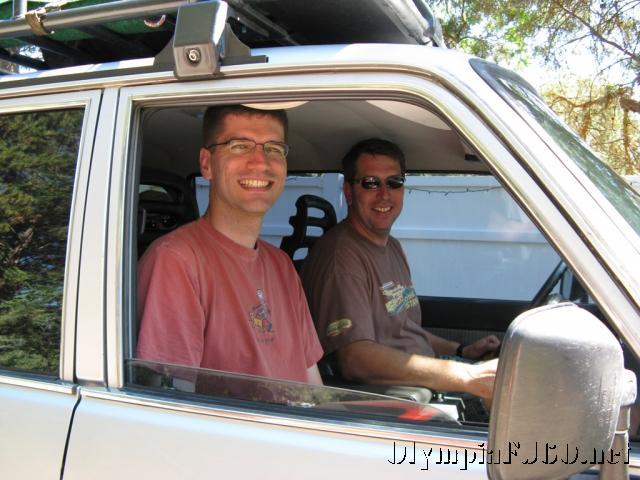
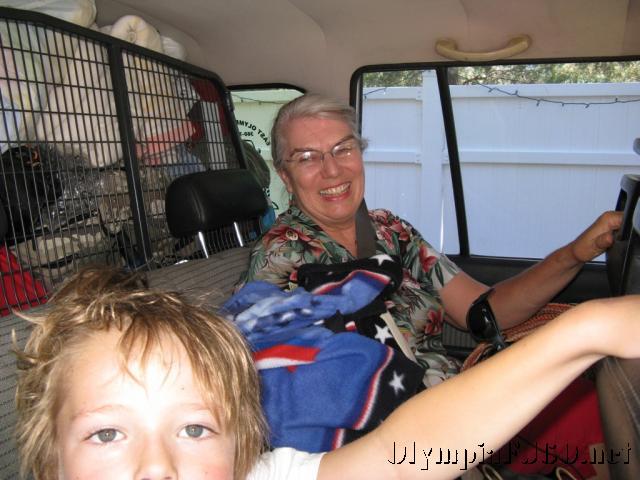
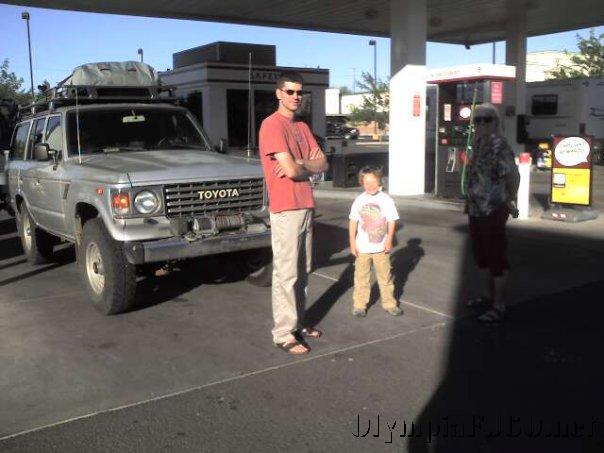
We had a bit of lunch then added Mom’s things to the load. With ourselves loaded as well we were on our way, to the first gas station of the trip.
Picture by Brandon
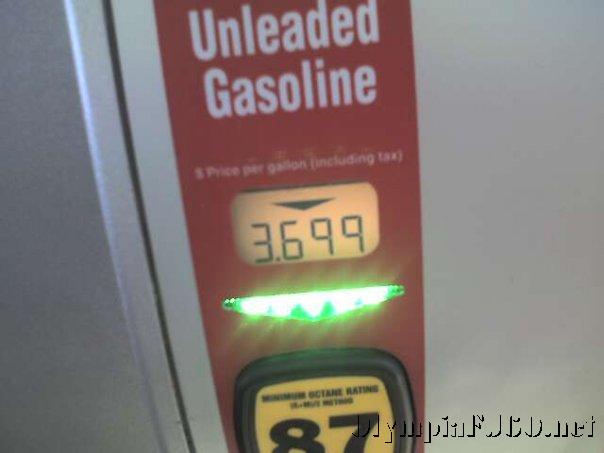
This was the cheapest fill up of the trip.With my $.30 discount we filled up for $3.69 per gallon.
Picture by Brandon
Now we were really on our way, south on SR-17 to the Tri Cities. Our first nights destination was Caldwell, Idaho and the Caldwell Camp Ground and RV Park.
Picture by Brandon
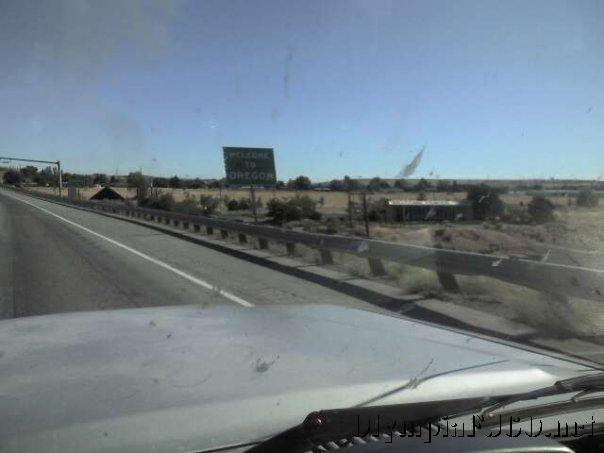
We made it past the Tri Cities onto I-84, almost to Pendleton, before we needed a rest area stop.We were making decent time.It was a little tough to keep up with the speed limit on the hills but the Land Cruiser was performing very well.
Picture by Brandon
We stopped in La Grande for fuel again and a chance to stretch. Our next stop was the Weatherby rest area just before Lime, site to an old concrete factory. We made our final phone calls for the day as we had been in and out of cell coverage since La Grande and didn’t know if we would have service again before nightfall. We thought we would make it to our campground by 8:30, they close at 9 pm. When Mom called and talked with Dad he reminded us that Caldwell would be in Mountain Time. The campground office would be closed and we would have to set up our tent, that we hadn’t even taken out of the package yet, in the dark. It would also be nearly 10 pm MDT before we would we ready to have dinner. We decided to look for the closest campground.
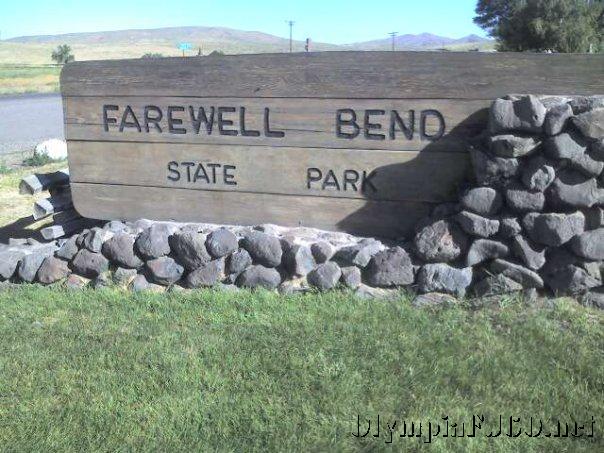
Mom remembered that Farewell Bend State Park wasn’t too far down the road. We pulled off hoping there would be a vacant camp site. We drove around and looked at all the empty sites and found on that would fit our needs. While David and I set up the tent, Farron and Mom registered our camp site and bought some firewood from the camp host. We were sure glad we didn’t try and keep going. It was after 10pm any way before we finished our hot dogs and roasted a few marshmallows.
We got up the next morning and had a light cereal breakfast, anticipating Grandma’s pot roast supper. After braking camp it was back to I-84.
Picture by BrandonPicture by Brandon
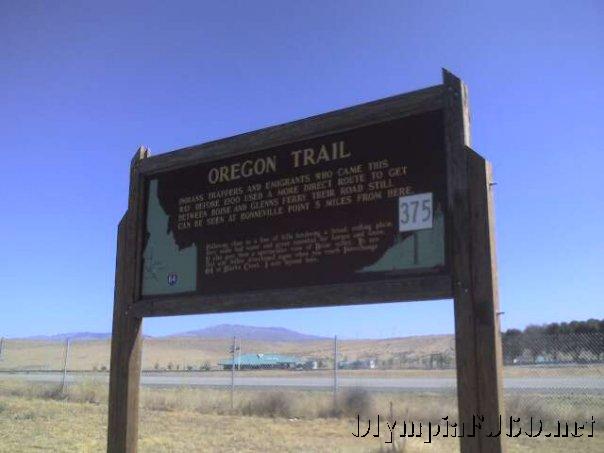
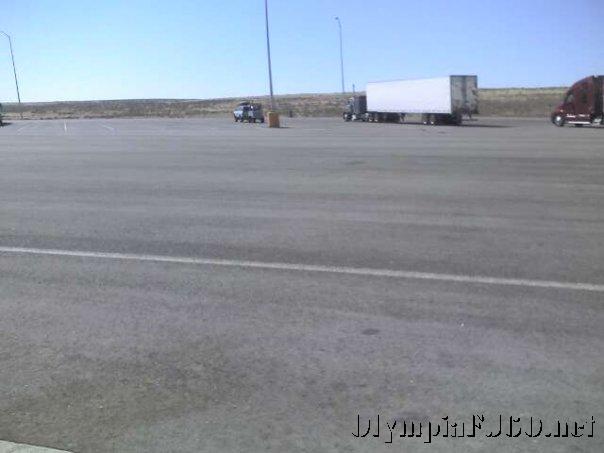
once we passed Boise we decided to stop at Blacks Creek rest area for a little stretch before getting to Mountain Home.
Picture by BrandonPicture by Brandon
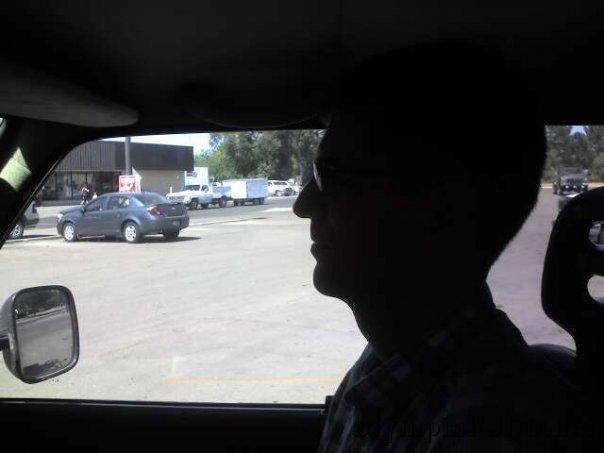
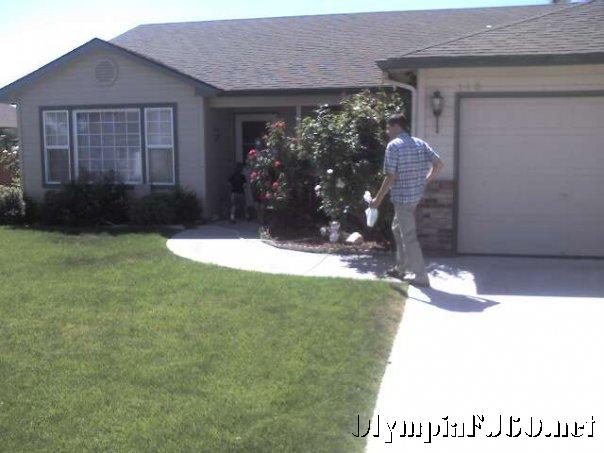
We arrived and Grandma’s in the early afternoon. We had just enough time to visit a little and clean up before supper was ready.
Picture by David
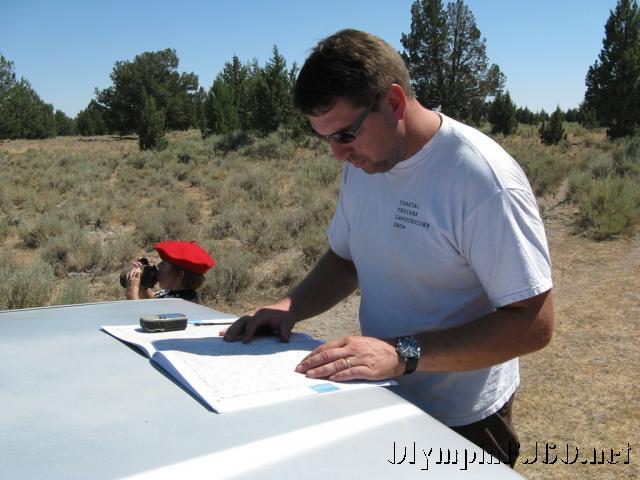
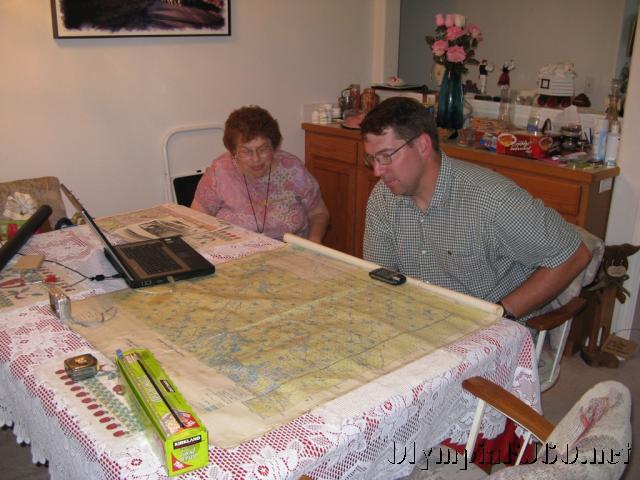
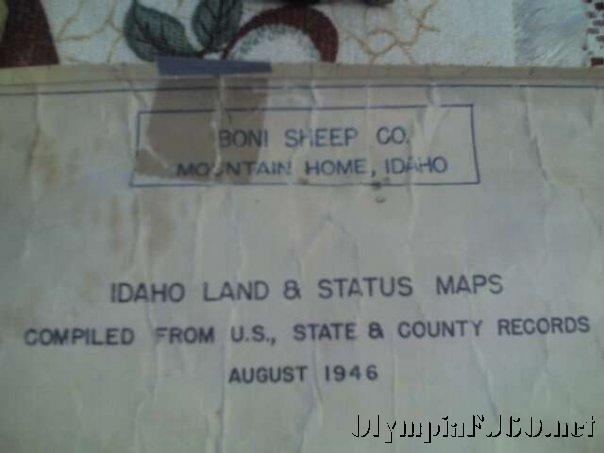
After lunch, Grandma had asked an old friend of Mom’s late brother Geno to stop by. Jeff Day works for the Idaho Fish and Game Department and use to work the Owyhee area. He was intrigued by Grandma’s 1946 map of the Owyhee area. Jeff was very helpful in figuring out how to get to where we wanted to go to find Sheep Camp and gave us several names to contact if we had trouble accessing some areas. He also tracked down a place to get the large map copied.
Picture by Brandon
Grandma was not about to let us take the 62 year old map with us on our expedition. Luckily a local truss company had a plans copier. A whopping $12 later we had 4 hi quality copies. Jeff then showed us some Fish and Game maps of the area for a current look at the roads. He also gave us a little local history and an idea of what we might encounter up there.
Picture by BrandonPicture by Brandon
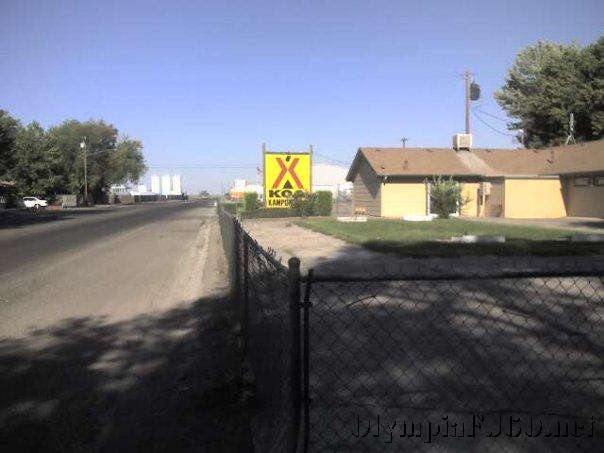
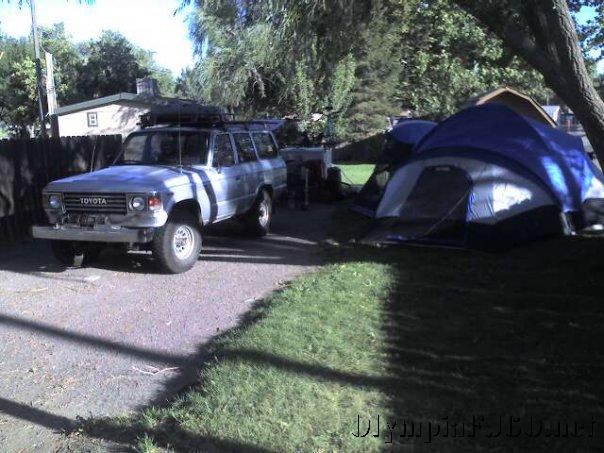
After Jeff left, David and I went to the Mountain Home KOA campground to check in and set up the tent. It is just down the road from grandma’s and Farron really wanted to ride back to the campground so we rode our bikes back for a little bit of leftovers for dinner then some apple pie and a slice of strawberry cake for Mom’s birthday. Mom and Grandma had found some of the old photos from Sheep Camp while we were gone so we looked at those as well. It was getting late so Farron, David and I rode back to the KOA and Mom stayed the night at Grandma’s house.
Picture by BrandonPicture by Mom
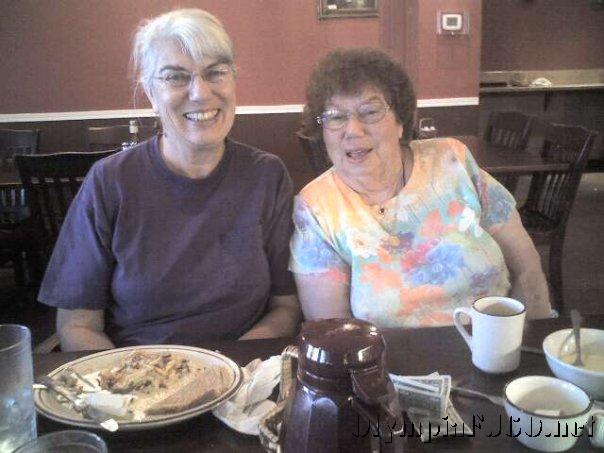
We met Mom and Grandma at a restaurant for breakfast the next morning before heading for Boise.
Picture by MomPicture by Mom
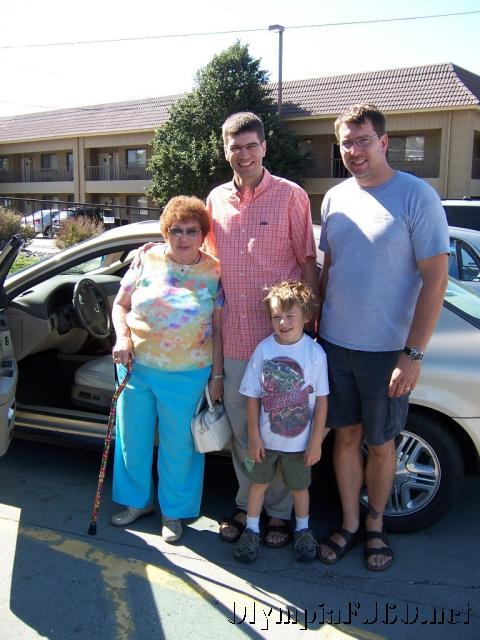
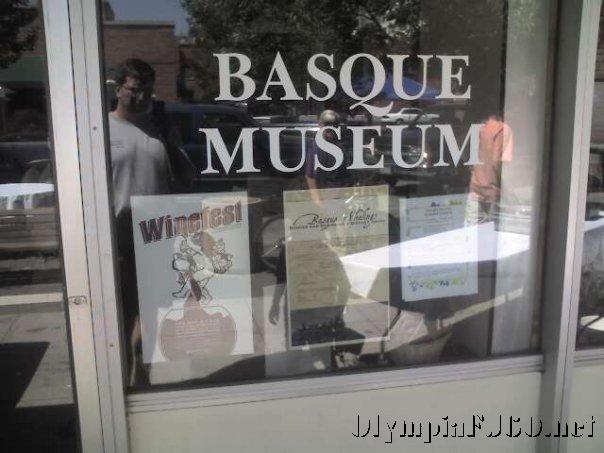
Once to Boise we went straight to our cousin Andrea’s house. She took us in her Saab to The Basque Block in down town Boise.
Picture by BrandonPicture by Mom
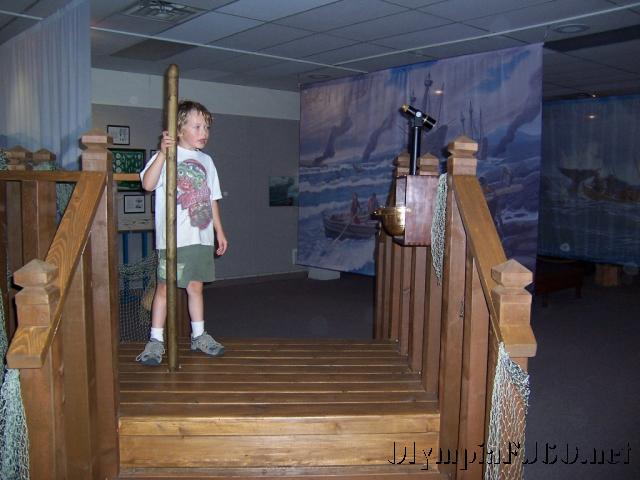
First we visited the Basque Museum, featuring a whaling exhibit from a Basque museum in Nova Scotia. Farron had fun sailing a whaling ship.
Picture by MomPicture by Mom
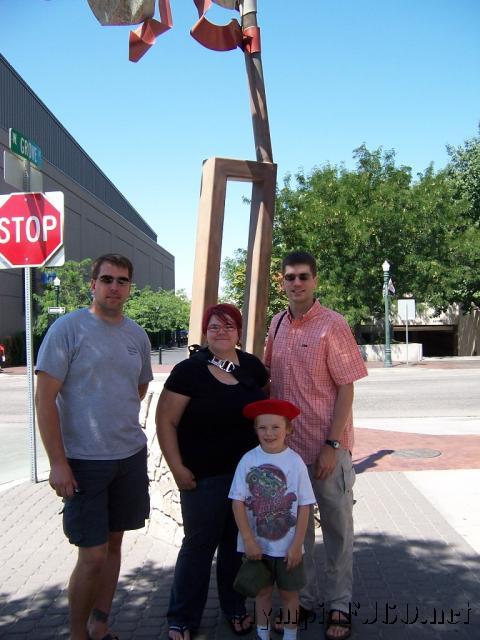
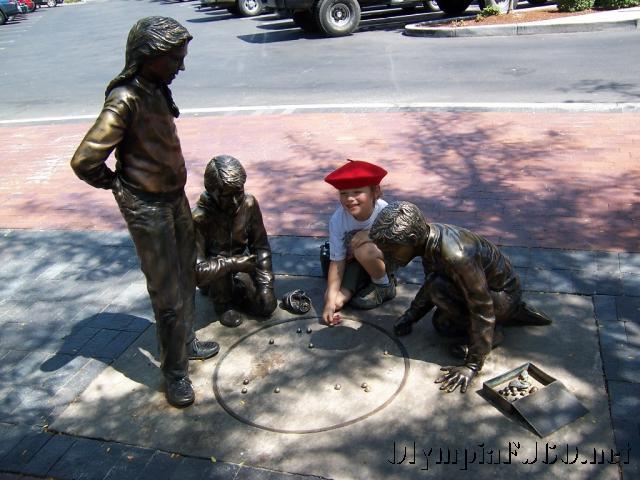
Next we had a quick tour of down town. On the way we found a map store, so I had to go in and pick out a few maps that covered our expedition route.
Picture by DavidPicture by David
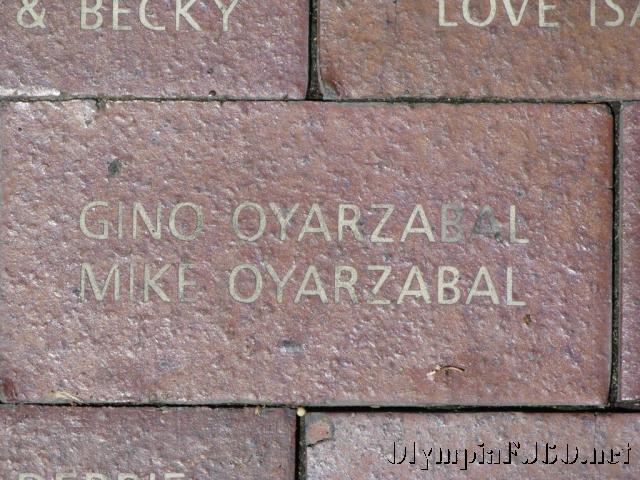
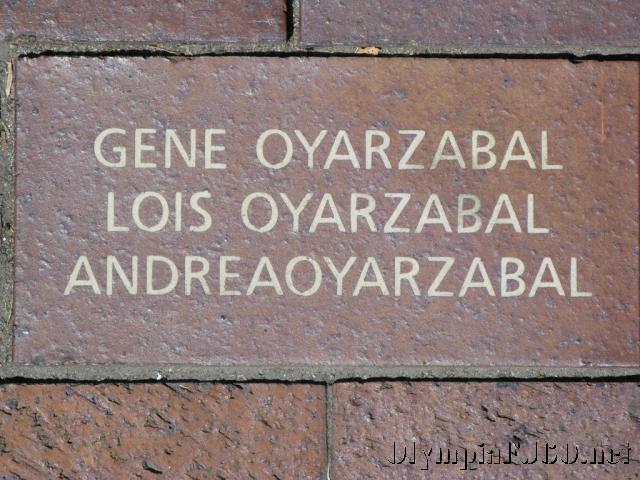
Then we went to find the Oyarzabal bricks Grandma purchased to help fund the Basque Museum.
Picture by BrandonPicture by Mom
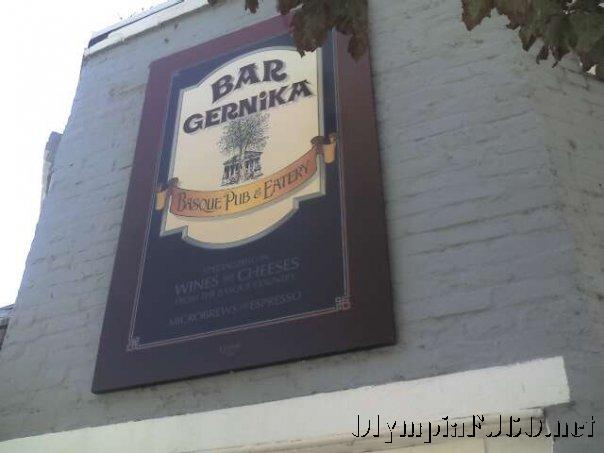
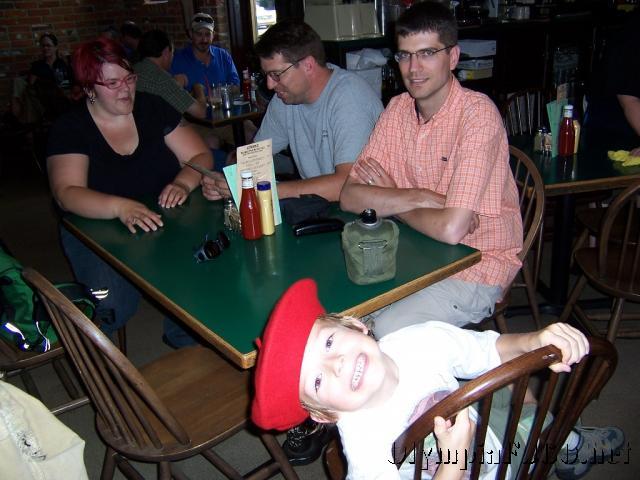
Our final stop was at Bar Gernika for a bit of Basque lunch (and a mighty fine lunch it was). After lunch it was time to hit the road if we hoped to make it the mountains and find a camping site before dark.
We headed back toward Mountain Home on I-84 and turned off at Simco road, heading for Grand View. Once to Grand View we decided to fuel one last time since we wouldn’t see another station for 3 days and didn’t know how much driving around we would do in the mountains. We also took the opportunity to stop by Grand View’s big grocery store and refill the coolers ice supply, get some cold drinks and a few other important items such as eggs and beer.
Picture by David
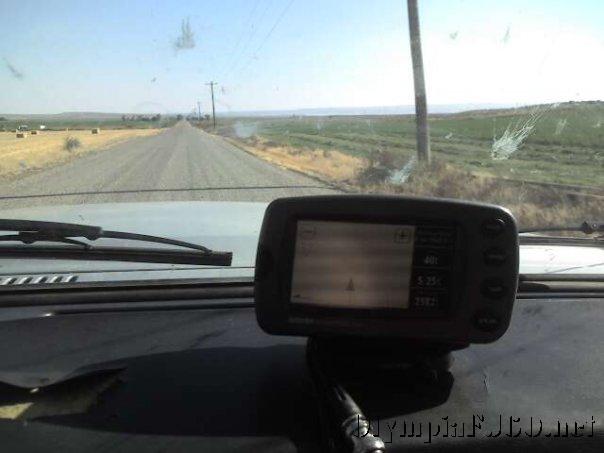
Heading out of town on Hwy 78 East we looked for Mud Flat road, the start of the Owyhee Uplands Back Country Scenic Byway. This is a very popular drive in southern Idaho.
Picture by David
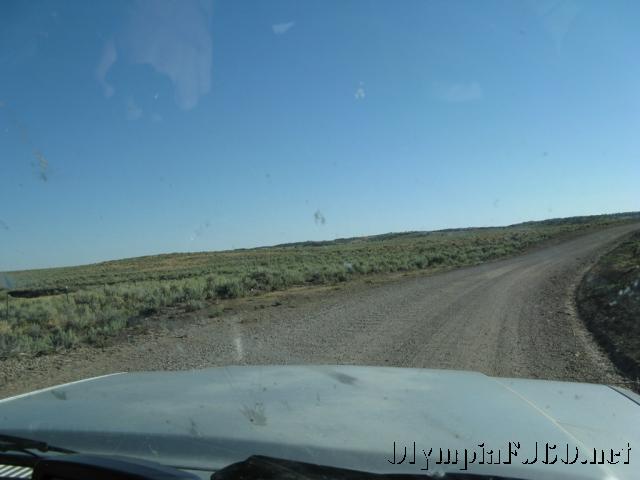
Not very far down Mud Flat Road the pavement ended. We would not see pavement again for almost 100 miles and 2 days. Mud Flat Road took us through such interesting place as Shoofly Creek, Poison Creek, Juniper Creek, Summit Spring, Summit Flat, Thistle Spring, Mud Flat Spring, Current Creek, Hurry Back Creek, Bullhead Basin, Nickel Creek and finally our destination, Boni Spring.
Picture by DavidPicture by David
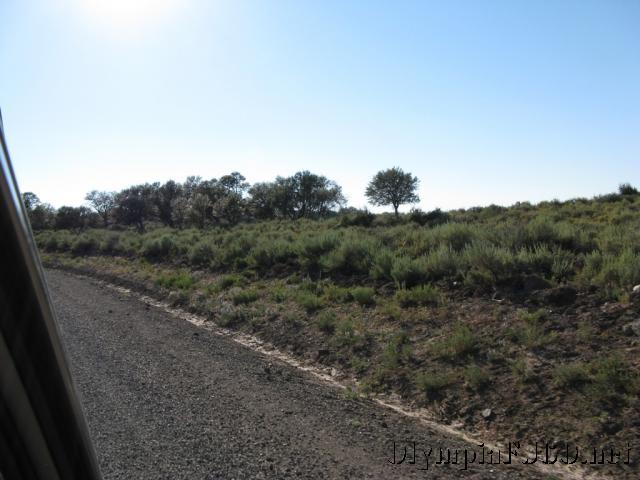
We climbed from the sage brush and hay fields through the Mahogany to the Juniper forests that cover most of the high country. We kept looking for what we thought Sheep Camp would look like around every bend and rise of the road.
Picture by Brandon
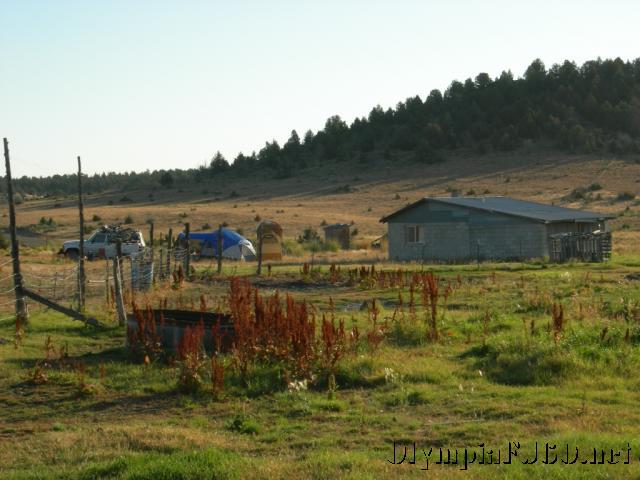
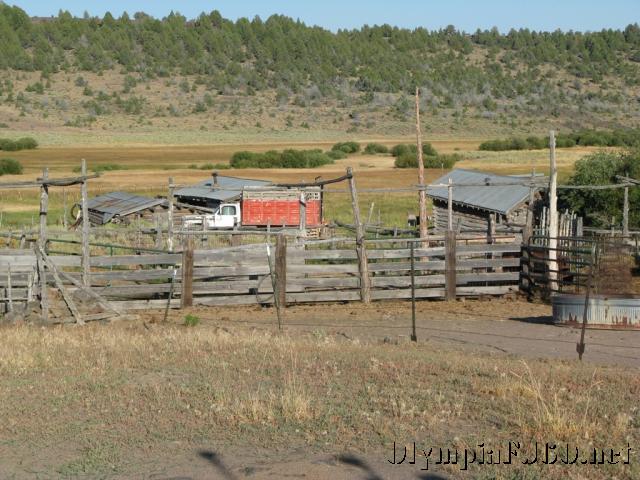
We had an idea of the location but didn’t have a waypoint in the GPS to know how far away we were. Mom was following along on the map as we passed Ranch Road, Antelope Ridge Road, and Deep Creek. I first saw it through the trees on a turn about a ½ mile away. It was a small collection of buildings just off of Mud Flat Road.
Picture by David
As we got closer we could start identifying the buildings as they were in the photos Grandma had shown us. There was a stock truck parked next to one of the buildings and the gates were up across the driveway. We pulled up to a flat spot just past the camp to park. We didn’t know if there would be anyone there or not. As we walked up to the gate we noticed a man hanging up laundry with no shirt on. We decided I should head down first to make sure it would be ok to take a look around.
Picture by Mom
We met Duane, the resident employee of the Cattle Ranch and a genuine, honest to goodness cowboy.