Categories
Tech

FJ60 Heater Core Replacement.

camera-038

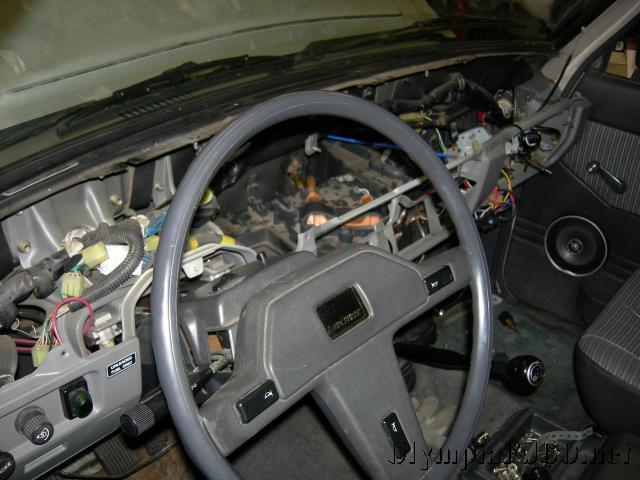
Having to install a heater core in the FJ60 Land Cruiser can be one of the worse jobs we have to do. It doesn’t sound bad, but as you start looking into all the steps it becomes apparent this isn’t just a simple operation, or is it. The FSM calls for the dash to be removed, then to remove the A/C evaporator module (if equipped) then the heater core module.

camera-036

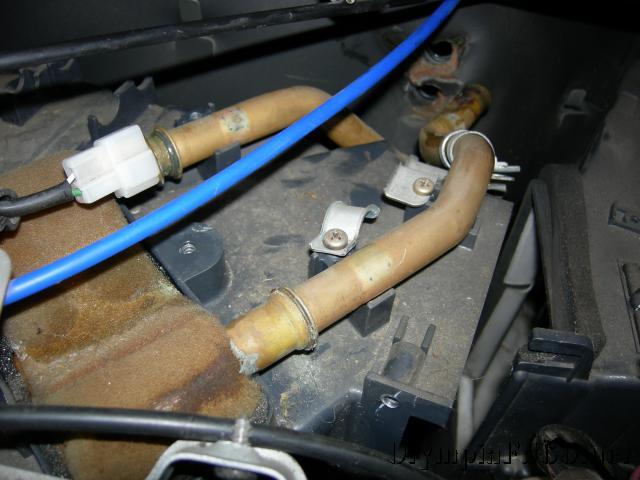
The heater core is held in its case by a bracket across the top and little clamps over the tubes. The tubes are held in the heater core with little clips. With the tubes attached there will not be enough clearance to remove the heater core with the case in the vehicle.

camera-037

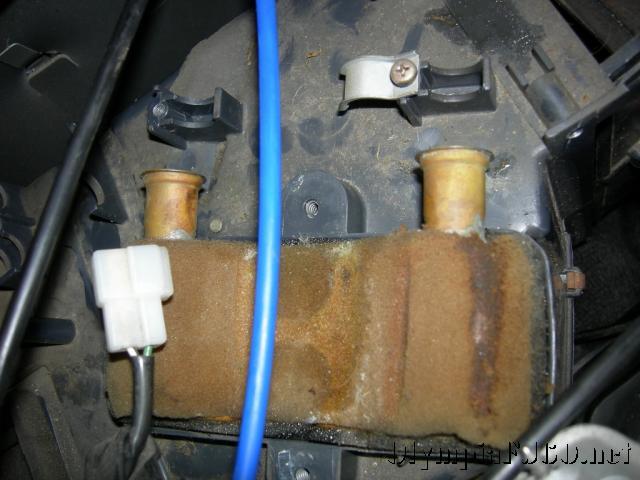
While you will still need to remove the entire dash and heater ducts. If you remove the tubes first, pull the cases away from the firewall you will be able to remove the heater core without disconnection the A/C. I used a pair of screw drivers to pry the somewhat stuck heater core out of the case. Once out I made sure to clean out any old coolant that was sitting in the bottom of the case. The new heater core did not come with any of the foam that is used to seal the core in the case. All that my local parts store had was camper tape and appears to work just fine. The new core also didn’t come with new o-rings. Having an assortment on hand is always handy and I was able to find two of the proper size.

With the new heater core installed and tubes mounted in place the dash was reassembled, hoses connected at the fire wall and the coolant refilled. It may be advisable to attach the hoses and refill the cooling system before finishing the dash work to spot any leaks.

Categories
Tech

’96 F250 Powerstroke Glow Plugs

I recently replaced the glow plugs on a ’96 Ford F250 pickup with 7.3l Powerstroke engine. This particular vehicle is also equipped with several Banks upgrades. I found some good articles over at powerstroke.org for replacing the glow plugs as well as a source for an entire “kit” from the powerstrokeshop.com to do the job right.

The drivers side was pretty straight forward but the passenger side was an little more complicated because of the inter-cooler piping and the Banks Brake. I started on the drivers side and removed the air inlet pipe housing from the compressor to the air cleaner. I then removed the brackets and bolts holding down the valve cover. There was enough room to remove the valve cover without removing the inter-cooler piping on this side. I then removed the valve cover gasket and the under valve cover harnesses. I had read several warnings about the glow plugs swelling or becoming carbon encrusted and stuck in the cylinder head during removal. One suggestions was to run some injector cleaner through the system before replacing the glow plugs to clean up the carbon. This truck has been running bio diesel for a while and no problems were encountered during the removal of the plugs. A 10mm thin walled deep socket is needed. The rockers are pretty tight so a thicker wall socket will get stuck. I replaced the glow plugs with the new Ford ones from the kit, as well as replacing the under valve cover harness and valve cover gasket.

As I said, the passenger side was a little more tricky. I had to remove the inter-cooler piping, the alternator and the Banks Brake mounting bolt closest to the valve cover. The back bolts on the valve cover near the A/C evaporator are a little hard to reach as well. With that done I was able to squeeze the valve cover out. Again I removed the valve cover gasket, UVCH and glow plugs replacing them all with new. After reinstalling every thing it was time to test. This truck will no longer need to be plugged in, even on moderate days, to start.

There was not much swelling or carbon build up on the old plugs compared to the new but I have included a picture of the both, side by side. The top plugs facing down are four of the old ones removed, the bottom 4 facing up are the new.

All said, this was about a 3 hour project with out any glow plug removal issues. There are several tools available for removing the plugs if they are stuck as well as tools to remove the lower portion should they break off in the head. If that happens, replacing the glow plugs could easily become a 10 hour job with the added expence of head gaskets and machine shop time to remove and repair the head should it get dammaged.