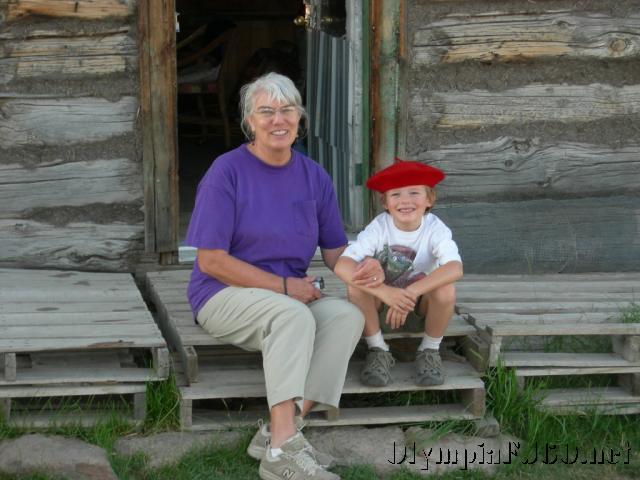
After a brief explanation of our visit I signaled to mom, David and Farron it was ok for us to look around. When they came down I introduced them to Duane, the resident employee of the Cattle Ranch and a genuine, honest to goodness cowboy. You couldn’t hope to meet a nicer person up here in the mountains.
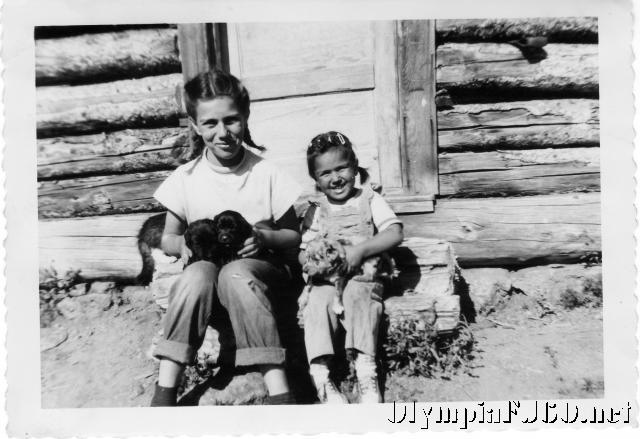
Picture by BrandonPicture by BrandonPicture by BrandonMom and Anita – 1950’s
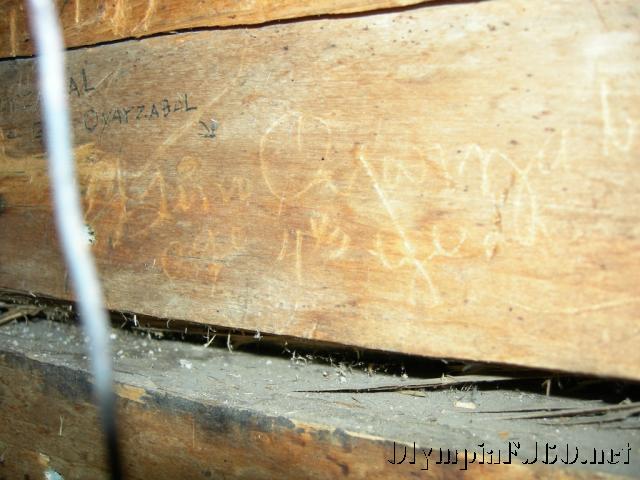
We were so excited. Duane invited us inside the cabin for a look around. He explained to us that he was trying to bring the cabin back as close to original as possible. He added a few modern conveniences like caulk between the logs on the inside and some insulation to fill the gaps in the roof. He also showed us where he had found some names written and scratched on the walls.
Picture by Mom
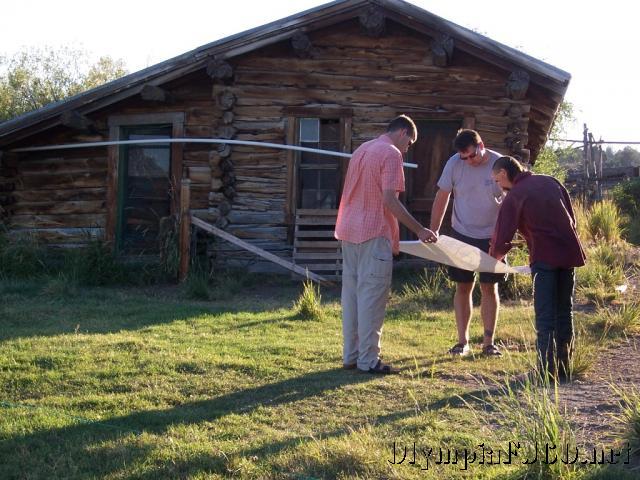
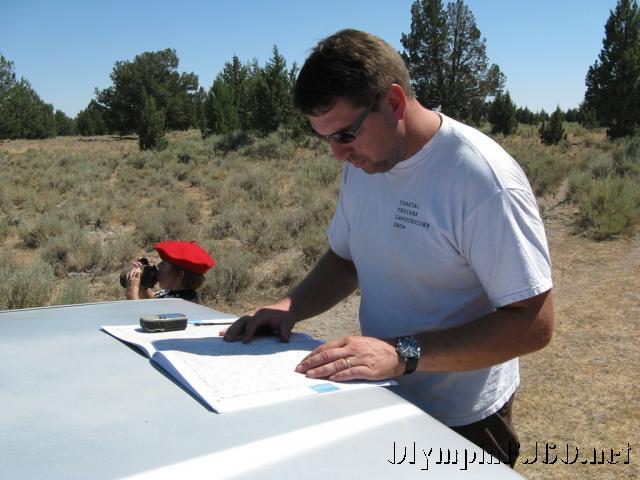
We told him about the copy of Grandma’s old map. He sounded very interested. We looked over it together and he told us about some of the areas he ranged the cattle. He also told us about an old sheep pen with loading stocks. We decided we would try and find it if we had time.
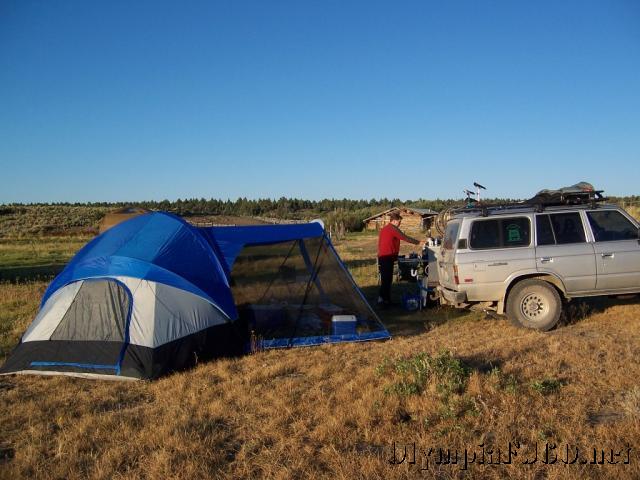
Too quickly it was getting dark. We mentioned we had better get going if we hoped to make it to a camping spot or the campground that was another 20 miles down the road. Duane offered for us to camp right there at sheep camp. He irrigates out of the spring so there were a few nice semi green spots. We quickly accepted. He had to get up early the next morning to meet the rest of the crew and would stop by if we were still around in the afternoon. We headed over toward the new building to find a good place to set up the tent and all our other camping accessories. We decided to camp further away from the cabin so we would not disturb Duane.
Picture by Mom
Once again we were pushing darkness to get the camp setup. While David and I set up tents mom and Farron explored around the area a little and started getting the dinner together. We still had firewood left over from Farewell Bend so we decided to finish of the hot dogs and have a few marshmallows. As the moon rose in the east, we finished the out house then settled down to a nice evening around the camp fire.
Thenand Now
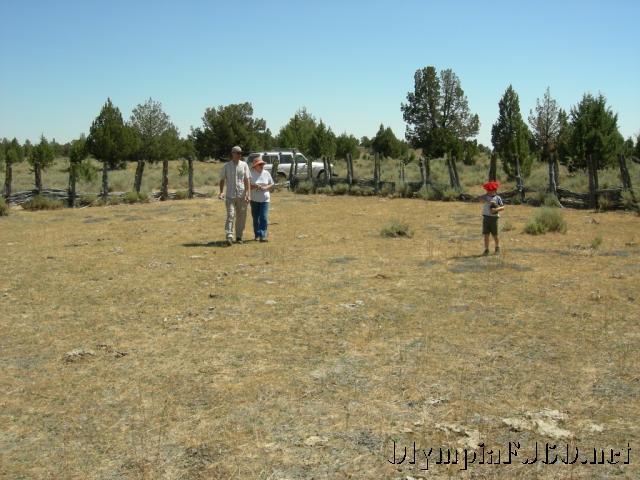
Everyone pitched in for a hearty breakfast of Pancakes and bacon. Coffee by David, pancakes by Brandon and mom cleans up. After Breakfast we all took a walk around looking at the old buildings, the spring and the horse corrals. Duane has several horses with him here at the camp. He said that he uses them all for different jobs as well as trains young horses from time to time.
Picture by David
After a morning of exploring around camp we decided to have lunch before heading up to the sheep pen and Boni Table. Just a short drive from camp we found the road Duane had told us to take. It is hard to miss with it’s crooked fence post.
From here on it was four-wheel-drive. The trail was rough with native surface and washouts. Not only were we looking for the old sheep pen but another trail that would take us up on top of Boni Table. Duane wasn’t sure if we would be able to make it up but we figured we would give it a try.
Picture by BrandonPicture by David
After returning from our four hour drive we were ready for dinner. We invited Duane to join us but he had already eaten supper and had another early morning. He gave us some information about Jordan Valley and offered to let us stay at his place in town if we didn’t find a camp site.
After dinner we finished off our firewood and enjoyed the last of the marshmallows under another full moon
Some time ago my brother David and I started talking about making a summer camp-as-you-go trip to Mountain Home, Idaho to see our 86 year old Grandmother. My wife, son and I flew down a few years ago but neither David nor I had driven down there since, as best as we can recall, 1979. While down there, we thought it would be nice to take a drive into the Owyhee Mountains and have a look at the sheep camp our mother and her family spent their summers at in the 40’s and 50’s. Her stepfather’s father, Papa Boni (Bonifacio Oyarzabal), came to Idaho in the early 1900s. As many other Basque emigrants did, Papa Boni found work in the hills grazing sheep. Well, one plan lead to another and the trip evolved into a 7 day trip with 2-3 nights in the mountains. We only hoped to find the cabins and snap a few pictures.
While my Aunt Anita was visiting from Virginia, we started looking at Google Earth and other maps hoping to find something that looked like sheep camp. Anita told me to look for a spring with 3 buildings close by. She could also remember Mud Flat Road and Nickel Creek. After finding hundreds of springs, none of them having any visible buildings close by we decided to give it a rest. A few months later while I was visiting with mom she mentioned Papa Boni and we talked about some of the stories. Later that day I was taking another look at Google Earth when I came across a Boni Table. After zooming in I saw Boni Spring off the NW end of the Table. Just east of the spring was Nickel Creek. This had to be it. I sent a link to Anita and showed Mom. The map showed several buildings, a few more than the 3 they both remembered. Mom thought it looked too green around the buildings and Anita echoed that thought when Mom talked to here the next day, but every thing else fit. Now we had a plan and a destination. We made some preliminary travel arrangements and invited mom to come along.
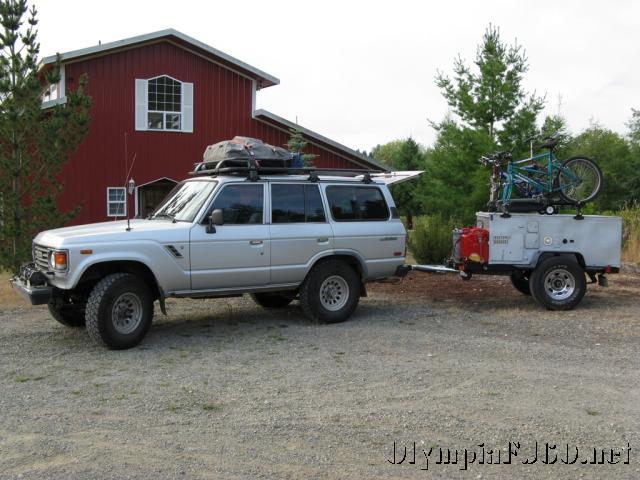
In the spring I stared rebuilding my off-road camp trailer. We decided this would be the perfect chance to really test it out. It is a simple design with a water tank, water heater, on board batteries, sink and cook stove. We never said anything about roughing it, we were going camping. This would be the base of our base camp.
Picture by David
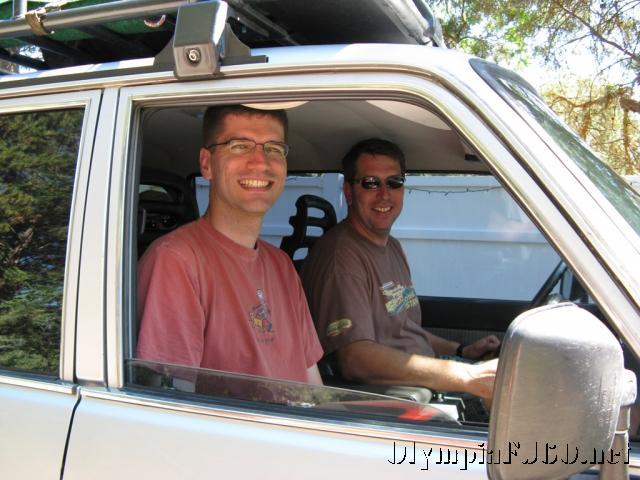
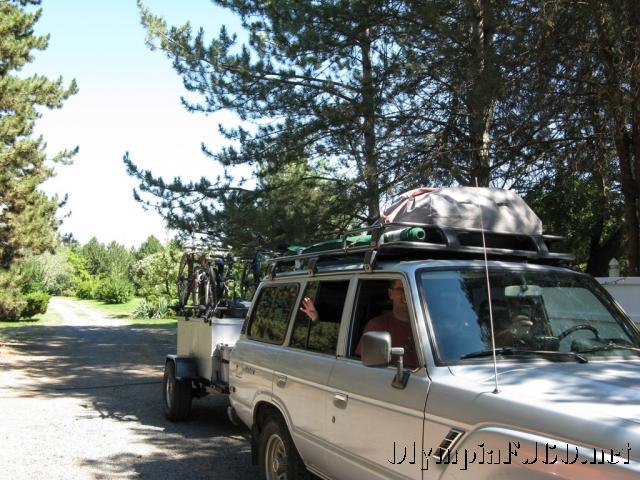
David came down to Olympia Tuesday afternoon to do the final grocery shopping with me and to finish packing up the truck and getting the bikes on the trailer.We had planned on leaving early Wednesday to go pick Mom up in Moses Lake.After working on the trailer lights wiring and a few other items until late, we decided it would be better to sleep a little longer as we expected a long day driving.
Picture by Brandon
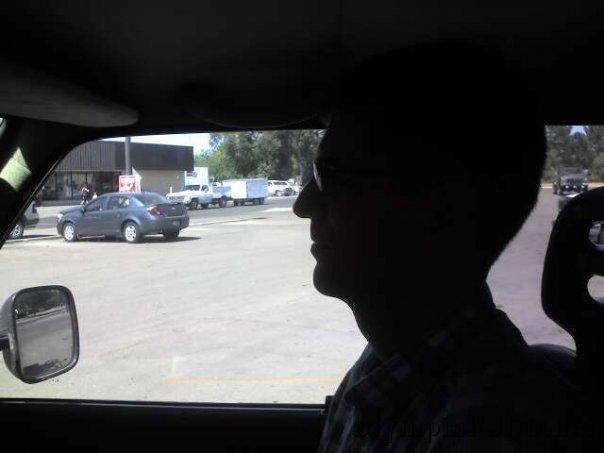
After stopping for coffee and topping off the truck we finally hit I-5 at 9 am, first stop Moses Lake.
Picture by Brandon
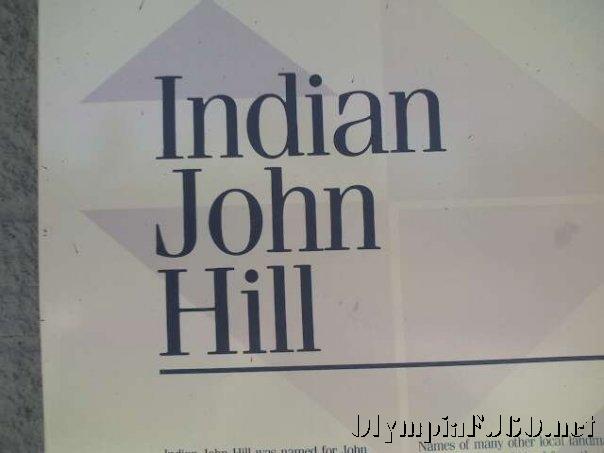
We had to pull off at the Indian John Hill rest area along I-90 for a few minutes.We made it to Moses Lake around 1 pm.
Picture by DadPicture by DadPicture by Dad
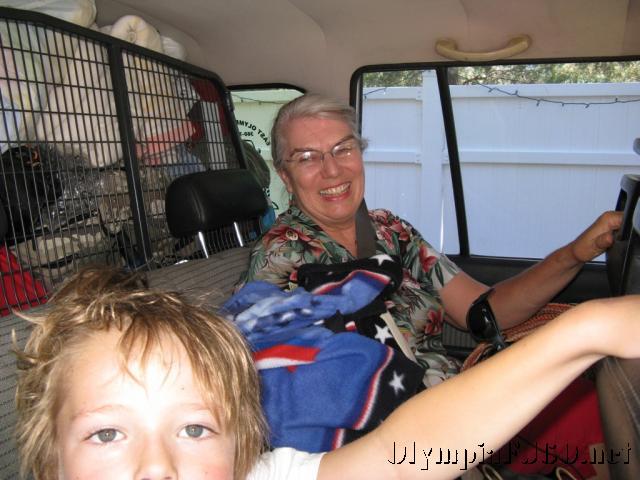
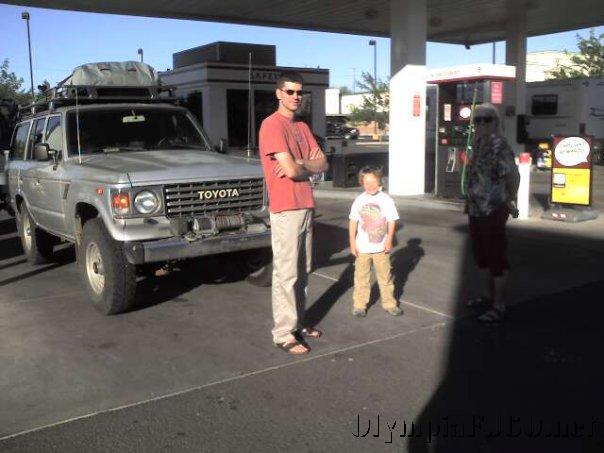
We had a bit of lunch then added Mom’s things to the load. With ourselves loaded as well we were on our way, to the first gas station of the trip.
Picture by Brandon
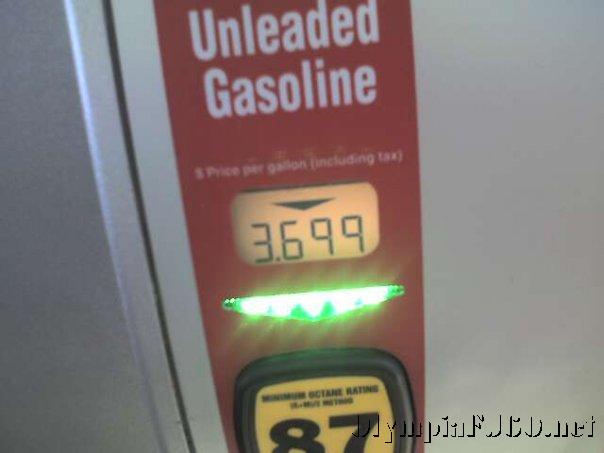
This was the cheapest fill up of the trip.With my $.30 discount we filled up for $3.69 per gallon.
Picture by Brandon
Now we were really on our way, south on SR-17 to the Tri Cities. Our first nights destination was Caldwell, Idaho and the Caldwell Camp Ground and RV Park.
Picture by Brandon
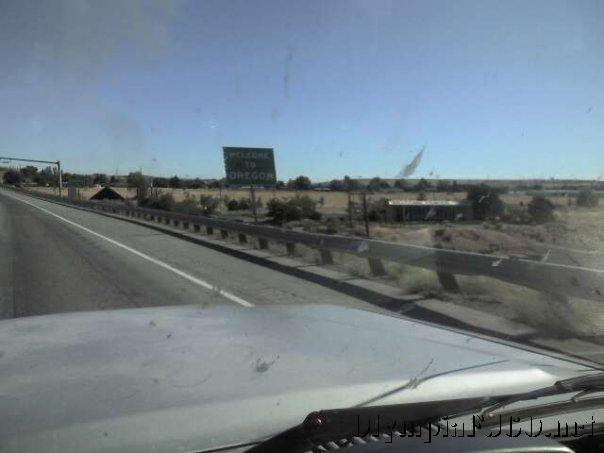
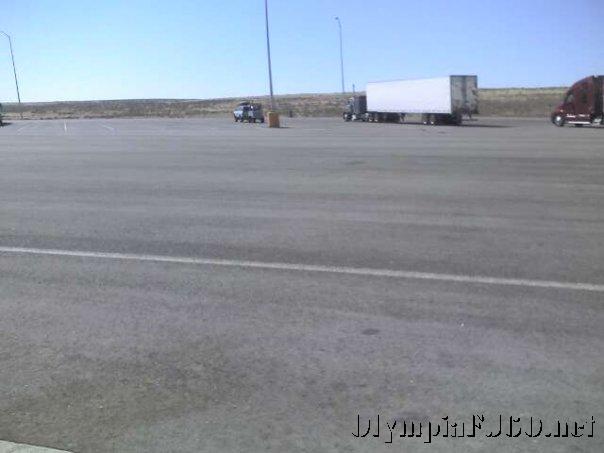
We made it past the Tri Cities onto I-84, almost to Pendleton, before we needed a rest area stop.We were making decent time.It was a little tough to keep up with the speed limit on the hills but the Land Cruiser was performing very well.
Picture by Brandon
We stopped in La Grande for fuel again and a chance to stretch. Our next stop was the Weatherby rest area just before Lime, site to an old concrete factory. We made our final phone calls for the day as we had been in and out of cell coverage since La Grande and didn’t know if we would have service again before nightfall. We thought we would make it to our campground by 8:30, they close at 9 pm. When Mom called and talked with Dad he reminded us that Caldwell would be in Mountain Time. The campground office would be closed and we would have to set up our tent, that we hadn’t even taken out of the package yet, in the dark. It would also be nearly 10 pm MDT before we would we ready to have dinner. We decided to look for the closest campground.
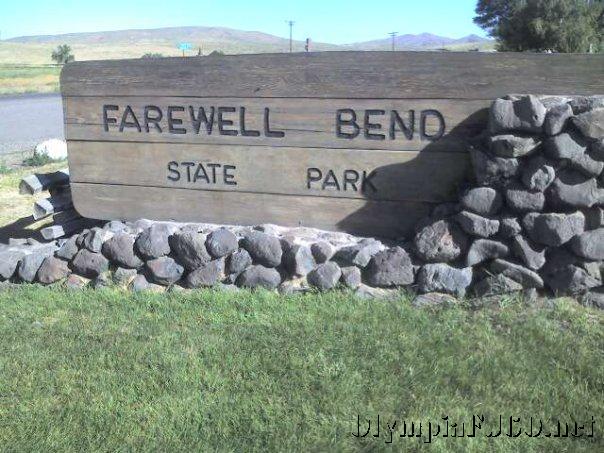
Mom remembered that Farewell Bend State Park wasn’t too far down the road. We pulled off hoping there would be a vacant camp site. We drove around and looked at all the empty sites and found on that would fit our needs. While David and I set up the tent, Farron and Mom registered our camp site and bought some firewood from the camp host. We were sure glad we didn’t try and keep going. It was after 10pm any way before we finished our hot dogs and roasted a few marshmallows.
We got up the next morning and had a light cereal breakfast, anticipating Grandma’s pot roast supper. After braking camp it was back to I-84.
Picture by BrandonPicture by Brandon
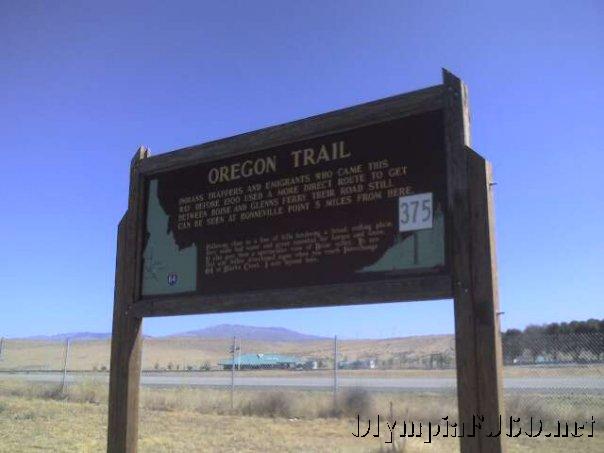
once we passed Boise we decided to stop at Blacks Creek rest area for a little stretch before getting to Mountain Home.
Picture by BrandonPicture by Brandon
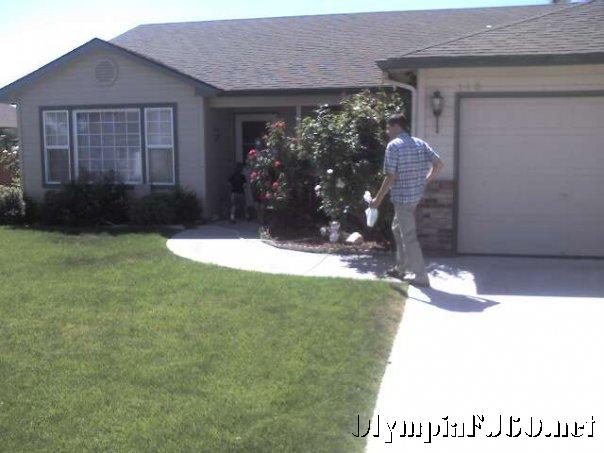
We arrived and Grandma’s in the early afternoon. We had just enough time to visit a little and clean up before supper was ready.
Picture by David
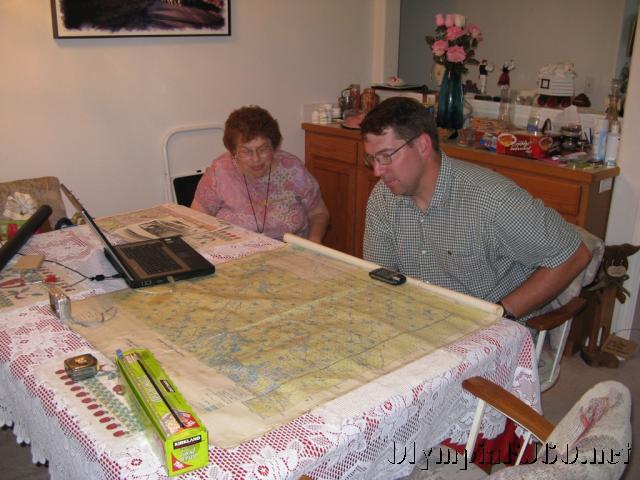
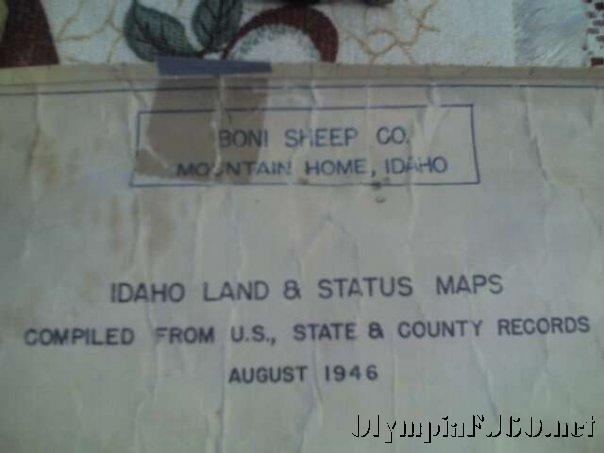
After lunch, Grandma had asked an old friend of Mom’s late brother Geno to stop by. Jeff Day works for the Idaho Fish and Game Department and use to work the Owyhee area. He was intrigued by Grandma’s 1946 map of the Owyhee area. Jeff was very helpful in figuring out how to get to where we wanted to go to find Sheep Camp and gave us several names to contact if we had trouble accessing some areas. He also tracked down a place to get the large map copied.
Picture by Brandon
Grandma was not about to let us take the 62 year old map with us on our expedition. Luckily a local truss company had a plans copier. A whopping $12 later we had 4 hi quality copies. Jeff then showed us some Fish and Game maps of the area for a current look at the roads. He also gave us a little local history and an idea of what we might encounter up there.
Picture by BrandonPicture by Brandon
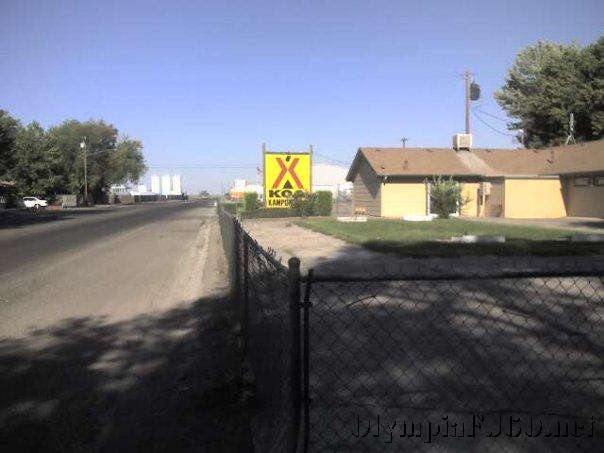
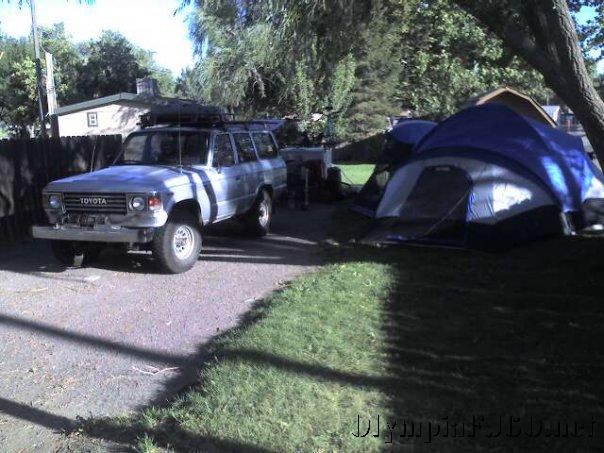
After Jeff left, David and I went to the Mountain Home KOA campground to check in and set up the tent. It is just down the road from grandma’s and Farron really wanted to ride back to the campground so we rode our bikes back for a little bit of leftovers for dinner then some apple pie and a slice of strawberry cake for Mom’s birthday. Mom and Grandma had found some of the old photos from Sheep Camp while we were gone so we looked at those as well. It was getting late so Farron, David and I rode back to the KOA and Mom stayed the night at Grandma’s house.
Picture by BrandonPicture by Mom
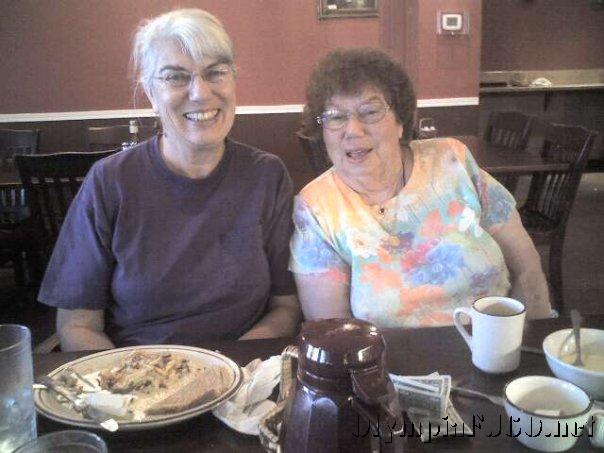
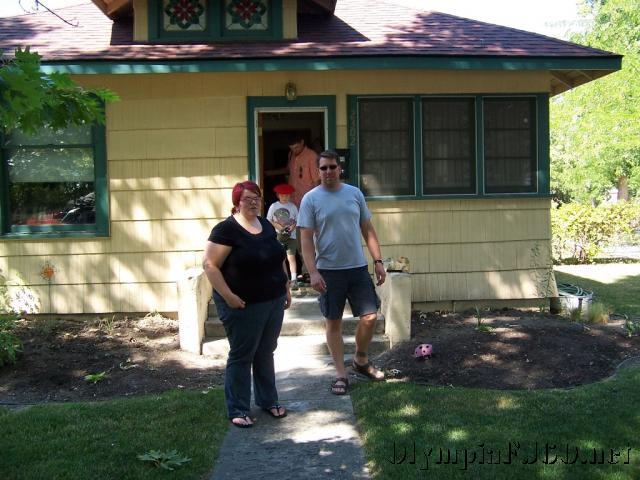
We met Mom and Grandma at a restaurant for breakfast the next morning before heading for Boise.
Picture by MomPicture by Mom
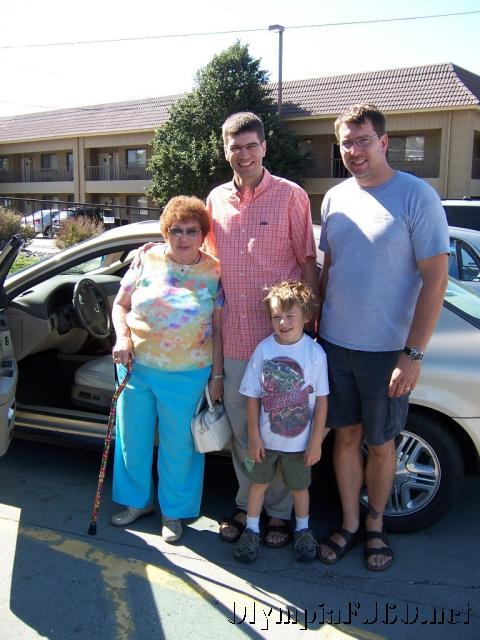
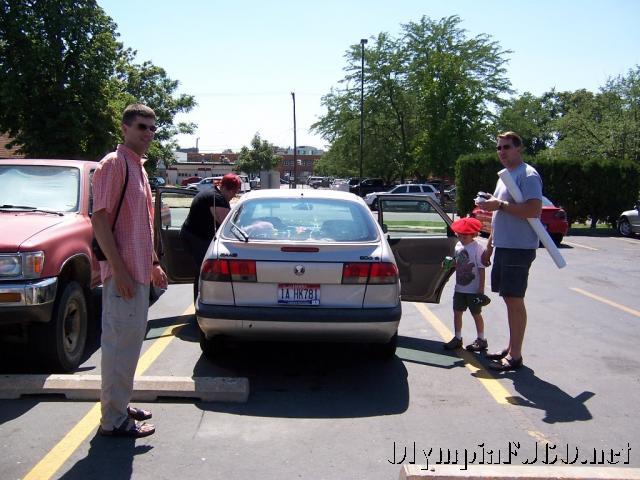
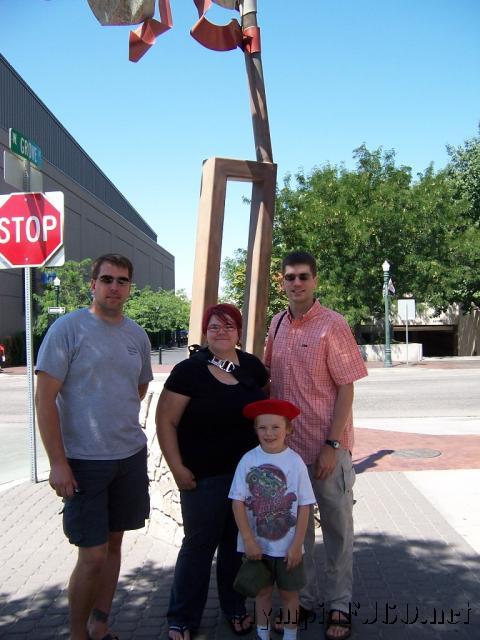
Once to Boise we went straight to our cousin Andrea’s house. She took us in her Saab to The Basque Block in down town Boise.
Picture by BrandonPicture by Mom
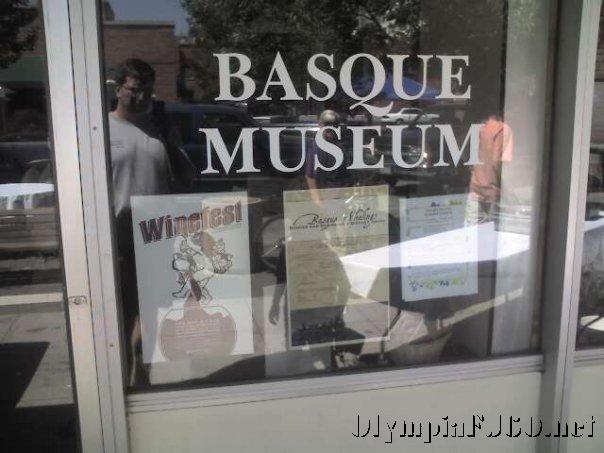
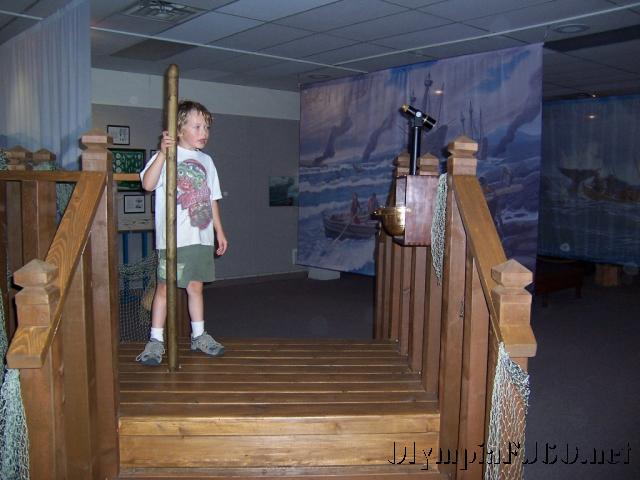
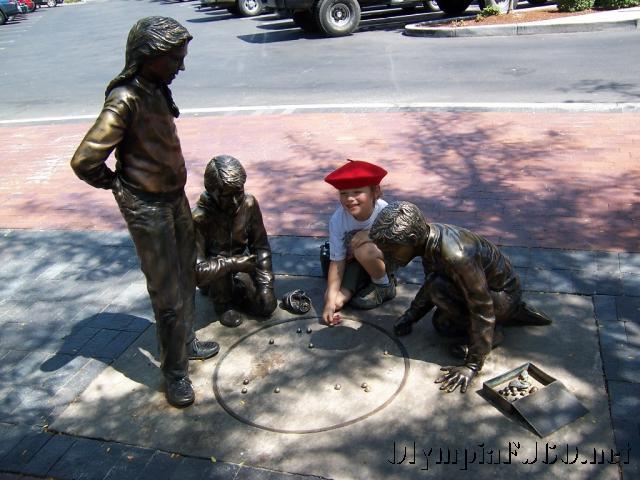
First we visited the Basque Museum, featuring a whaling exhibit from a Basque museum in Nova Scotia. Farron had fun sailing a whaling ship.
Picture by MomPicture by Mom
Next we had a quick tour of down town. On the way we found a map store, so I had to go in and pick out a few maps that covered our expedition route.
Picture by DavidPicture by David
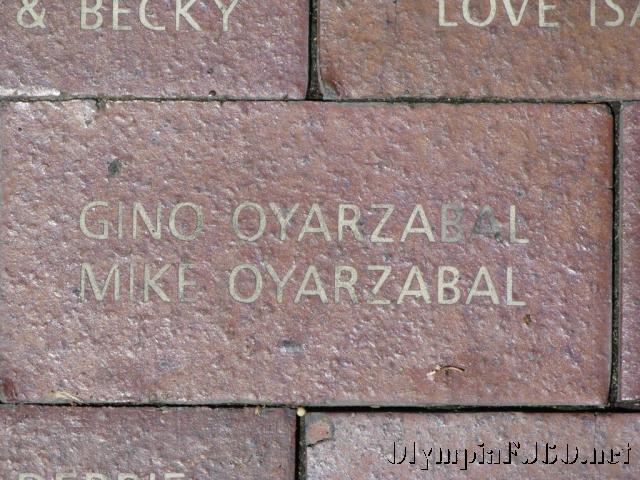
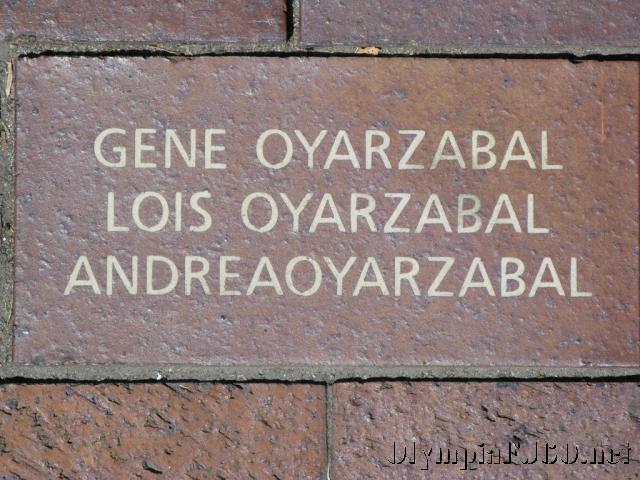
Then we went to find the Oyarzabal bricks Grandma purchased to help fund the Basque Museum.
Picture by BrandonPicture by Mom
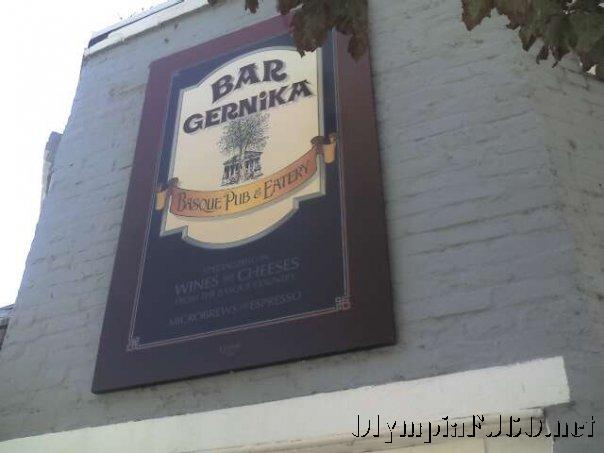
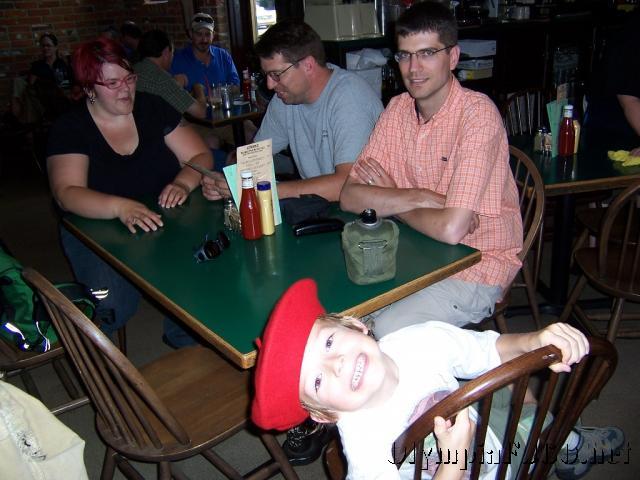
Our final stop was at Bar Gernika for a bit of Basque lunch (and a mighty fine lunch it was). After lunch it was time to hit the road if we hoped to make it the mountains and find a camping site before dark.
We headed back toward Mountain Home on I-84 and turned off at Simco road, heading for Grand View. Once to Grand View we decided to fuel one last time since we wouldn’t see another station for 3 days and didn’t know how much driving around we would do in the mountains. We also took the opportunity to stop by Grand View’s big grocery store and refill the coolers ice supply, get some cold drinks and a few other important items such as eggs and beer.
Picture by David
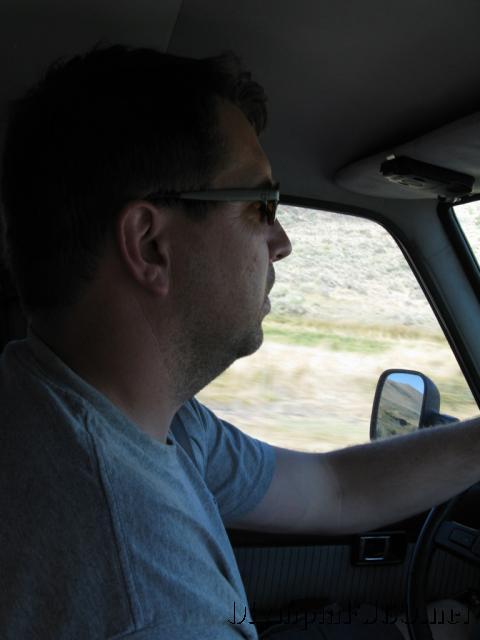
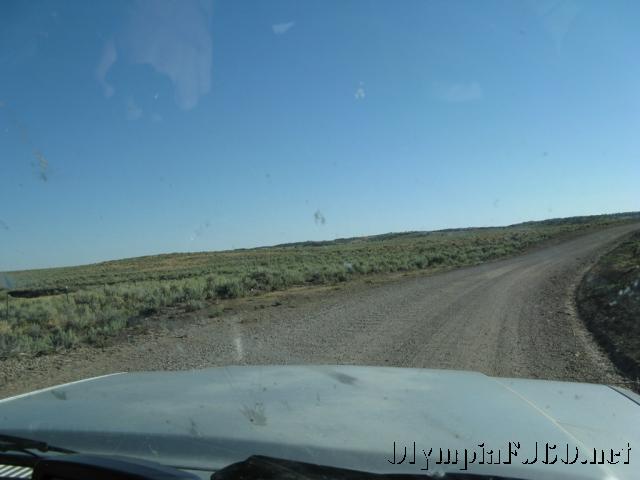
Heading out of town on Hwy 78 East we looked for Mud Flat road, the start of the Owyhee Uplands Back Country Scenic Byway. This is a very popular drive in southern Idaho.
Picture by David
Not very far down Mud Flat Road the pavement ended. We would not see pavement again for almost 100 miles and 2 days. Mud Flat Road took us through such interesting place as Shoofly Creek, Poison Creek, Juniper Creek, Summit Spring, Summit Flat, Thistle Spring, Mud Flat Spring, Current Creek, Hurry Back Creek, Bullhead Basin, Nickel Creek and finally our destination, Boni Spring.
Picture by DavidPicture by David
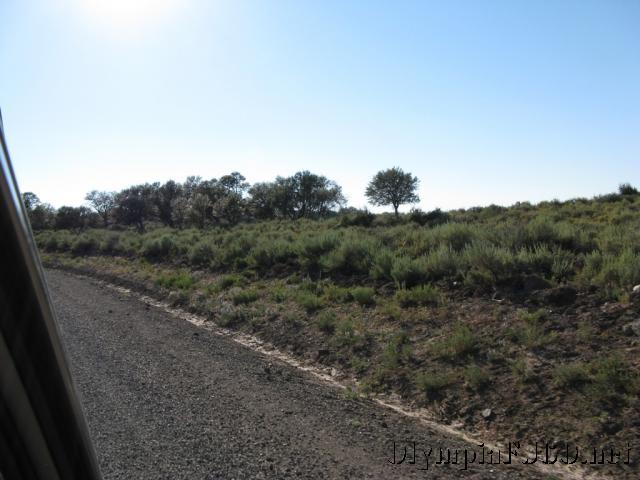
We climbed from the sage brush and hay fields through the Mahogany to the Juniper forests that cover most of the high country. We kept looking for what we thought Sheep Camp would look like around every bend and rise of the road.
Picture by Brandon
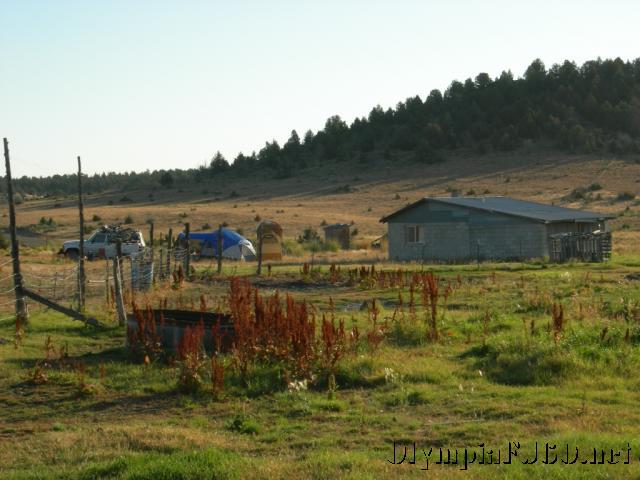
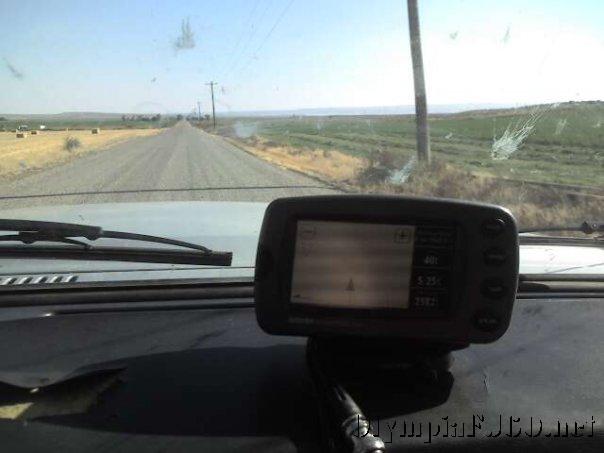
We had an idea of the location but didn’t have a waypoint in the GPS to know how far away we were. Mom was following along on the map as we passed Ranch Road, Antelope Ridge Road, and Deep Creek. I first saw it through the trees on a turn about a ½ mile away. It was a small collection of buildings just off of Mud Flat Road.
Picture by David
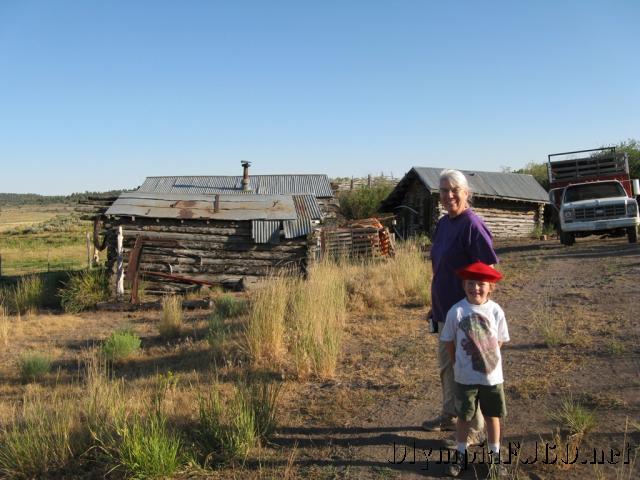
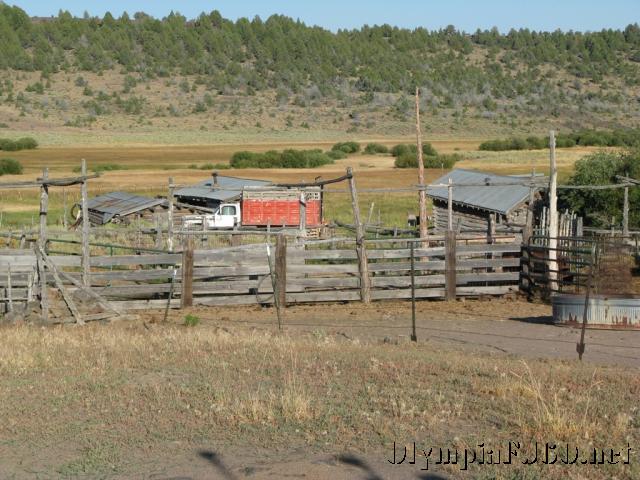
As we got closer we could start identifying the buildings as they were in the photos Grandma had shown us. There was a stock truck parked next to one of the buildings and the gates were up across the driveway. We pulled up to a flat spot just past the camp to park. We didn’t know if there would be anyone there or not. As we walked up to the gate we noticed a man hanging up laundry with no shirt on. We decided I should head down first to make sure it would be ok to take a look around.
Picture by Mom
We met Duane, the resident employee of the Cattle Ranch and a genuine, honest to goodness cowboy.
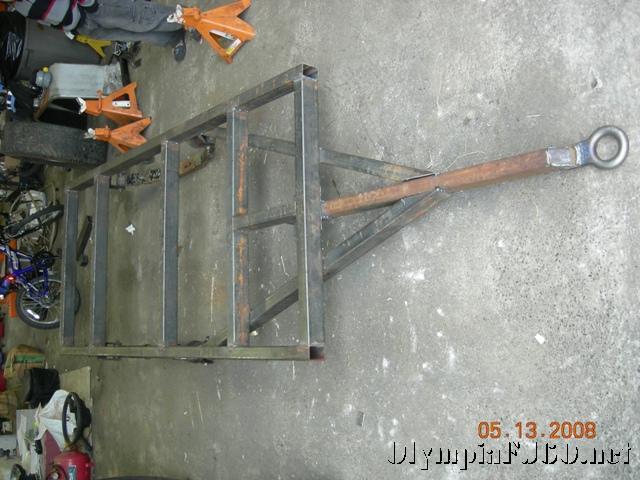
A few posts back I introduced my “old” camping trailer and stated I was going to start to rebuild it. Here is the first installment of the rebuild process. It took some time to figure out how exactly I wanted to approach this. The old camp box was built on my M416A1 military trailer. While this would work again, I find I have use frequently for this little trailer as is. I decided a new, dedicated trailer was needed. The next step was to figure out whether it would be better to find a built trailer and make the box fit or build a new trailer to fit the box. I decided on the latter. After a few trips to Centralia Supply and Fabrication I had enough parts together to start the build. I decided on a simple ladder frame build from 2″x3″ tube steel. I chose to use a combination A frame draw bar that extends to the spring mounts. I had some old Land Cruiser springs and hangers so I used them.
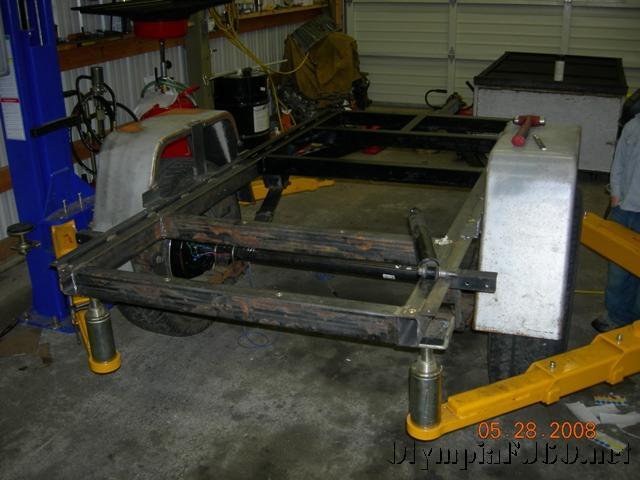
For the axle I went to ABC Trailer Parts as recommended on the forum Ih8mud.com. Since it is going to be a little heavy fully loaded and for off-road use I opted for a 3500# axle with electric brakes. I think this will greatly improve the safety and drive ability of the trailer on the Highway and off-road.
I had the old fenders so I went ahead and used them. They are a little small for 31-33″ tires but I think they will work out fine.
The trailer is decked with 1/2″ pressure treated plywood fastened down using rive nuts and flathead cap screws. I decided to add the deck in increase the usability of the trailer. While I said I wanted a dedicated trailer for the camp box, I realize having an extra trailer could come in handy.
I just used some LED boat trailer lights from Schuck’s Auto Supply. Be sure to print out the page and take it in if you decided to get these lights. Online they are $39.99 and in the store they are $54.99. Schuck’s will price match it’s online prices if you have proof of the price.
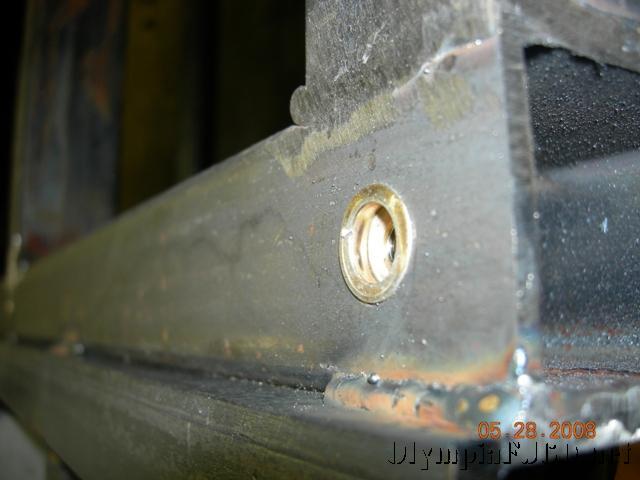
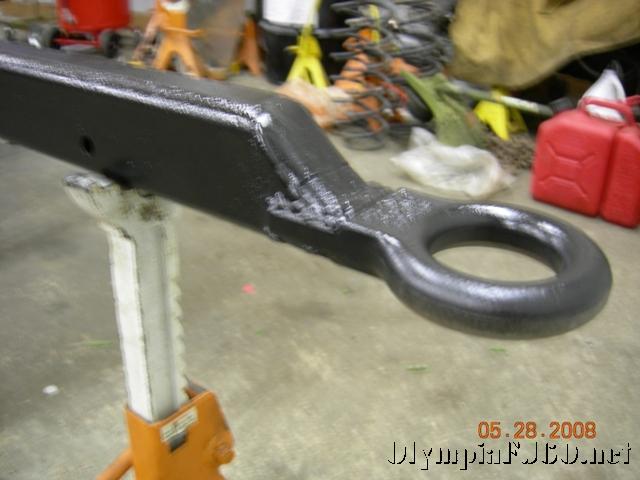
For the draw bar I had a piece of 2″x3″x1/4″ tube. I welded a pintle lunette onto the end and formed it for a little cleaner look. I drilled a 1/2″ hole for the safety chains about 12″ from the end and added the brake away switch for the trailer brakes. This hitch is rated at 10k# and should be more than sufficiant for my needs. If you are a concerned about the strength of your particular draw bar, take a look at this source (found on ih8mud.com) for specifications gleaned from some Australian Highway Codes.
The box is held to the trailer using the same rive nuts, 4 per side. Now I just need to add some “D” rings to the sides of the box so I can easily hoist it off.
The box will house a RV style hot water heater, power connections, 2 deep cycle RV batteries and a 20 gallon water tank. It also has provisions for a sink and stove that slide out of the back of the trailer. There is also room in front of the box to store extra fuel, water, cooler or other supplies.
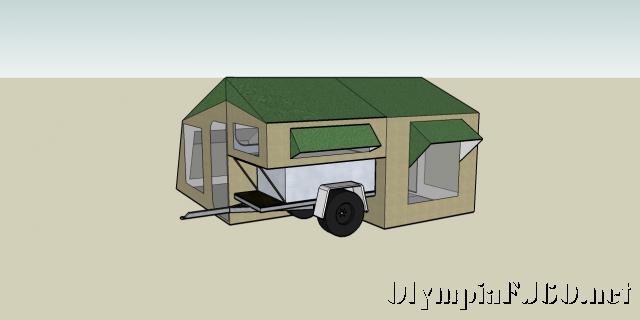
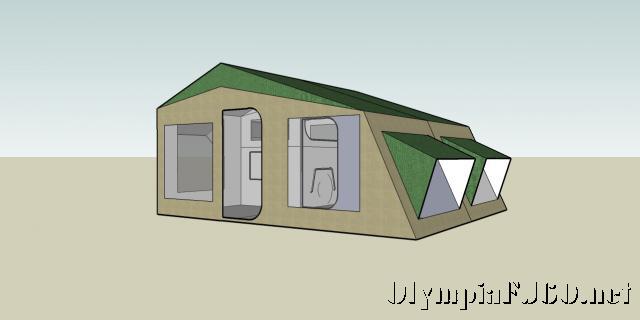
Eventually I would like to add a large tent to the trailer making in a complete off-road camper. I am currently trying to source a supplier for such a tent.
Here is a sample 3D model I drew up using Google’s Sketchup program.
I will continue to add more as I complete the build process. Next up will be batteries and a charging/inverter system.
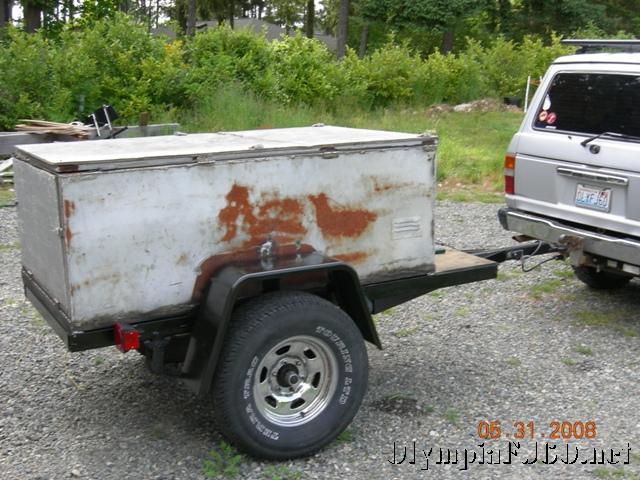
Well, it is about time to rebuild/resurrect my camp trailer design. I first built it about 5 years ago on the back of my M416A1 military trailer. It has a hot water heater, 20 gallon water tank, electric water pump and double sink.
I started by building a frame out of 1×1 thin wall tubing. This was placed on the M416 and attached to the stock mounting points (the trailer frame was never altered). After the frame was built, I skinned it with (heavy) 14 gauge steel. I think this was over kill. I the rebuild we will be removing this an using a little lighter gauge metal or aluminum.
The water heater is a standard RV type made by Atwood. It runs on propane. There are other models that are 3 way (120v, 12v, propane) but I thought this was too much for an off road trailer. We won’t be using camp grounds with hookups and the 12 volt draws too much current for regular use. It doesn’t really take long for it to heat up with the propane. I just start the water heater first and there is hot enough water by the time camp is all set up. If I were to do it again I would consider a hot camp water heater like the ones sold by Decker’s Hot Camp (also where I will get a heater for the tent space if I decide I need one).
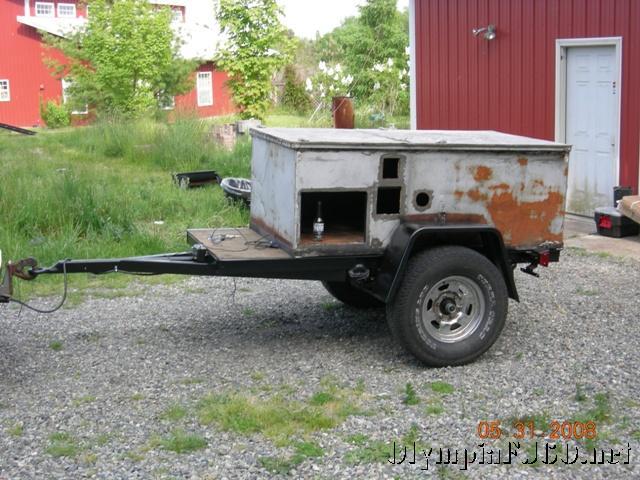
The sink is also a standard RV type I found at a local RV wrecking yard. I currently have a double sink installed but will be changing that to a single sink and make room for a 2 burner camp stove to it’s left. I also carry a Camp Chef 3 burner stove. The sink drains into a small holding tank that can be rolled to the nearest safe spot to drain (it is just rinse water).
Last feature that we would like to have on this trailer when it is complete is a tent mounted to the top for quick and convenient sleeping arrangements. I have looked at several designs and really like the Australian and South African types that have a large ground floor area as well as an annex off one end for covered cooking area. This is not just an off-road trailer, this is going to be a family camper.
Next is to start rebuilding including a new trailer base so I don’t have to reuse the M416A1.


 Well, it is about time to rebuild/resurrect my camp trailer design. I first built it about 5 years ago on the back of my M416A1 military trailer. It has a hot water heater, 20 gallon water tank, electric water pump and double sink.
 The water heater is a standard RV type made by Atwood. It runs on propane. There are other models that are 3 way (120v, 12v, propane) but I thought this was too much for an off road trailer. We won’t be using camp grounds with hookups and the 12 volt draws too much current for regular use. It doesn’t really take long for it to heat up with the propane. I just start the water heater first and there is hot enough water by the time camp is all set up. If I were to do it again I would consider a hot camp water heater like the ones sold by
  The sink is also a standard RV type I found at a local RV wrecking yard. I currently have a double sink installed but will be changing that to a single sink and make room for a 2 burner camp stove to it’s left. I also carry a Camp Chef 3 burner stove. The sink drains into a small holding tank that can be rolled to the nearest safe spot to drain (it is just rinse water).