Categories
Outdoors Tech Vehicles

Camp Bug I gets a few new accessories

Getting ready for a few camping trips I decided to update a several items on the trailer.

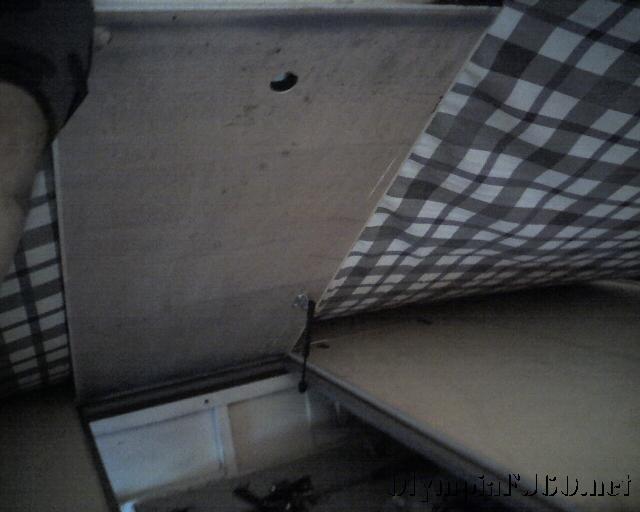
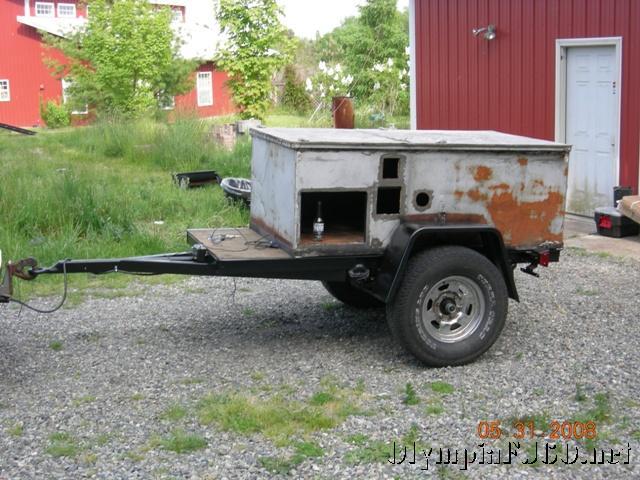
The first was to install a door for a little more storage space and so I can check on the batter charge condition without having to open the top and remove the inside shelf.  I was able to find the correct size hatch on Ebay for a reasonable price.

trailer updates 1
trailer updates 2

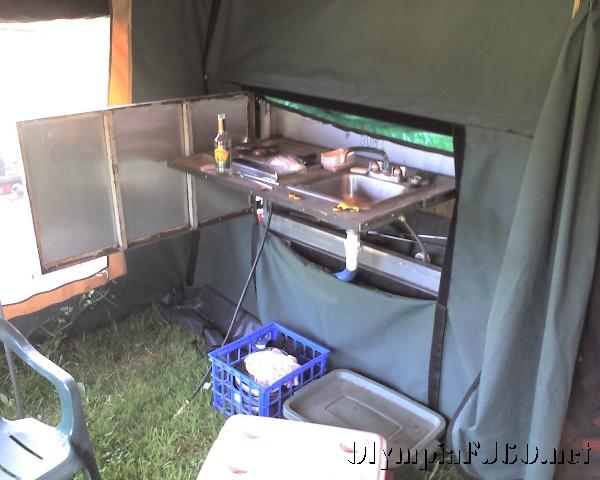
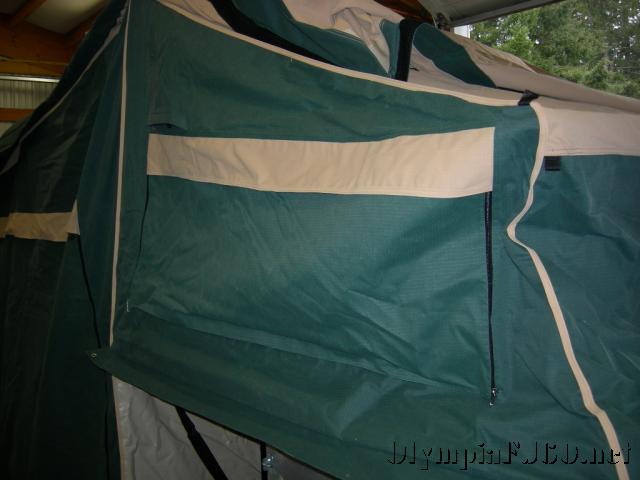
I also installed an outdoor shower box for rinsing off and the occasional shower. I also have a shower enclosure and use the solar shower bag. I like using the bag because it prevents any one from over using the water. The shower will be plumbed into the lines going to the sink in the rear.

trailer updates 4
trailer updates 5

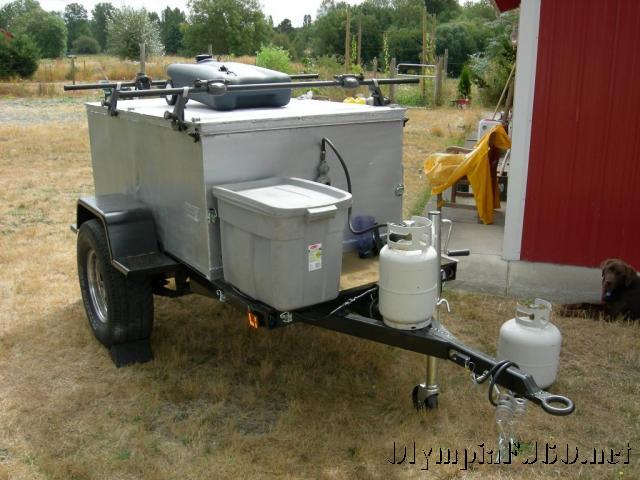
I also wanted to add propane bottle bracket. I kept looking (as others have) for the correct solution for my trailer. I was going to use the XL Quick Fists as they have and extremely high rating, but I decided I wanted the primary tank on the tongue rather than against the box. I ended up bending some 2″x 3/16″ strap on my harbor freight bender. Making 90* bends is about all I use it for and it does the job well. I made a 1/4 cage crossed with a full cage that is hinged on the top and uses a heavy locking clasp. It is bolted to the tongue.

trailer updates 6
trailer updates 3

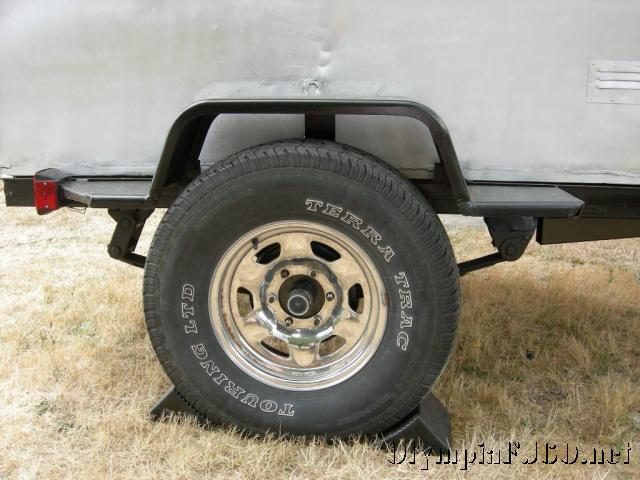
For the spare tank I used the XL quick fist straps. They are just big enough for the smaller tanks and hold it quite well.

Photo_080409_sm_003

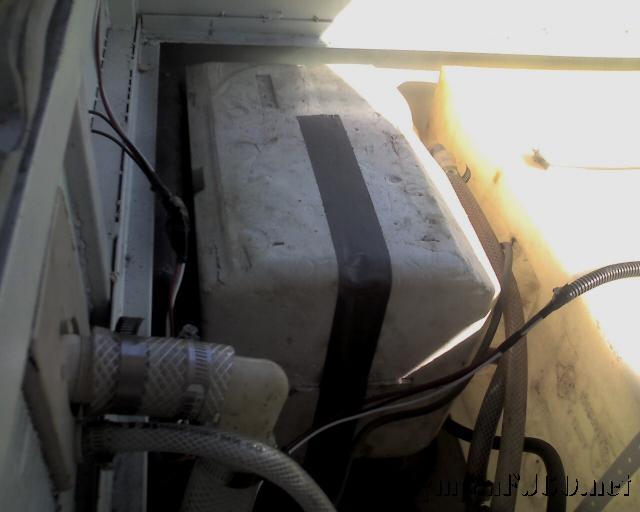
The last thing I did before the trip is the installation of the under body water tank and gray water tank. This opened up considerable storage space and lower the COG even more, as well as move the water weight centered over the axle.

The water tank is just a basic unbaffled 20 gallon tank. All fittings are customizable. I just put a vent, drain and fill fitting.

water tanks 03.

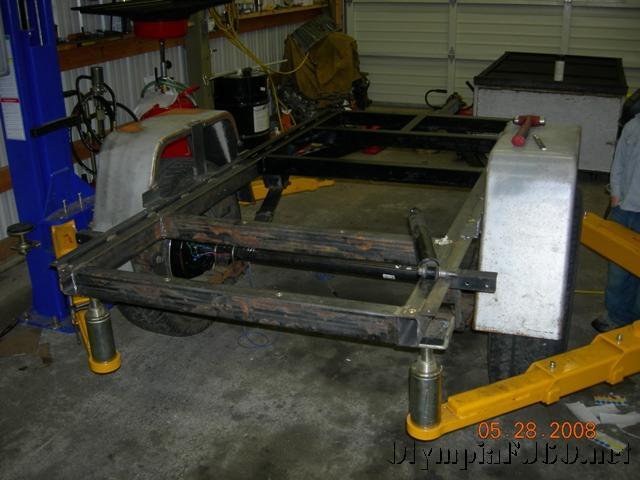
The tank was fitted up for marking holes then temporarily strapped up with plastic plumbers tape.

water tanks 05
water tanks 06

For the waste tank I decided to use a standard RV drain valve. Time will tell if this was a good idea. It sits pretty tight up to the frame behind the spring shackle. This tank came pre-molded with a 3″ drain and is tapered at the back, just enough to tuck up to the rear frame member. I had a 1 1/4″ fill and 3/4 vent fitting added. I got a 3″-1 1/2″ adapter and the valve at the local RV repair store and the ABS fittings at the hardware store.

water tanks 02
water tanks 08
water tanks 09

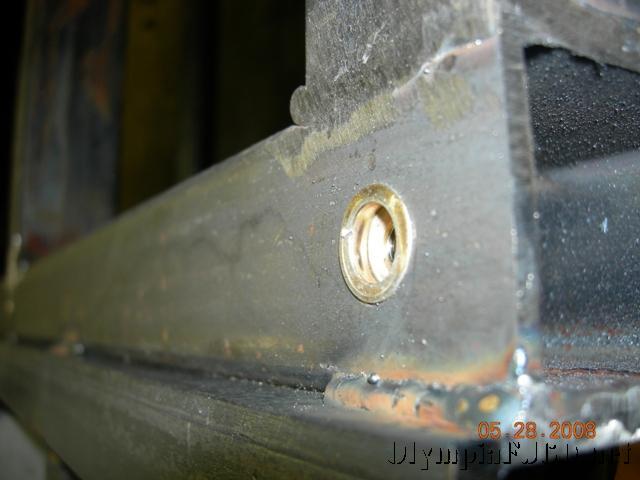
For the tank straps I used some 1/8 x 1.5 bar, added some bends for soft corners and bolted it up to the frame using the same Rivnuts I used in the decking. This is how my Land cruiser gas tank is mount so I think it will be adequate for the trailer.

There is just about the same amount of room between the bump stops and the springs as there is between the axle tube and the tank. I may add a little aluminum skid shield to protect the hoses and fittings. This would be attached to the tank straps.

Here are a few pictures of  the tank straps. Turned out pretty well. No sign of failure yet but the center of the water tank may need a little more support.

Photo_080409_sm_007
Photo_080409_sm_006

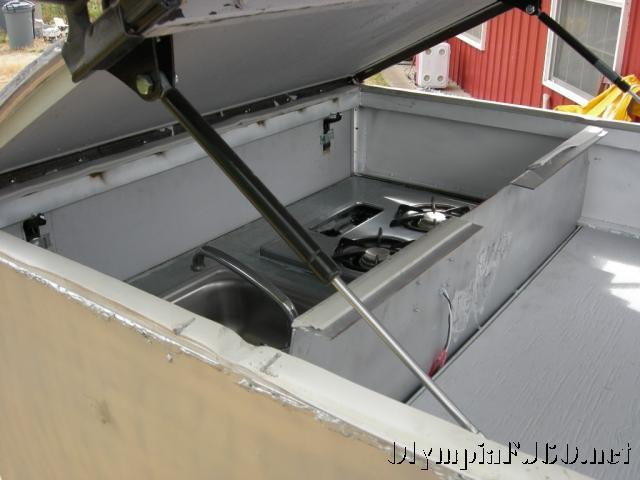
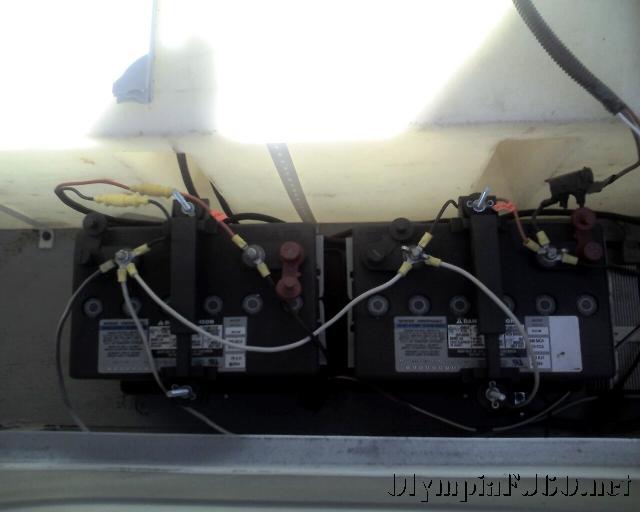
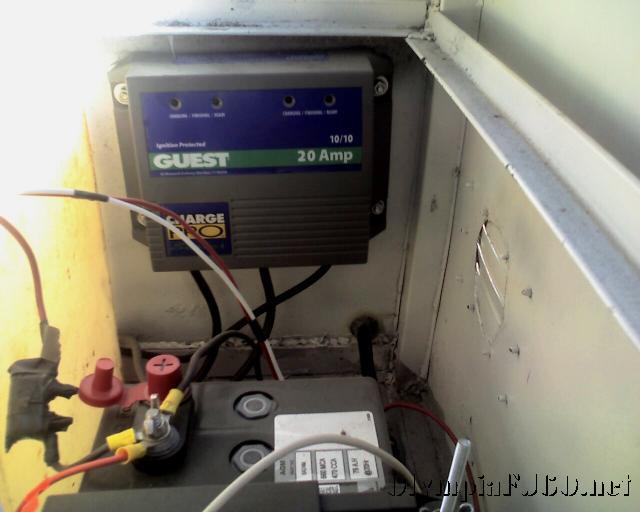
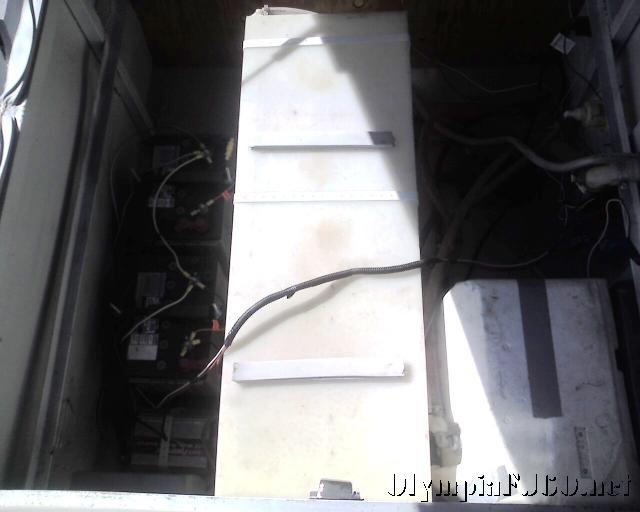
I was able to gain a lot of space in the trailer by moving the water tank underneath. I rearranged the batteries to help maximize this space.

Photo_080409_sm_001
Photo_080409_sm_002
Photo_080409_sm_004

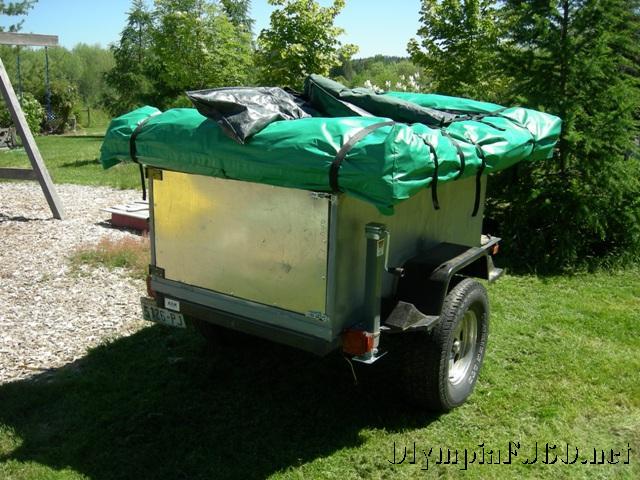
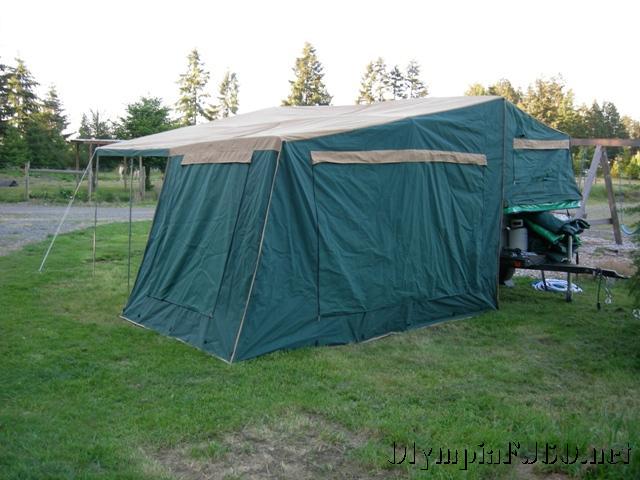
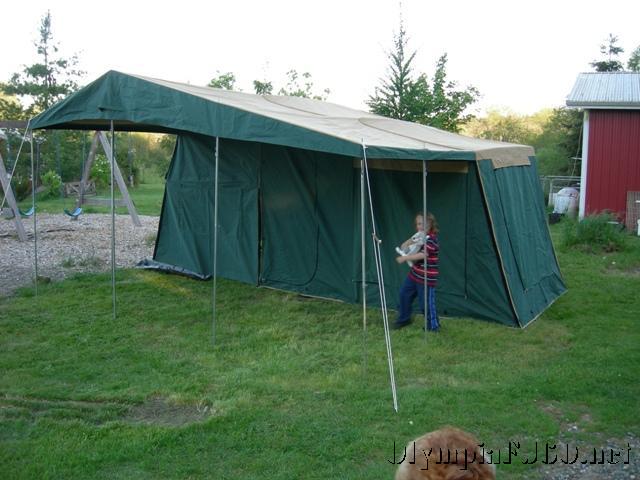
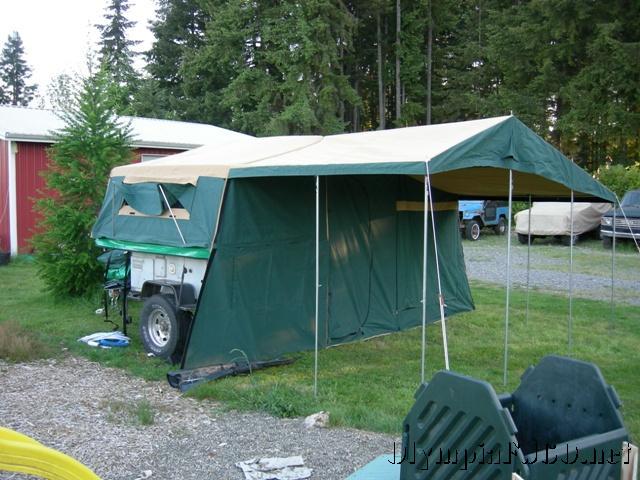
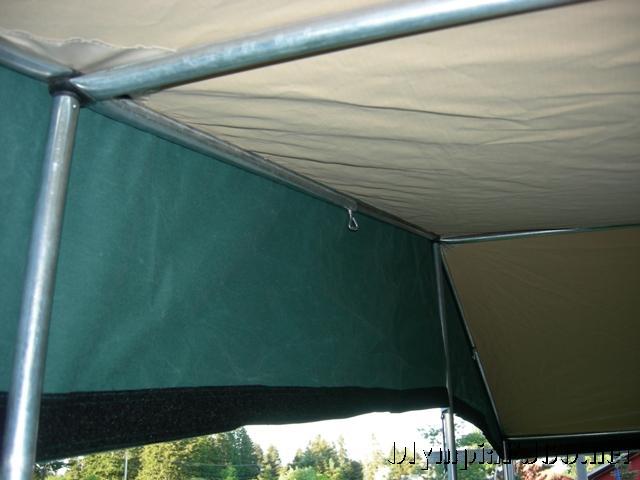
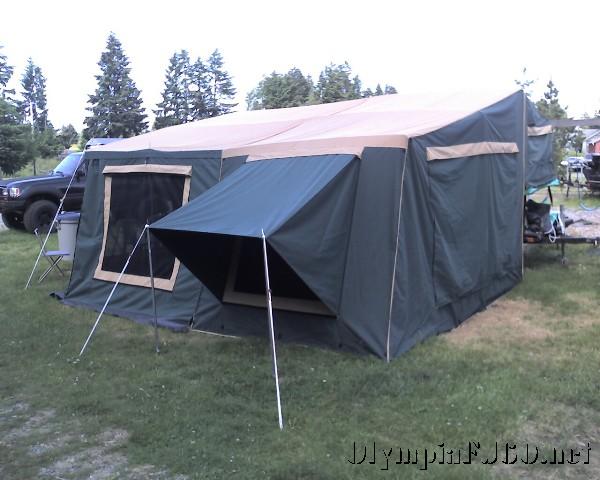
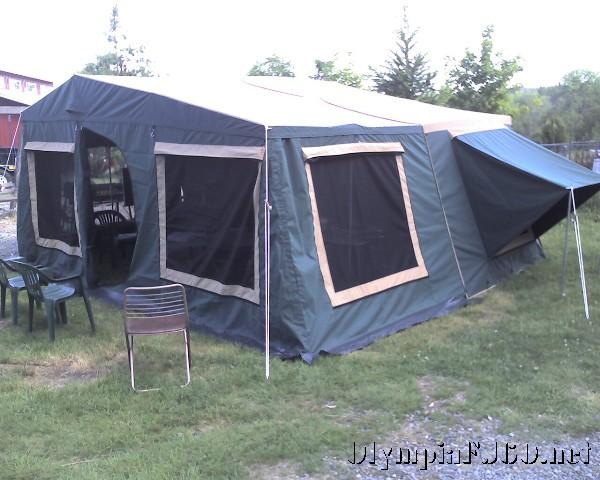
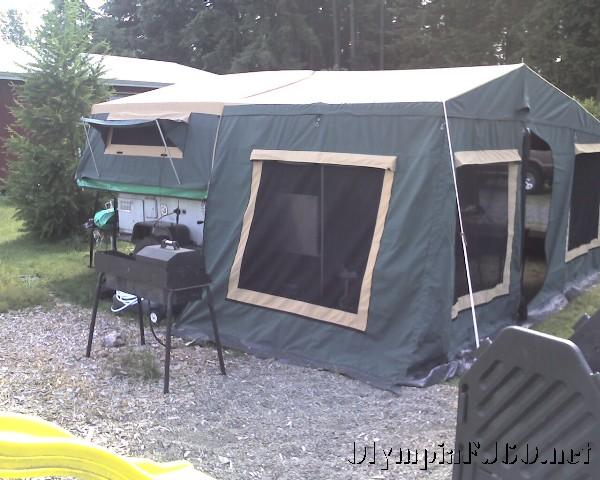
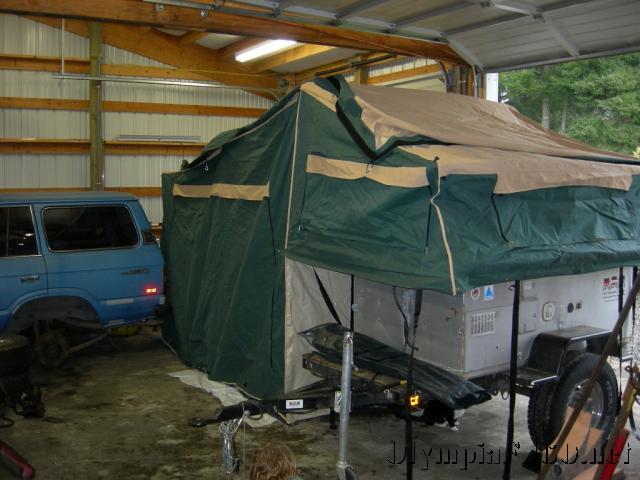
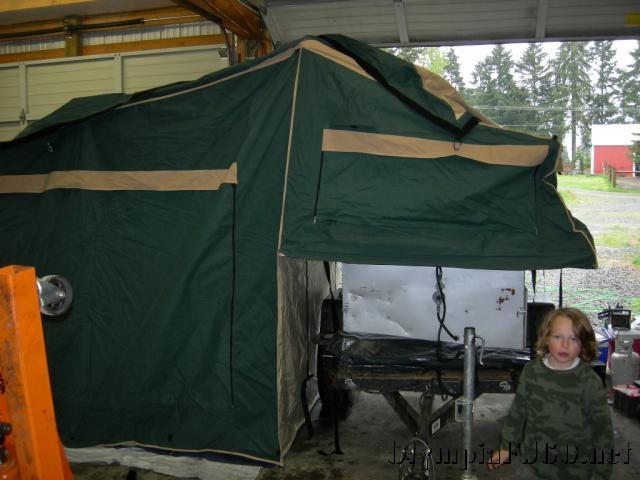
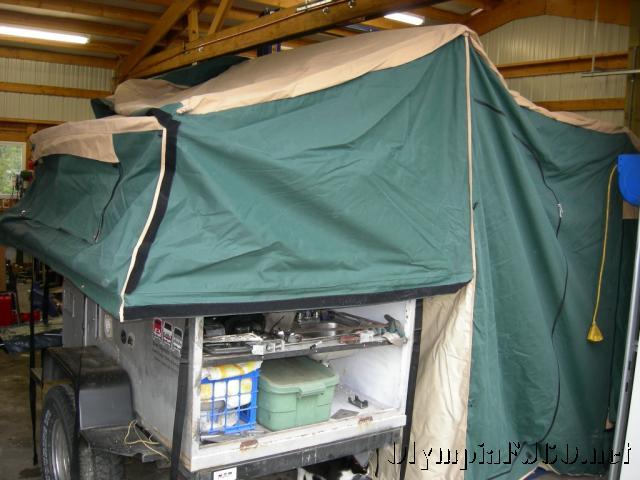
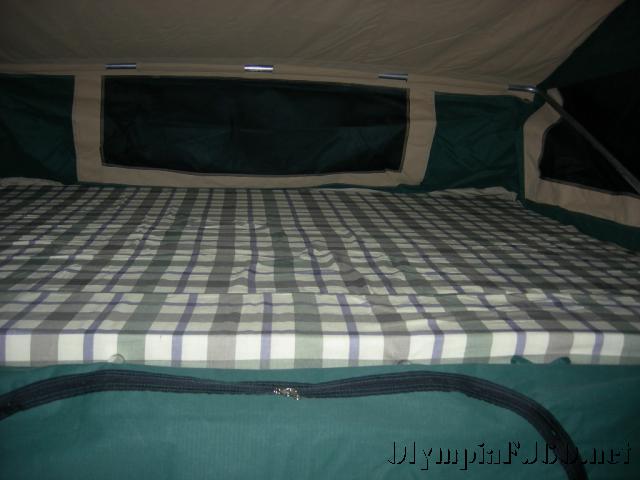
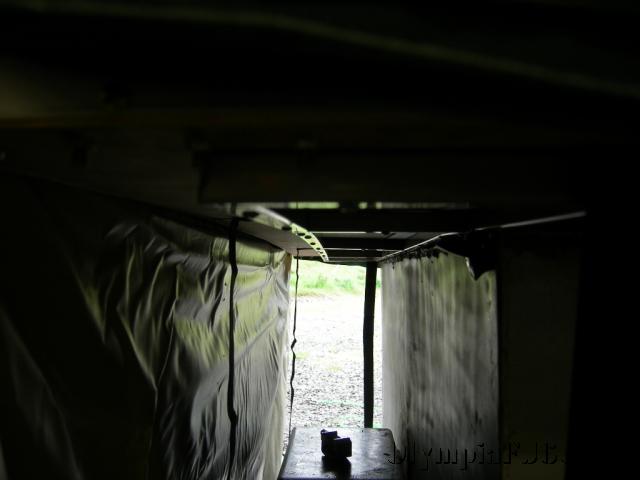
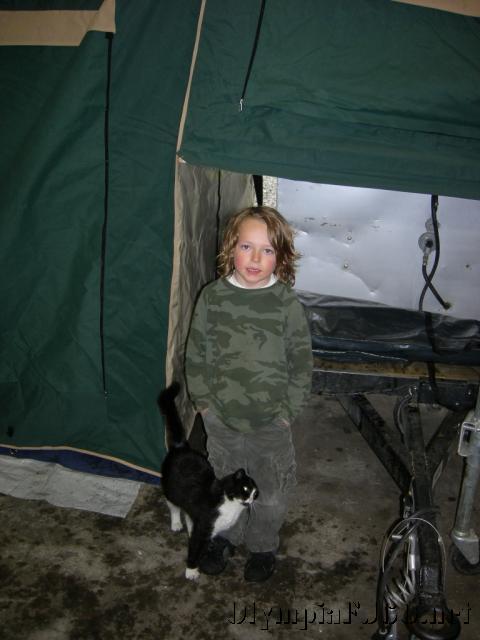
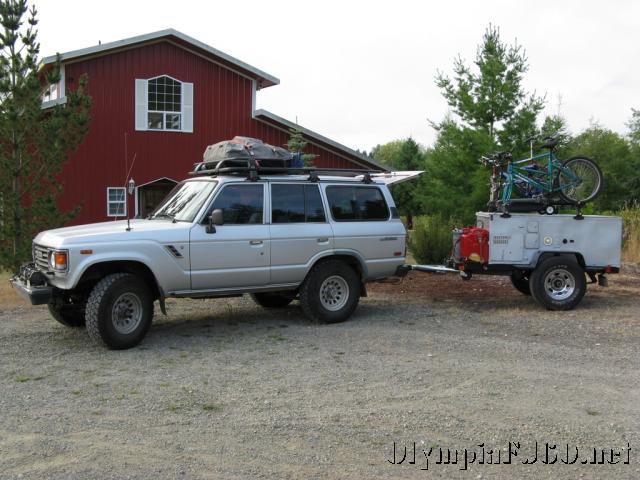
Here are a few of the trailer in action on a recent camping trip to the Naches Ranger district.

Naches 2009 sm 04
Naches 2009 sm 03
Naches 2009 sm 06
Categories
Outdoors Overland travel

Trailer Tent – Camp Bug I

After a long search, many nights messaging back and forth with a tent maker in China and a little work to put it all together I finally have the tent I have wanted for my Off-road tent trailer.  The tent is of the basic design used in much of Australia.  I had a few different requirements for mine as well as features the US market may want.  This first tent was also a good learning experience for international trade, ocean shipping and importation.

Camp Bug, this is the name to the entire tent trailer project by my son.  He has heard the story and seen the pictures of the boat I build with my father when I was about 10.  It was a remake of an older boat my siblings had used.  The boats original name Sea Bug and we christened the newly built boat the Sea Bug II.  Here are a few pictures of the Sea Bug II.

sebug-5
seabug-2

seabug
seabug-3


Back to the Tent and Camp Bug I.  After much work, a little retrofitting and a little beefing up I was able to attach the tent to the trailer.  It uses three hinges to hold it to the trailer.  It has two left handed and one right handed lift off hinges.  The right handed hinge is in the center and acts as the lock.  Half of the center hinge is bolted to the trailer.  The rest of the hinges are welded to the trailer and tent base.  This makes it possible to remove the tent from the trailer if need be.  To hold the folded tent up while loading I started out with two 120 lbs gas lift struts.  This works once the base is completely extended, but does nothing to help lift it.  With the tent and base weighing in and near 350 lbs I think I need a little help.  I will try a pair of 200 or 250 lbs struts and see if that does the job.

trailer-tent-003

The tent wasn’t difficult for me to set up by my self the first time, but two people will be helpful.  I started by removing the cover, removing and setting aside all the poles, guide lines, stakes and awning (annex) walls.  Next I pulled the tent off the trailer spreading the PVC floor out as tight as I could.  This also pulled the two ground length internal poles off the trailer.

photo_060409_014
photo_060409_016
photo_060409_017
photo_060409_018

Once the floor is staked down, I went inside and put the ground length poles into their pockets in the walls.  The poles are extended until the roof is tight.  The two poles that are attached to the base also need to be extended.

trailer-tent-006
trailer-tent-007
trailer-tent-008

The annex uses it’s own set of poles. Setting this up was the hardest part of the setup. It helps to have a second person to hold one of the poles as you attached the rest of the structure. Four poles attach through the tent wall to the inside pole structure.

trailer-tent-012
trailer-tent-011
trailer-tent-013

The tent comes with a ladder to get up onto the bed.  The bed consist of a 3″ thick foam pad roughly the size of a queen sized bed.  Under the bed are two hatches for easy access to items that are stored inside the trailer.

trailer-tent-009
photo_060409_012
photo_060409_013

The walls for the annex are as simple as attaching the three panels together and to the tent with their Velcro strips.   Fully deployed, the tent has two windows with rain covers and six windows that can role up.  All windows as well as the two doors have mosquito netting to keep bugs out.

photo_060409_005
photo_060409_006
photo_060409_007

The Kitchen slides out through the opening in the tent panel at the back of the trailer.

photo_060409_008

The roof vents, there is one in each outer end of the tent.

photo_060409_010

And the tent stakes. There is a set of the standard size metal stakes as well as an extra heavy duty style that is about 3/8″ thick.

photo_060409_011


The tent can be mounted on most any trailer smaller than 90″ long x 66″ wide.  A custom mounting frame may be needed.  For questions or more information on the trailer tent, please contact me or submit a post on the East Olympia Cruisers website or download the [download id=”2″].

Categories
Outdoors Overland travel Tech

Off-road Tent Trailer Build, Part3

The trailer tent has arrived. I set it up quickly or some pictures and get a first impression. Of course it was raining so I had to set it up in the shop. I was not able to open the annex and install the walls but the main tent fit (just barely) and I like what I see so far. Well made with heavy sippers and double seams. I have some questions on the travel cover but everything else looks pretty good. Now I just have to figure out how I’m going to mount it to the trailer. I think a bit of extra bracketry is required and will have to pack the tent back up and flip it over to get a better idea.  I will get more pictures one I get it permanently mounted and can set it up outside.

trailer_tent_02
trailer_tent_01
trailer_tent_03
trailer_tent_04
trailer_tent_05
trailer_tent_06
trailer_tent_07
trailer_tent_08
trailer_tent_09
trailer_tent_10
trailer_tent_11
trailer_tent_12
trailer_tent_13

My minimum order is 10, so I think 5 people and I will have to nearly full price. If I can get 8 or more, I will be able to give about 20% discount I think.  If you are interested in being part of the initial order please let me know by using the contact form.

Still waiting on ocean shipping rates. Also looking into the need for fire retardant fabric before I announce a price.

The size of the tent closed is 90″ (~7.5′) long, 66″ (5.5′) wide and between 6″-12″ tall. The width was selected because that is the width of my trailer outside fender to outside fender. I believe the M416 is roughly the same. The base is designed to sit 54″ off the ground. Open, the tent is 17′ wide and 15′ long (7.5′ each for main room and awning). The peak is 8′. The tent fabric is 10oz rip stop poly cotton canvas and the floor is 13oz PVC. Polls and ladder are steel. The base is 3/4″ marine grade plywood with a metal frame under for added support. There are two hatch doors in the base for easy access to trailer storage once setup. There is a 3″ foam mattress. The entire tent weighs roughly 350 lbs.

I am still working on the mounting. I am thinking of offering a mounting frame at additional expense or having the customer provide their own mounting method. The frame would fit customers trailer and have hinges, latches and struts.

Categories
Outdoors Overland travel Tech

Off-road Tent Trailer Build, Part 2

idaho-trip-by-david-031Now that the trailer has been completed and test I thought I would finish up the trailer build with some finished pictures, a recap of features and parts used as well as a summary of the trailers performance.

We recently completed a 1625 mile trip (about 100 miles on dirt/gravel roads) to Idaho.  The full write-up is HERE.

finished_trailer_13The only changes I need to do to the trailer is to change the axle from spring under to spring over.  Once fully loaded with water, camping gear, extra fuel and bikes (or tent in the future) I have very little travel left between the bump stops and in the fenders.  It will also allow for slightly larger tires.  Here it is with 31″ tires.  I would like to fit 34″ tires to match the Land Cruisers.

finished_trailer_12The next area of improvement would be lid strength and stronger struts.  With the bikes on top it was very difficult to lift.  The lid also flexes.  If there are not two people to lift it is almost impossible.

Features that need to be added still are fuel can holders.  I picked up a pair of J Cans from Expedition Exchange.

finished_trailer_11I also need to add some brackets to hold the propane tanks but I haven’t decided on the size of tank.  Right now I have one 11# tank it it was more than enough for a week of camping with cooking and hot water.  I don’t think there is a need for a 2o# tank.  The current plan is to mount the tank on the tongue using a bracket similar to the ones used on the Fleetwood tent trailers.

Pictures of the interior of the trailer. I used AGM batteries for safety and reliablility (like optima just no spiral).

photo_091208_001
When at a campground our at home, I use a trolling motor charger to keep the batteries topped off. When driving I charge through the vehicle using a hellroaring battery isolator I installed as part of my Dual battery setup into an 87 FJ60 | OlympiaFJ60
photo_091208_002

The back of my power box. I used circuit breakers from the batteries to the power. One battery is for the water pump and lights. The second batter is for the inverter.
photo_091208_003

For the inverter I just used a 400 watt inverter I had wired with a relay to switch on and off from the switch panel.
photo_091208_006

Here is a shot of the water heater. You can see how much space this thing takes up. I think in my next trailer I will use the on demand type heater instead. The second picture is off the whole inside. The water tank is the other item I would change. It is too tall. I think a wider but more flat one would work better for storage space. Even with the limited space I am able to carry the camp table, chairs, tent and shower/toilet enclosure.
photo_091208_004

photo_091208_005


Categories
Overland travel Tech

Off-road Tent Trailer Build, Part 1

trailer_build_02

A few posts back I introduced my “old” camping trailer and stated I was going to start to rebuild it. Here is the first installment of the rebuild process. It took some time to figure out how exactly I wanted to approach this. The old camp box was built on my M416A1 military trailer. While this would work again, I find I have use frequently for this little trailer as is. I decided a new, dedicated trailer was needed. The next step was to figure out whether it would be better to find a built trailer and make the box fit or build a new trailer to fit the box. I decided on the latter. After a few trips to Centralia Supply and Fabrication I had enough parts together to start the build. I decided on a simple ladder frame build from 2″x3″ tube steel. I chose to use a combination A frame draw bar that extends to the spring mounts. I had some old Land Cruiser springs and hangers so I used them.

For the axle I went to ABC Trailer Parts as recommended on the forum Ih8mud.com. Since it is going to be a little heavy fully loaded and for off-road use I opted for a 3500# axle with electric brakes. I think this will greatly improve the safety and drive ability of the trailer on the Highway and off-road.

trailer_build_11

I had the old fenders so I went ahead and used them. They are a little small for 31-33″ tires but I think they will work out fine.

The trailer is decked with 1/2″ pressure treated plywood fastened down using rive nuts and flathead cap screws. I decided to add the deck in increase the usability of the trailer. While I said I wanted a dedicated trailer for the camp box, I realize having an extra trailer could come in handy.

trailer_build_10

I just used some LED boat trailer lights from Schuck’s Auto Supply. Be sure to print out the page and take it in if you decided to get these lights. Online they are $39.99 and in the store they are $54.99. Schuck’s will price match it’s online prices if you have proof of the price.

trailer_build_21

For the draw bar I had a piece of 2″x3″x1/4″ tube. I welded a pintle lunette onto the end and formed it for a little cleaner look. I drilled a 1/2″ hole for the safety chains about 12″ from the end and added the brake away switch for the trailer brakes. This hitch is rated at 10k# and should be more than sufficiant for my needs. If you are a concerned about the strength of your particular draw bar, take a look at this source (found on ih8mud.com) for specifications gleaned from some Australian Highway Codes.

trailer_build_28
trailer_build_23

The box is held to the trailer using the same rive nuts, 4 per side. Now I just need to add some “D” rings to the sides of the box so I can easily hoist it off.

The box will house a RV style hot water heater, power connections, 2 deep cycle RV batteries and a 20 gallon water tank. It also has provisions for a sink and stove that slide out of the back of the trailer. There is also room in front of the box to store extra fuel, water, cooler or other supplies.

Eventually I would like to add a large tent to the trailer making in a complete off-road camper. I am currently trying to source a supplier for such a tent.

trailer_tent
trailer_tent_2

Here is a sample 3D model I drew up using Google’s Sketchup program.

I will continue to add more as I complete the build process.  Next up will be batteries and a charging/inverter system.