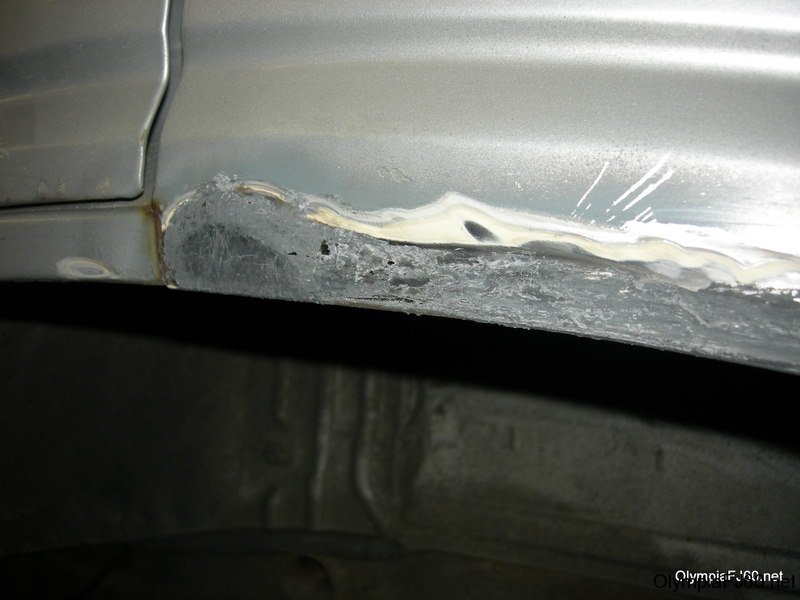
I have been watching a few patches of rust grow on the Land Cruiser for several years. I was washing the truck a few weeks ago, it’s after winter wash. While washing the left rear quarter I noticed a big patch in the very corner blast off. It was a hole about 1″ by 3″ long. I was just finishing loading up the remains of an old FJ60 I parted/scrapped. For as much rust as it had, I was presently surprised to find the very corner I needed was intact.
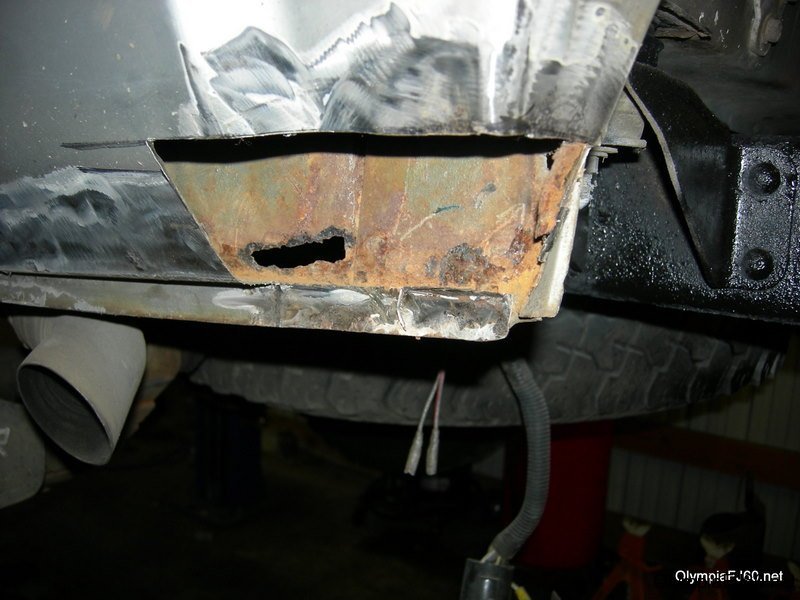
I cut out the bad area and used it as a template to cut out the patch. Evidently I didn’t do to well measuring as I had to cut a little extra and double patch. After getting the patch about right, I tacked it in place, then went around, ever inch or so at a time to keep it from getting too hot, and filled in the missed spots. After that, I ground it down, filled with some “Liquid Metal” sanded and painted.
With the introduction of the new ARB Freezer Fridge that utilizes a highly sophisticated power supply with low voltage cut-off and fault code diagnostic system we’ve found these units are very sensitive to poor performing power sockets and the associated circuits of the vehicles they are used in. Typically the problem plugs are at the rear of a vehicle and the problem is low voltage at the socket. The result is a fridge that reads an incorrect dead battery and shuts off flashing a low voltage code.
………………………..
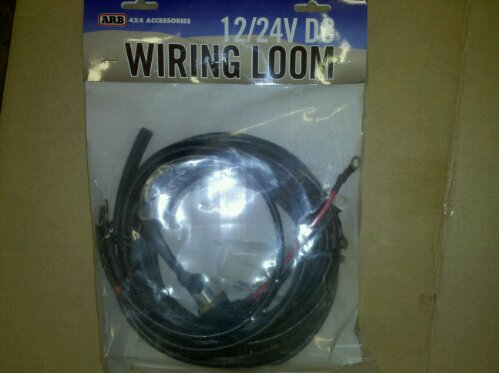
The Fix: ARB now offers a kit with 18 feet of appropriately sized wire, needed terminals, fuse, and female socket to wire a full time permanently hot fridge plug into the vehicle. This is a cost effective solution to add the needed power capacity for the fridge and gain an additional outlet in the rear cargo area of the truck ensuring the fridge functions as it was designed.
Full ARB article available here [download id=”4″] in pdf
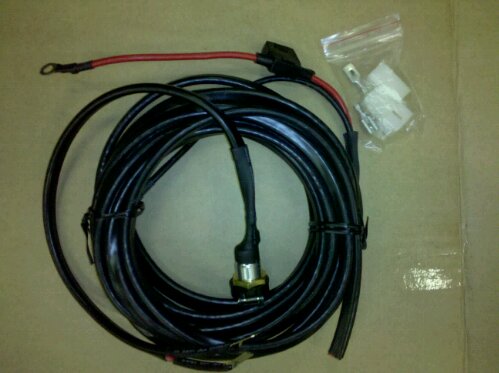
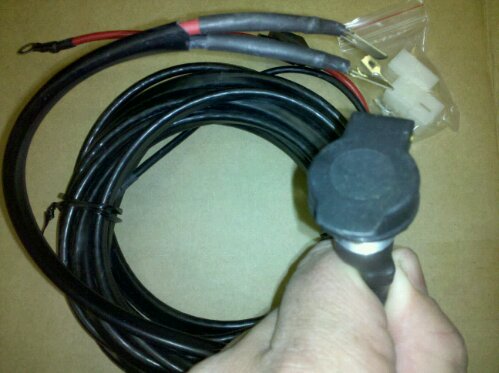
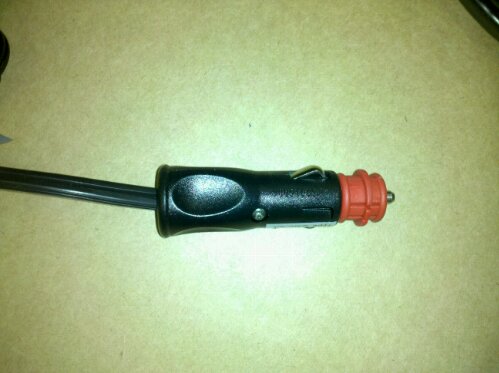
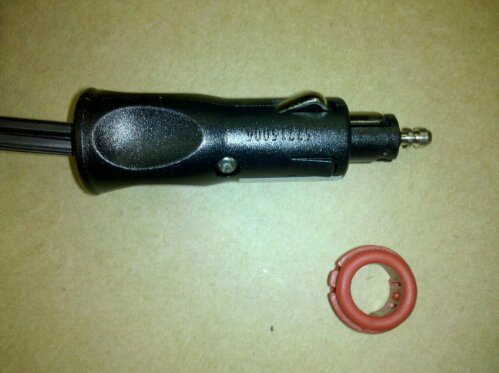
So I ordered one, even though I had just added a plug during my Communications Upgrades. I wanted to get the Hella style positive locking plug. It comes with every thing you need to easily connect the fridge directly to your battery. There is the plug, with a short pig tail and connectors. There is 18 feet of 2-10 primary wire with with an inline fuse and crimp connector and housing to connect to the socket pig tail.
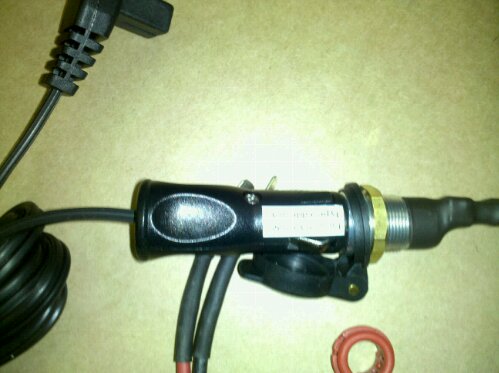
You will find the socket smaller then the average 12v accessory outlet, but it is very solid sealed metal bulk head type socket. It also has a spring loaded cover.
Since I already have a 6awg primary wire running from my battery to the back of the vehicle, I didn’t need the supplied wiring or fuse, but I have not been able to find the socket any other place. I mounted the socket right next to my 12v accessory socket and wired into my auxiliary fuse block in the rear quarter panel.
In my Land Cruiser I use a CB radio and Cell phone for most on road and trail communications. Around camp and hiking I use a FRS/GMRS radio. I decided to make a few upgrades in the Land Cruiser to make communication easier and more reliable.
For the cell phone, I have added a Wilson Electronics 3 watt booster and external antenna. At the time they didn’t have the cradle, but my old Motorola phone had an antenna port in the back. Now, they have a complete kit with external antenna, booster, wiring and universal cradle. The cradle has the inside antenna and will work with any phone, regardless of antenna port. I am using mine with the Motorola Droid. While just an external antenna can increase cell phone reception markedly, the 3 watt booster really gets your signal back out to the tower. Even when I don’t have enough signal for voice communication, I can usually send and receive text messages.
I originally had the booster just sitting under the drivers seat, an extension for the outside antenna, and the cell phone plug. I have been using the cradle for a while and love it. I’m doing some other comms work (keep reading), so I have decided to relocate the booster the the rear quarter panel. The power connector is just long enough, I moved the extension cable from the outside antenna, to the inside antenna/cradle.
One other modification I made to the cradle was to add a small magnet to correspond with the Droids sensor, making it my in car navigation as well as communications device. I will write more on this in another article.
For the GMRS radio, I went to GMRSOutlet.com were I found the Icom F2821 on clearance price. This radio is capable of GMRS, Business and
70cm communication. I had it programmed for GMRS, but also got the programming cable and software. It supports both CTCSS and DTCS tones for privacy communications. Remember, CTCSS and DTCS don’t keep others from hearing your conversations, just keeps them from interrupting you.
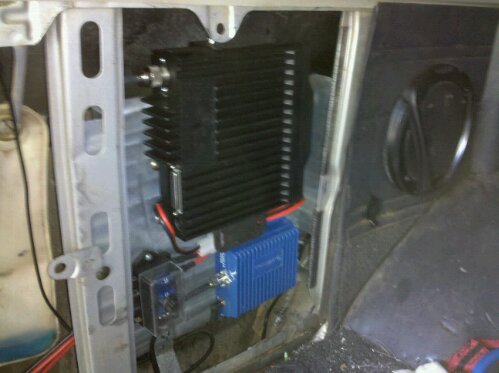
Because of mounting space, I decided to get the separation kit to mount the radio next to the phone booster in the rear quarter panel. With a removable face, the controls can be mounted in front. The only problem with mounting the main radio unit in the back, is the power demands. It needs direct battery connection, or at least a 10 gauge wire with 20amp protection.
I also wanted to add a power point for an ARB Fridge. so I decided to run some big power to the back. I already have dual batteries, so getting enough power won’t be a problem. I am running some 6 gauge wire to the back. I already have a 12 gauge wire running for trailer power and auxiliary backup lights, but that’s not enough power. I installed an extra fuse block in the back. Both the positive and negative line to the radio needs a 20 amp fuse. The fridge is on a separate circuit, and the trailer charge wire will be moved to run from the last fuse on the block.
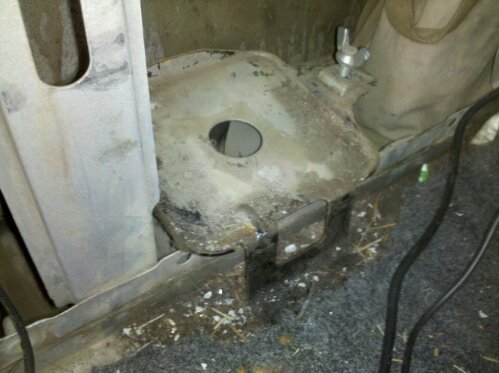
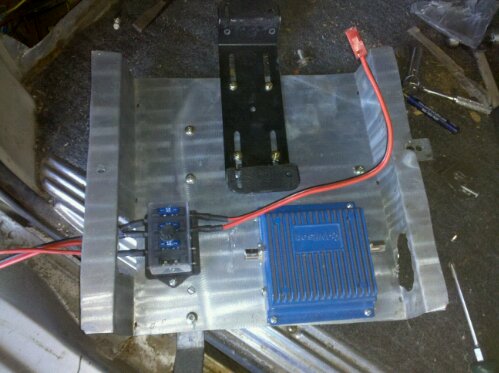
For the radio mounts I decided to remove the factory jack and tool kit. With my lift, the jack doesn’t do much, but I’m going to find a place to put it anyway. The mount for the jack is bolted in on the inner fender and floor of the truck. The Tool bag mount was tack welded to one of the supports. For holding the radios and fuse block, I bent a piece of stainless sheet I had left over from my Off Road Trailer kitchen. I also had some 1″x1/16″ bar for extra support. One bar was bent up to bolt into the lower jack mounting holes, the other runs horizontally from one inner fender support to the other.
Radio Mount before installationRadio Mount Installed with Radios
I had a customer that got tired of replacing re-manufactured stock power steering pumps on his Land Cruiser. He wanted to use a Saginaw pump, and was removing the AIR pump at the same time. At first I was going to use a pre-made bracket that directly replaced the stock pump and mounted to the cylinder head. We were also going to have to install and idler in place of the AIR pump, so I decided to mount the P/S pump in place of the AIR pump, to turn the water pump.
I found the correct P/S pump at a wrecking yard on a ’84 Volvo. This pump is important because it has a larger pulley and a metric fitting on the pump outlet that fits the stock Toyota power steering hose.
The bracket pivots the same as the AIR pump. A separate adjuster was need because the size of the pulley did not allow the AIR pump adjuster to fit. Because of the larger diameter pulley, a special length belt was required.
The alternator belt can just be ordered for a truck without Power Steering.
The bracket was made out of 1/4 thick wide bar stock, 4″ wide at the least. It took several revisions to make a bracket that would work on bot the front and the back of the pump. This will make it easier for reproduction. For the front bracket a spacer was needed on the lower whole of .376″. This is to account for the different depths in the casting. On the rear bracket, a .25″ spacer was needed. For the front spacer, you can just knock the one off of the factory Volvo bracket if you were able to get it. For the back spacer, cutting it off of the same rod you use for the bottom pivot is an option, or knock off and trim the factory spacers. On the rear part of the factory bracket there are two spacers, to space the entire bracket off, but the bottom one is deeper than the top.
For the bottom “pivot” I used 1″ od, 1/2″id steel rod. Think something like 3/4″ od by 1/2″ or 3/8″ id would be better suited for both the pivot and the spacers. The rod was cut to the same length as the bottom of the AIR pump, ~3.8″
To get the proper position for welding, I mounted both the front and rear brackets to the pump, slid the rod through the hole then mounted it into the mount. With the belt attached, I slid the pump into alignment with the water pump and crank then marked the rod. It could be tack welded here, but space is tight and the engine greasy. Once removed, it was talked in several places and reinstalled to check position and alignment. Once every thing checked out, I removed and welded a full bead around both sides of each bracket.
For the top adjuster/cinch bracket, I welded a piece of bar stock on the back bracket. An arc shaped bracket/slide was cut from some scrap steel. Using a section of angle bracket I marked and cut a mount that fits some holes in the block. I forgot to take any pictures of this before letting the truck go, I will try and reproduce this and get updated pictures.
After I we had a big winter snow in 2008 I started looking for a snow plow to put on one of the Land Crusiers. I looked on EBay and Craigslist. It was a good time to be selling a plow. It isn’t that often the Puget Sound area gets that much snow and everyone was looking for someone to dig them out. I found the lite weight plow on ebay from a fairly local seller, just south of Portland Oregon. I lucked out and it was his first time selling on EBay, and he didn’t set a reserve. Timing was right and I ended up winning the auction.
My son and I took a trip down to pick up the plow and spent several hours looking talking to the seller and looking at his gallery. He has since moved from industrial fabrication to metal art. He had an amazing collection of gongs, chimes and modern art sculptures.
The plow is well built and has many of the features present on the larger plows. It is designed to fit a 2″ reciever mounted on the front of the truck, not unlike the Multi-Mount winch mounts by Warn. There isn’t such a mount for the early Land Cruisers so I had to build my own. The other consideration is the 11.5″ mounting height required for the plow to function properly. I made a two part mount, one that is semi permanent and tucked up just below the bumper. The second part contains the drop to reach 11.5″. With it removed, frontal approach angle is minimally impacted.
We have yet to have snow this year but I am anctious to see how well it works. Unfortunately they are no longer in production, but are not too unlike the UTV snow plows Warn produces. With a little work, having a lite weight plow built for mid-sized to compact SUVs and trucks shouldn’t be too difficult.