With the introduction of the new ARB Freezer Fridge that utilizes a highly sophisticated power supply with low voltage cut-off and fault code diagnostic system we’ve found these units are very sensitive to poor performing power sockets and the associated circuits of the vehicles they are used in. Typically the problem plugs are at the rear of a vehicle and the problem is low voltage at the socket. The result is a fridge that reads an incorrect dead battery and shuts off flashing a low voltage code.
………………………..
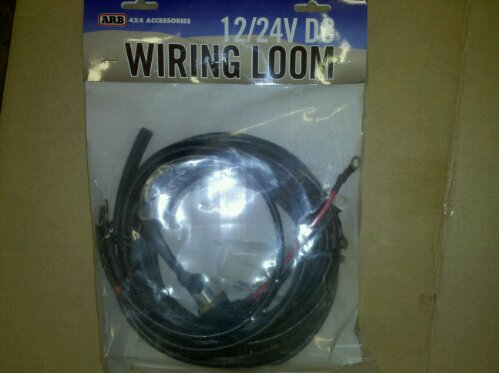
The Fix: ARB now offers a kit with 18 feet of appropriately sized wire, needed terminals, fuse, and female socket to wire a full time permanently hot fridge plug into the vehicle. This is a cost effective solution to add the needed power capacity for the fridge and gain an additional outlet in the rear cargo area of the truck ensuring the fridge functions as it was designed.
Full ARB article available here [download id=”4″] in pdf
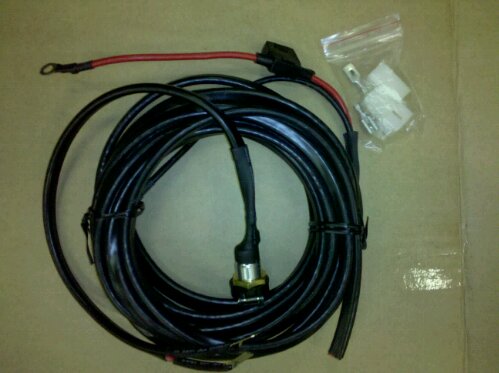
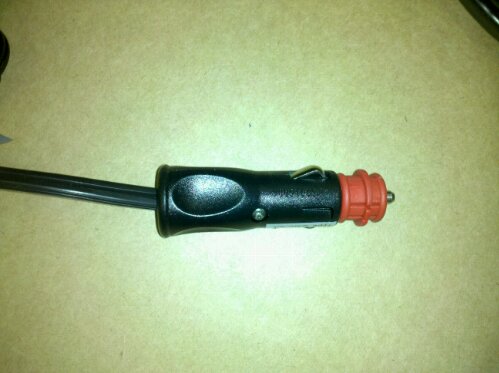
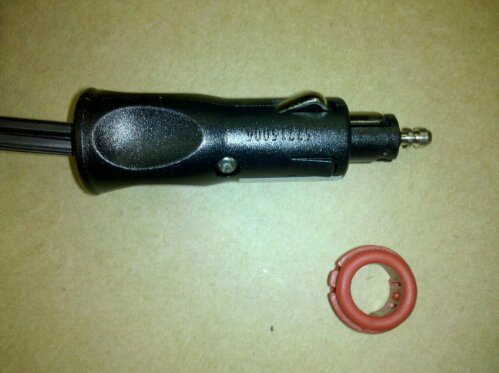
So I ordered one, even though I had just added a plug during my Communications Upgrades. I wanted to get the Hella style positive locking plug. It comes with every thing you need to easily connect the fridge directly to your battery. There is the plug, with a short pig tail and connectors. There is 18 feet of 2-10 primary wire with with an inline fuse and crimp connector and housing to connect to the socket pig tail.
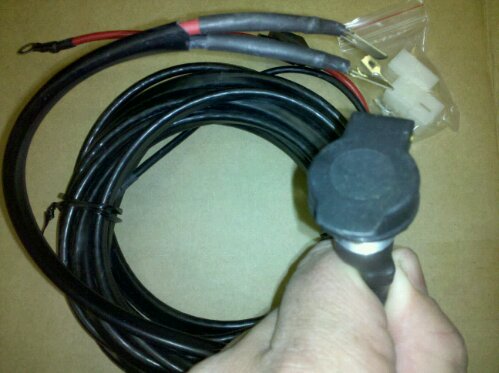
You will find the socket smaller then the average 12v accessory outlet, but it is very solid sealed metal bulk head type socket. It also has a spring loaded cover.
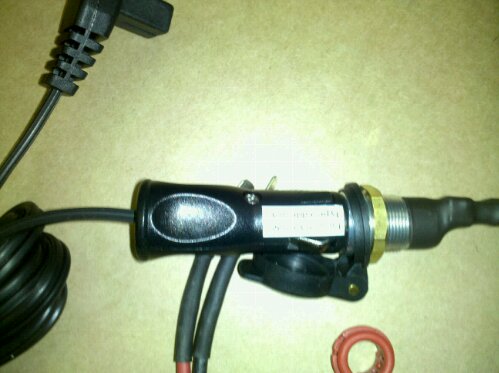
Since I already have a 6awg primary wire running from my battery to the back of the vehicle, I didn’t need the supplied wiring or fuse, but I have not been able to find the socket any other place. I mounted the socket right next to my 12v accessory socket and wired into my auxiliary fuse block in the rear quarter panel.
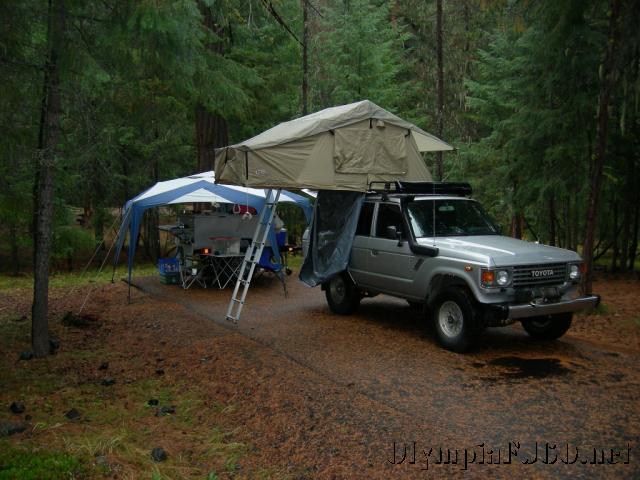
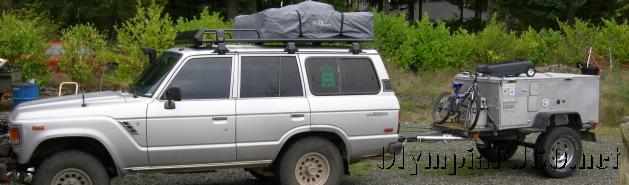
We recently had a chance to get one last weekend of camping in. We were heading east to the Naches River Valley to participate in a Backroad Drivers Northwest tour. This tour was of the Clemen Mountain (ridge) area just east of the Naches River and the town of Nile. The weather called for rain and I didn’t want to sleep on the ground and chance getting flooded out of our tent. Since I have been wanting to try one out I decided to pickup the Simpson Series II Roof Top Tent.
Then tent comes mostly assembled. All that is required is to decide whether you want to orient it to open to the side or to the rear. If you have it open to the rear you can create a nice sheltered area at the tailgate. This way is best suited for full sized SUVs and Trucks. I chose to have it open to the side (passengers for me) as I will be adding the Annex when it comes in off of back order. Once you have decided the orientation, you can bolt on the “mounting extrusions”. All of the parts are tucked way inside the folded up tent so you will need to get them out to continue. These are the parts that will connect the tent to your roof rack. You can use any type of roof rack as long as it meets the load capacity you will be placing on it (tent and occupants). I already had the ARB Touring Rack installed. The tent can also be mounted on factory bars or Yakima and Thule bars. After the mounting extrusion is attached, the ladder is attached using the supplied stainless steel brackets. The ladder has a dual purpose. It is of course the way you get into the tent. The ladder is also the lever you use to open up the tent.
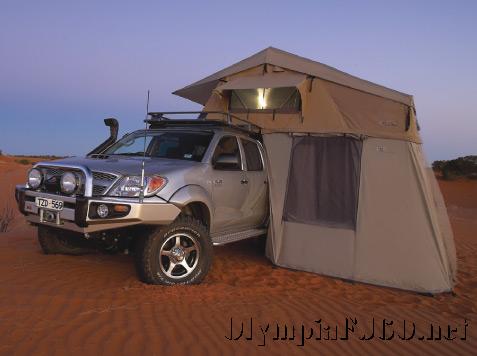
The annex is a nice little addition that creates an indoor changing/storage area under the tent. That is one of the features that drew me to the ARB tent instead of others. The tent has a “vestibule” section that provides a sheltered for the ladder and entrance to the tent. The annex slides into a rail attached to the floor of the tent then zips to the bottom of the tent.
Once assembly is finished, the tent is ready to be mounted onto the rack. This is best done with two or three people. Although it is not particularly heavy the size makes it awkward to handle. The tent comes with stainless steel brackets and bolts and an aluminum runner that slides in the mounting extrusion. This provides limitless spacing between bars.
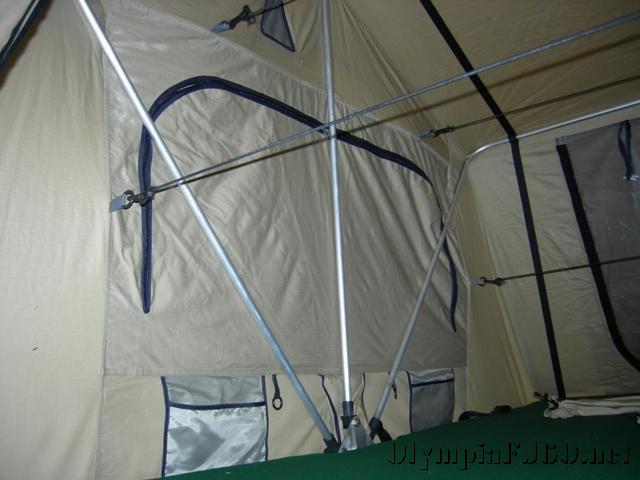
With the tent mounted you are now ready to open it up for the first time. Start by releasing all of the straps that hold the tent closed. Extend the ladder and the locking pins will engage the holes. Pulling on the end of the ladder you should have enough leverage to start to open the tent. Once the tent is just over half way open the weight will shift to pushing down on the ladder. Slowly lower the ladder to the ground making sure the tent opens all the way. Now slide out the overhang supporting bar (U shaped aluminum bar) and insert into the retaining sockets. Make sure the corners of the bar are all the way into the corners of the tent. Get the spring steel rods from inside the tent. These are used to support the outside window awnings and the flysheet. Insert the U shaped end into the eyelet in the awning/flysheet. The other end is inserted into the aluminum base of the tent through the eyelets. Be sure to make note of the angle of the hole and position the rod at this angle to make insertion easier. Remove the 4 bungees. If the bungees were not installed when shipped they will be in one of the parts bags.
Now the annex can be installed. Start by sliding the rope sections into the extrusion at the hinge area of the tent base. Using the zipper attach the remaining three sides. Spread out the floor and stake in to the ground. Install the Annex Floor, making sure to place the rubber mat under the ladder to protect the floor. If you need the ladder extension, be sure to check on the “Well Extension” in order to extend the depth of the floor equal to the ladder extension.
I set it up once in the shop before leaving. My second setup was in the dark during a downpour. Except for forgetting to attach the flysheet, assembly went smoothly and tool only about 15 minutes. Since we were going on a drive the next day I had to take it down again. I think the takedown time, after all the bags were removed, was about 10 minutes. It says you can leave your bedding (except for maybe pillows depending on bedding size) inside the tent when it is folded up. I think I will do that next time. Once I have the annex I will make a short video of the setup.
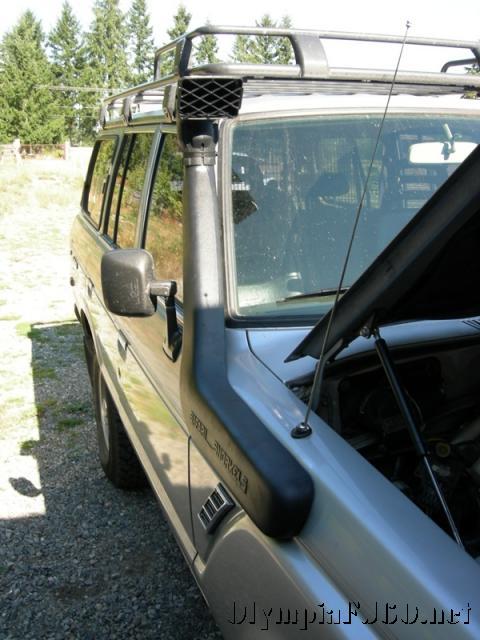
I recently installed a Safari Snorkel on my 1987 FJ60 Land Cruiser. The snorkel can be found and East Olympia Cruisers. If you are a TLCA member, be sure to mention it to get 10% off.
It was a straight forward installation easily following the supplied instructions. This kit is designed in Australia and fits all 60 series Land Cruisers including the 2H and 12HT diesels as well as the 3FE powered FJ62. Slight modification of the instructions is required for the 2F powered FJ 60. I was fortunate to have installed an air clean assembly combined from an FJ62 and BJ60 for my EFI conversion.
The only tools required are a few standard sockets, a step drill (or a variety of drill bit sizes) and a 95mm hole saw or body saw (a jigsaw would work as well). What follows are the instructions included with the snorkel kit with metric to fractional conversions provided by me.
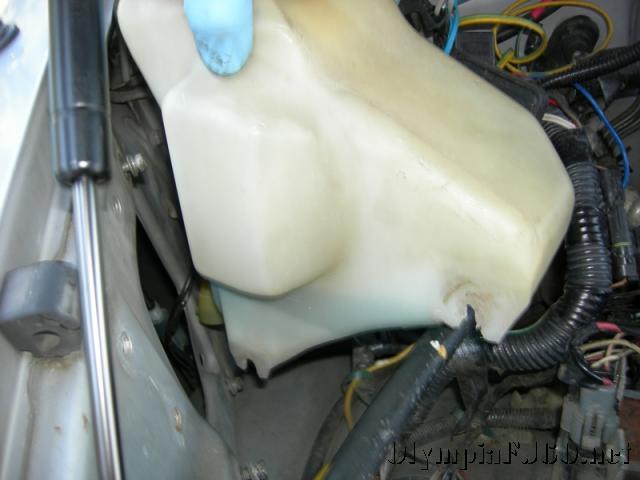
Remove the windscreen washer bottle and the battery from the vehicle. The air cleaner entry duct will need to be removed from the inner guard area. ( I was able to complete the installation without removing the battery but it would have been easier).
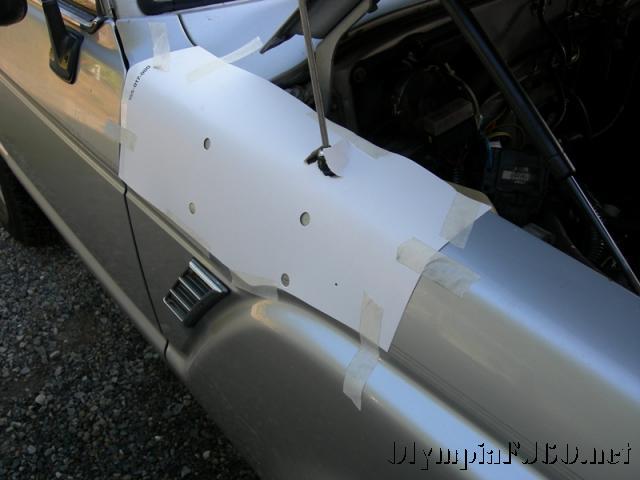
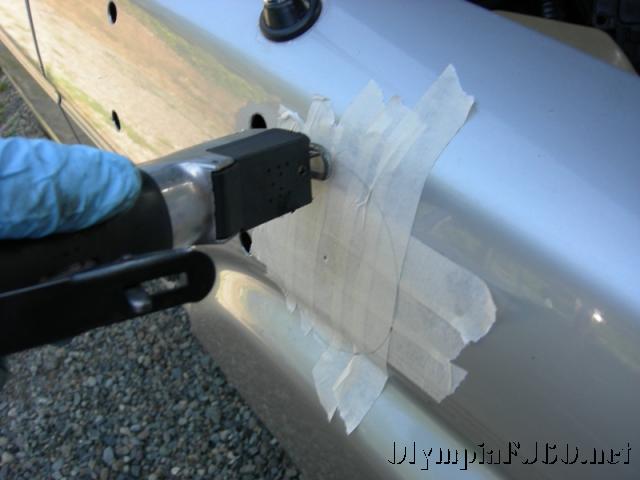
Tape the template in position on the upper rear corner of the guard (fender). Using a felt pen, mark the whole positions then remove the template.
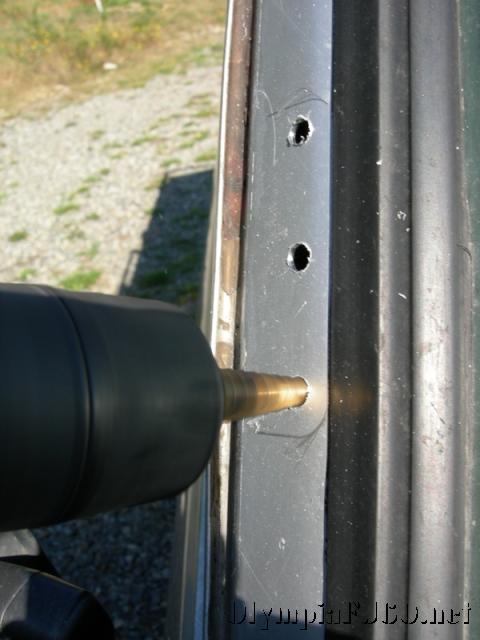
Drill a 4mm (5/32) pilot hole for each of the holes. Open the 4 mounting holes to 16mm (5/8) using a step-drill. The front hole should be cut to 95mm (3-3/4) using a hole saw. The drill should be held horizontal while cutting the hole. When drilling/cutting is completed, deburr the holes to leave a smooth edge. (This is where I used an air powered body-saw instead).
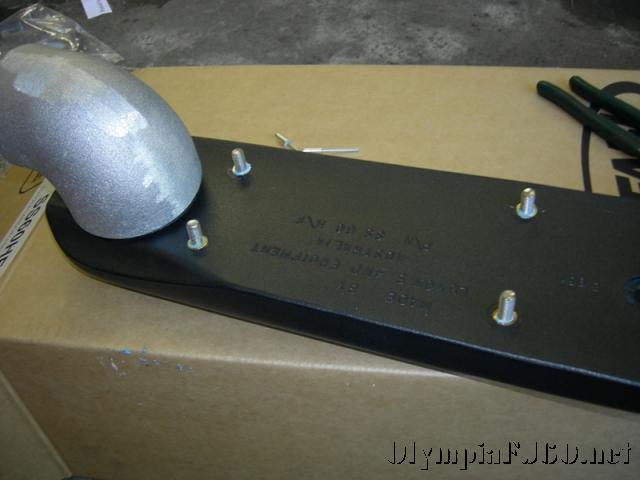
Rivet the elbow casting to the snorkel snout. The snout of the casting should face towards the front of the snorkel. Keep the casting as close to the outer end of the snorkel snout as possible. This will make fitment easier. Seal this joint thoroughly with silicone. (I put silicone on the “snout” prior to installing the casting. This insured a good seal as well as making it easier to slide the casting all the way on).
Screw the stainless steel studs into the inserts in the back of the snorkel. Bolt the upper mounting bracket to the snorkel using 2, 6mm bolts and washers. Sit the snorkel in position on the vehicle and mark the upper mounting holes on the “A” pillar. Remove the snorkel. Drill the upper holes to 8mm (5/16).
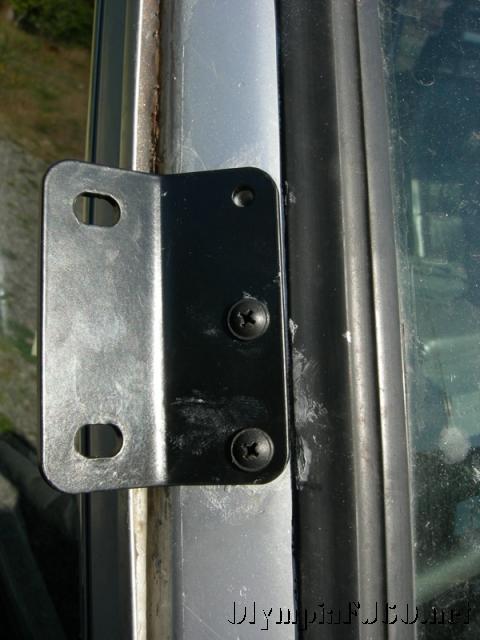
Paint the holes to prevent rust. Insert the plastic body clips in the upper holes. Remove the upper bracket from the snorkel body and fasten it to the “A” pillar.
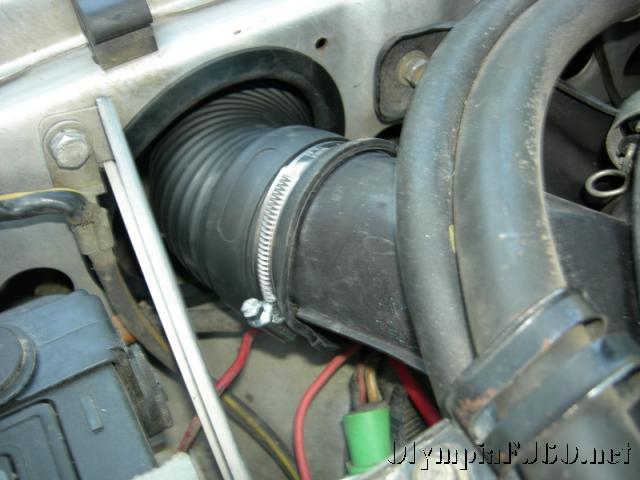
Slide the flexible ducting onto the alloy elbow. Fasten with 60/80 (70/90 provided with kit) clamp (the clamp adjuster should be orientated towards the outside of the elbow casting to allow for easier fitment).
Place a ring of rubber edging around the inner guard hole nearest the air cleaner snout.
Slide the cuffed hose through the outer hole and along the inner guard cavity (fender well). Thread the casting through the hole and secure the snorkel in position on the vehicle using appropriate hardware (nuts and fender washers).
Thread the ducting through the inner guard hole and onto the air cleaner snout. Secure using a 60/80 (again, 70/90 provided with kit) hose clamp.
Refit the windscreen washer bottle and battery. Place the air ram on top of the snorkel and secure with the clamp provided (the black one).
That’s it, not much too it if you don’t mind drilling and cutting on a perfectly good fender. It takes about 1 1/2 hours to complete if you don’t have to run around looking for a hole saw. I don’t expect to be crossing deep enough water to need it, but I do travel really dusty roads and end up with a bunch of silt in the air cleaner box from sucking air out of the fender well, so much actually that I will not use a K&N filter. I had a K&N on for a while but ended up with some fine dust getting through. I am hoping this will keep the filter housing a little more dust and grit free.