I recently installed a Safari Snorkel on my 1987 FJ60 Land Cruiser. The snorkel can be found and East Olympia Cruisers. If you are a TLCA member, be sure to mention it to get 10% off.
It was a straight forward installation easily following the supplied instructions. This kit is designed in Australia and fits all 60 series Land Cruisers including the 2H and 12HT diesels as well as the 3FE powered FJ62. Slight modification of the instructions is required for the 2F powered FJ 60. I was fortunate to have installed an air clean assembly combined from an FJ62 and BJ60 for my EFI conversion.
The only tools required are a few standard sockets, a step drill (or a variety of drill bit sizes) and a 95mm hole saw or body saw (a jigsaw would work as well). What follows are the instructions included with the snorkel kit with metric to fractional conversions provided by me.
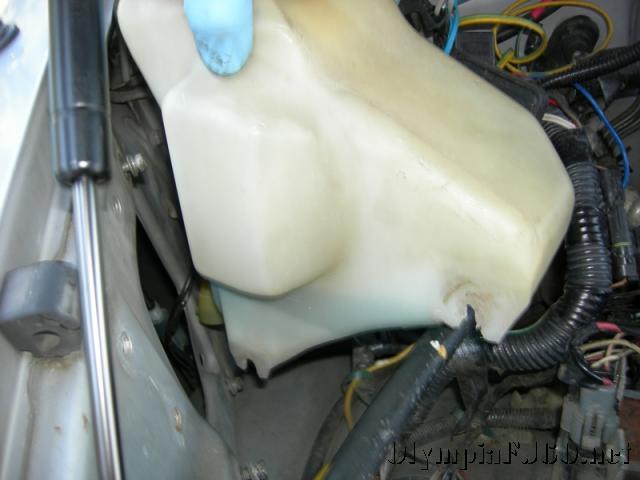
 Remove the windscreen washer bottle and the battery from the vehicle. The air cleaner entry duct will need to be removed from the inner guard area. ( I was able to complete the installation without removing the battery but it would have been easier).
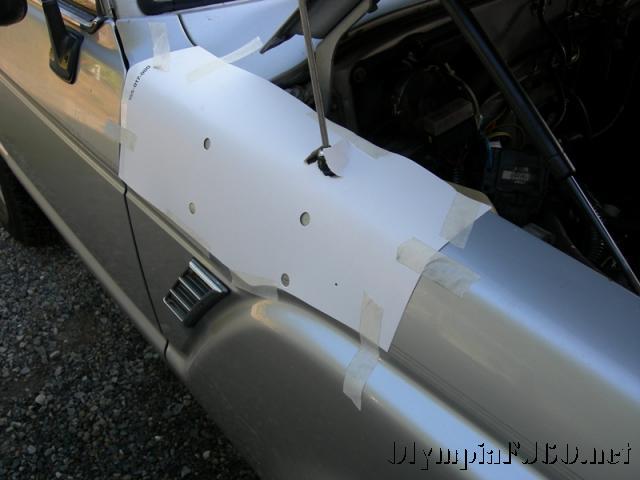
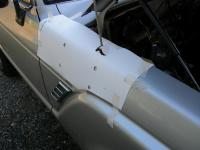 Tape the template in position on the upper rear corner of the guard (fender). Using a felt pen, mark the whole positions then remove the template.
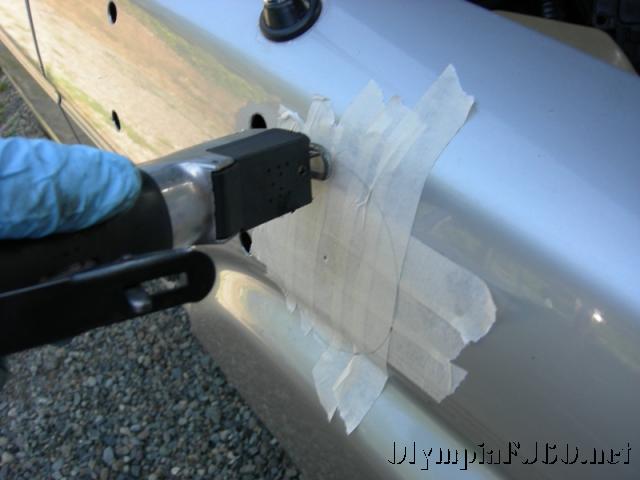
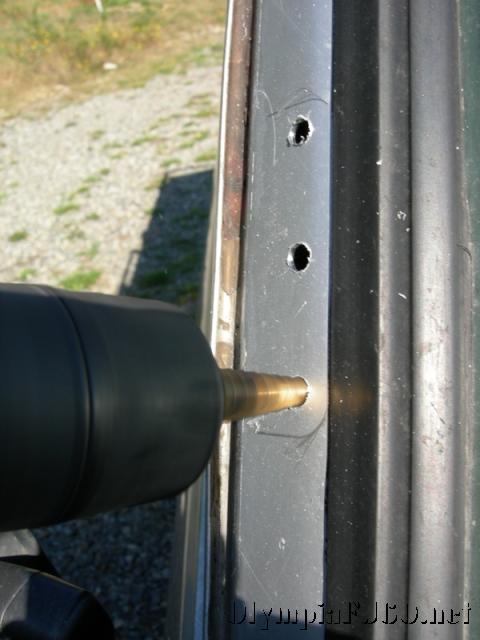
 Drill a 4mm (5/32) pilot hole for each of the holes. Open the 4 mounting holes to 16mm (5/8) using a step-drill. The front hole should be cut to 95mm (3-3/4) using a hole saw. The drill should be held horizontal while cutting the hole. When drilling/cutting is completed, deburr the holes to leave a smooth edge. (This is where I used an air powered body-saw instead).
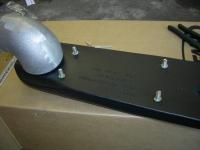 Rivet the elbow casting to the snorkel snout. The snout of the casting should face towards the front of the snorkel. Keep the casting as close to the outer end of the snorkel snout as possible. This will make fitment easier. Seal this joint thoroughly with silicone. (I put silicone on the “snout” prior to installing the casting. This insured a good seal as well as making it easier to slide the casting all the way on).
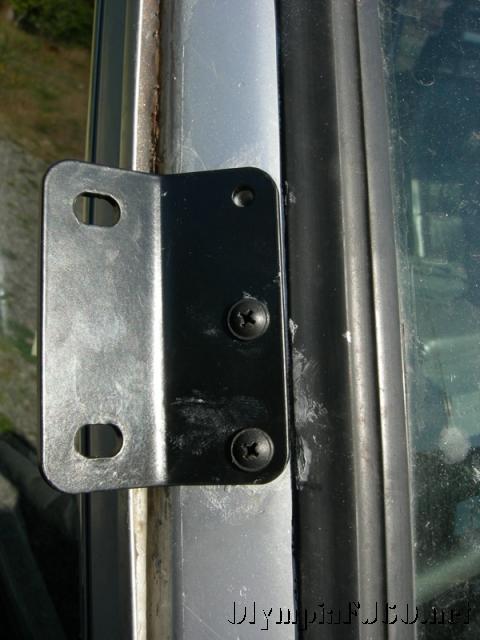
 Screw the stainless steel studs into the inserts in the back of the snorkel. Bolt the upper mounting bracket to the snorkel using 2, 6mm bolts and washers. Sit the snorkel in position on the vehicle and mark the upper mounting holes on the “A” pillar. Remove the snorkel. Drill the upper holes to 8mm (5/16).
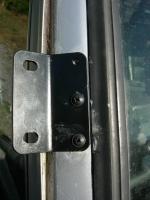 Paint the holes to prevent rust. Insert the plastic body clips in the upper holes. Remove the upper bracket from the snorkel body and fasten it to the “A” pillar.
- Slide the flexible ducting onto the alloy elbow. Fasten with 60/80 (70/90 provided with kit) clamp (the clamp adjuster should be orientated towards the outside of the elbow casting to allow for easier fitment).
 Place a ring of rubber edging around the inner guard hole nearest the air cleaner snout.
- Slide the cuffed hose through the outer hole and along the inner guard cavity (fender well). Thread the casting through the hole and secure the snorkel in position on the vehicle using appropriate hardware (nuts and fender washers).
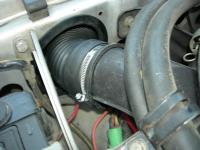
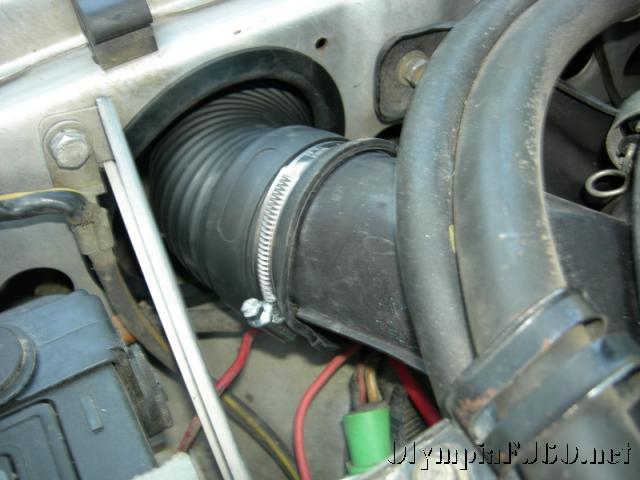
- Thread the ducting through the inner guard hole and onto the air cleaner snout. Secure using a 60/80 (again, 70/90 provided with kit) hose clamp.
- Refit the windscreen washer bottle and battery. Place the air ram on top of the snorkel and secure with the clamp provided (the black one).

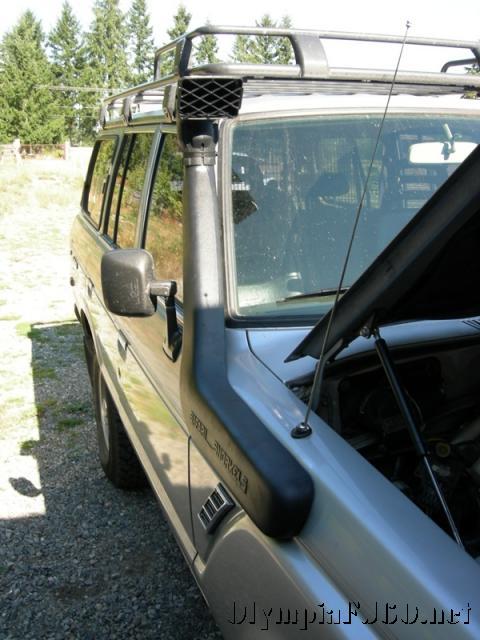
That’s it, not much too it if you don’t mind drilling and cutting on a perfectly good fender. It takes about 1 1/2 hours to complete if you don’t have to run around looking for a hole saw.
I don’t expect to be crossing deep enough water to need it, but I do travel really dusty roads and end up with a bunch of silt in the air cleaner box from sucking air out of the fender well, so much actually that I will not use a K&N filter. I had a K&N on for a while but ended up with some fine dust getting through. I am hoping this will keep the filter housing a little more dust and grit free.

